




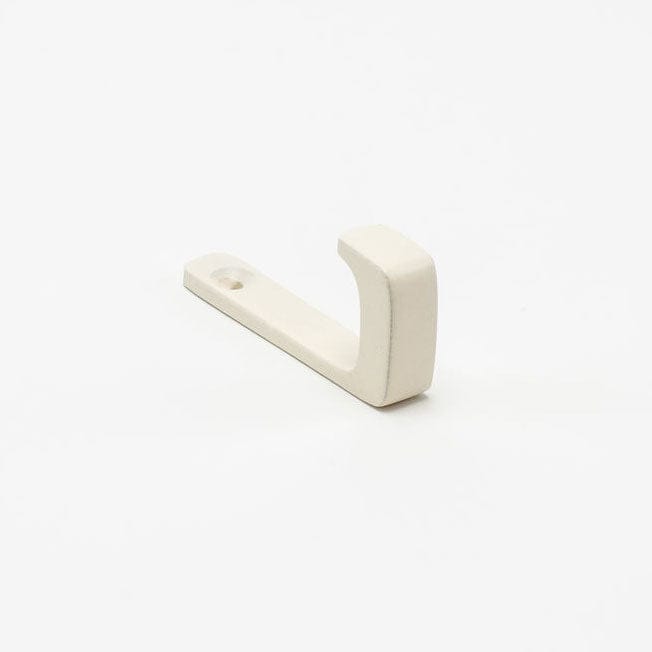
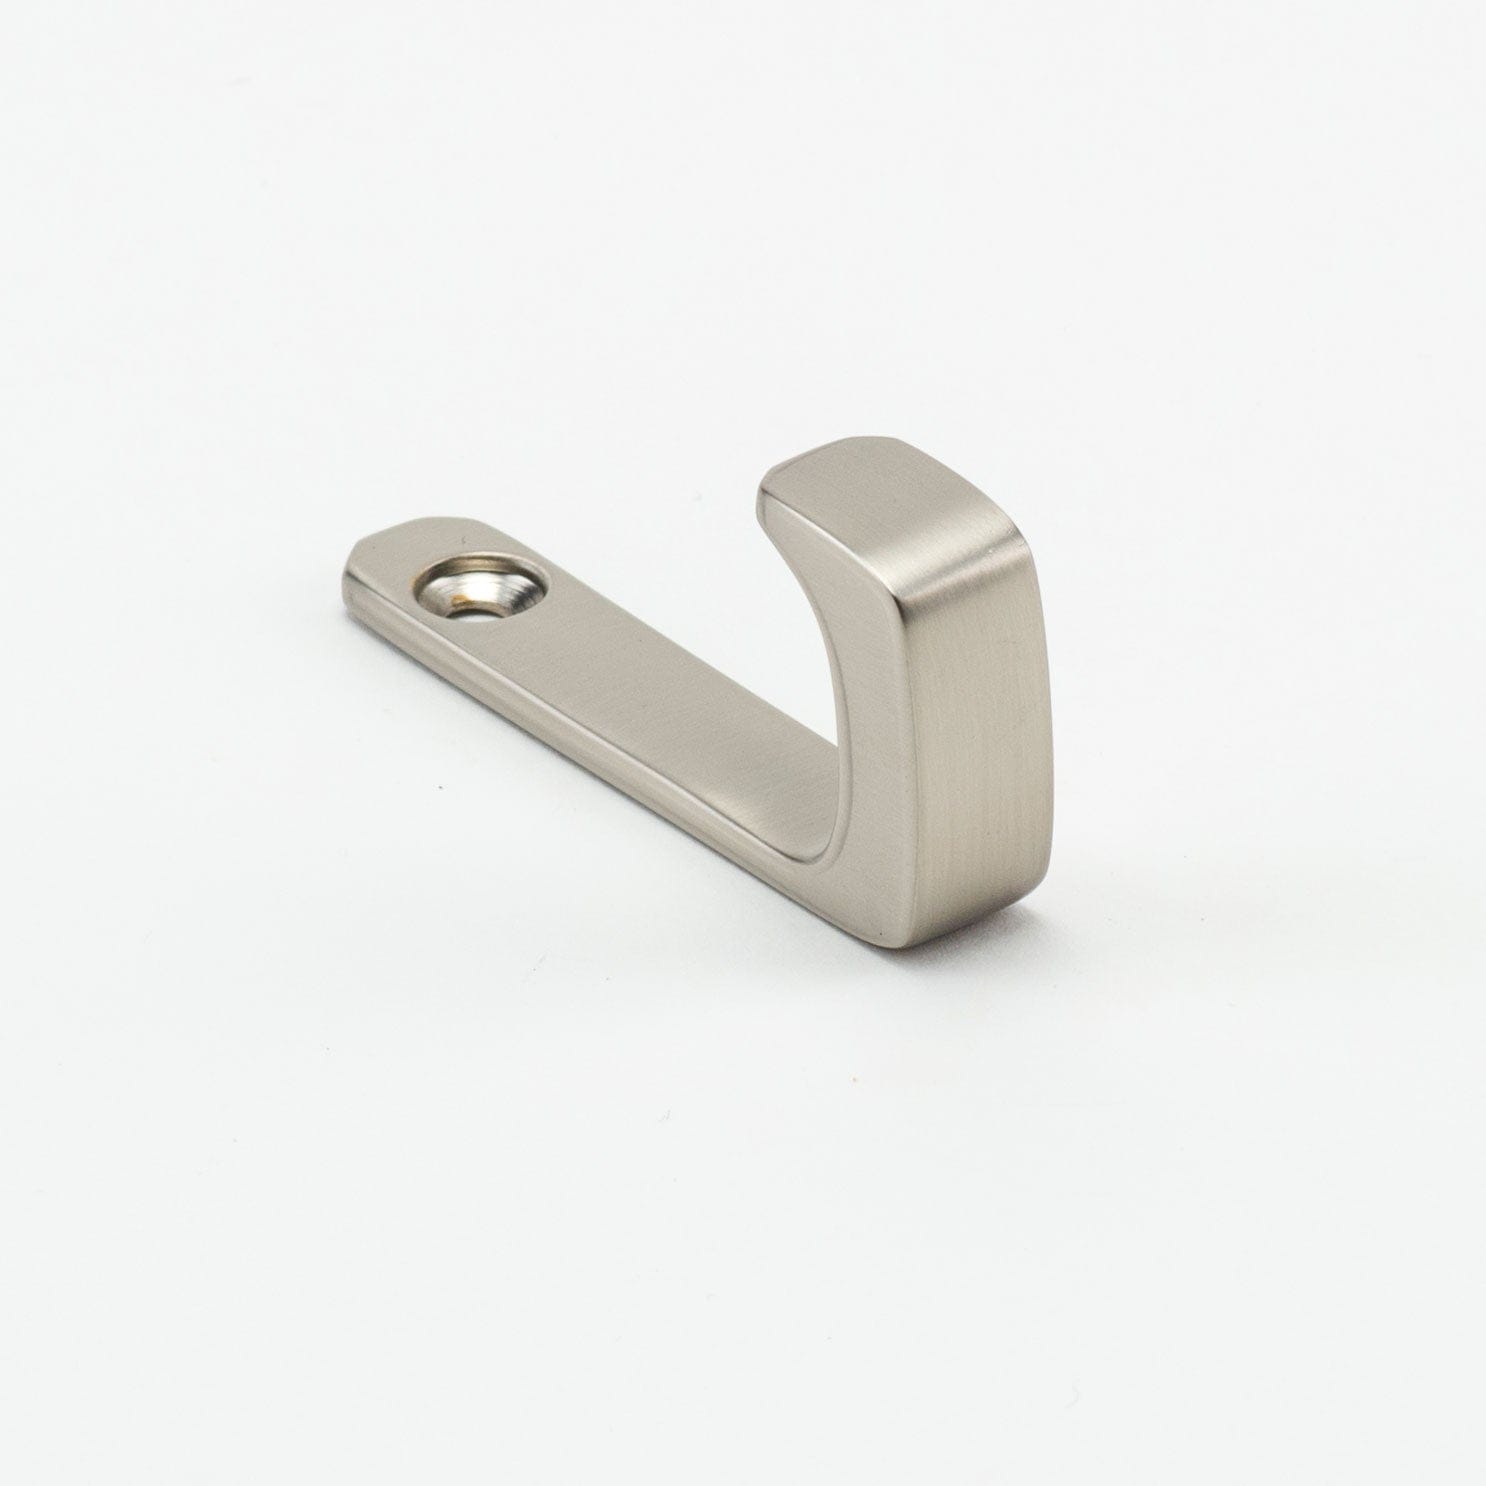
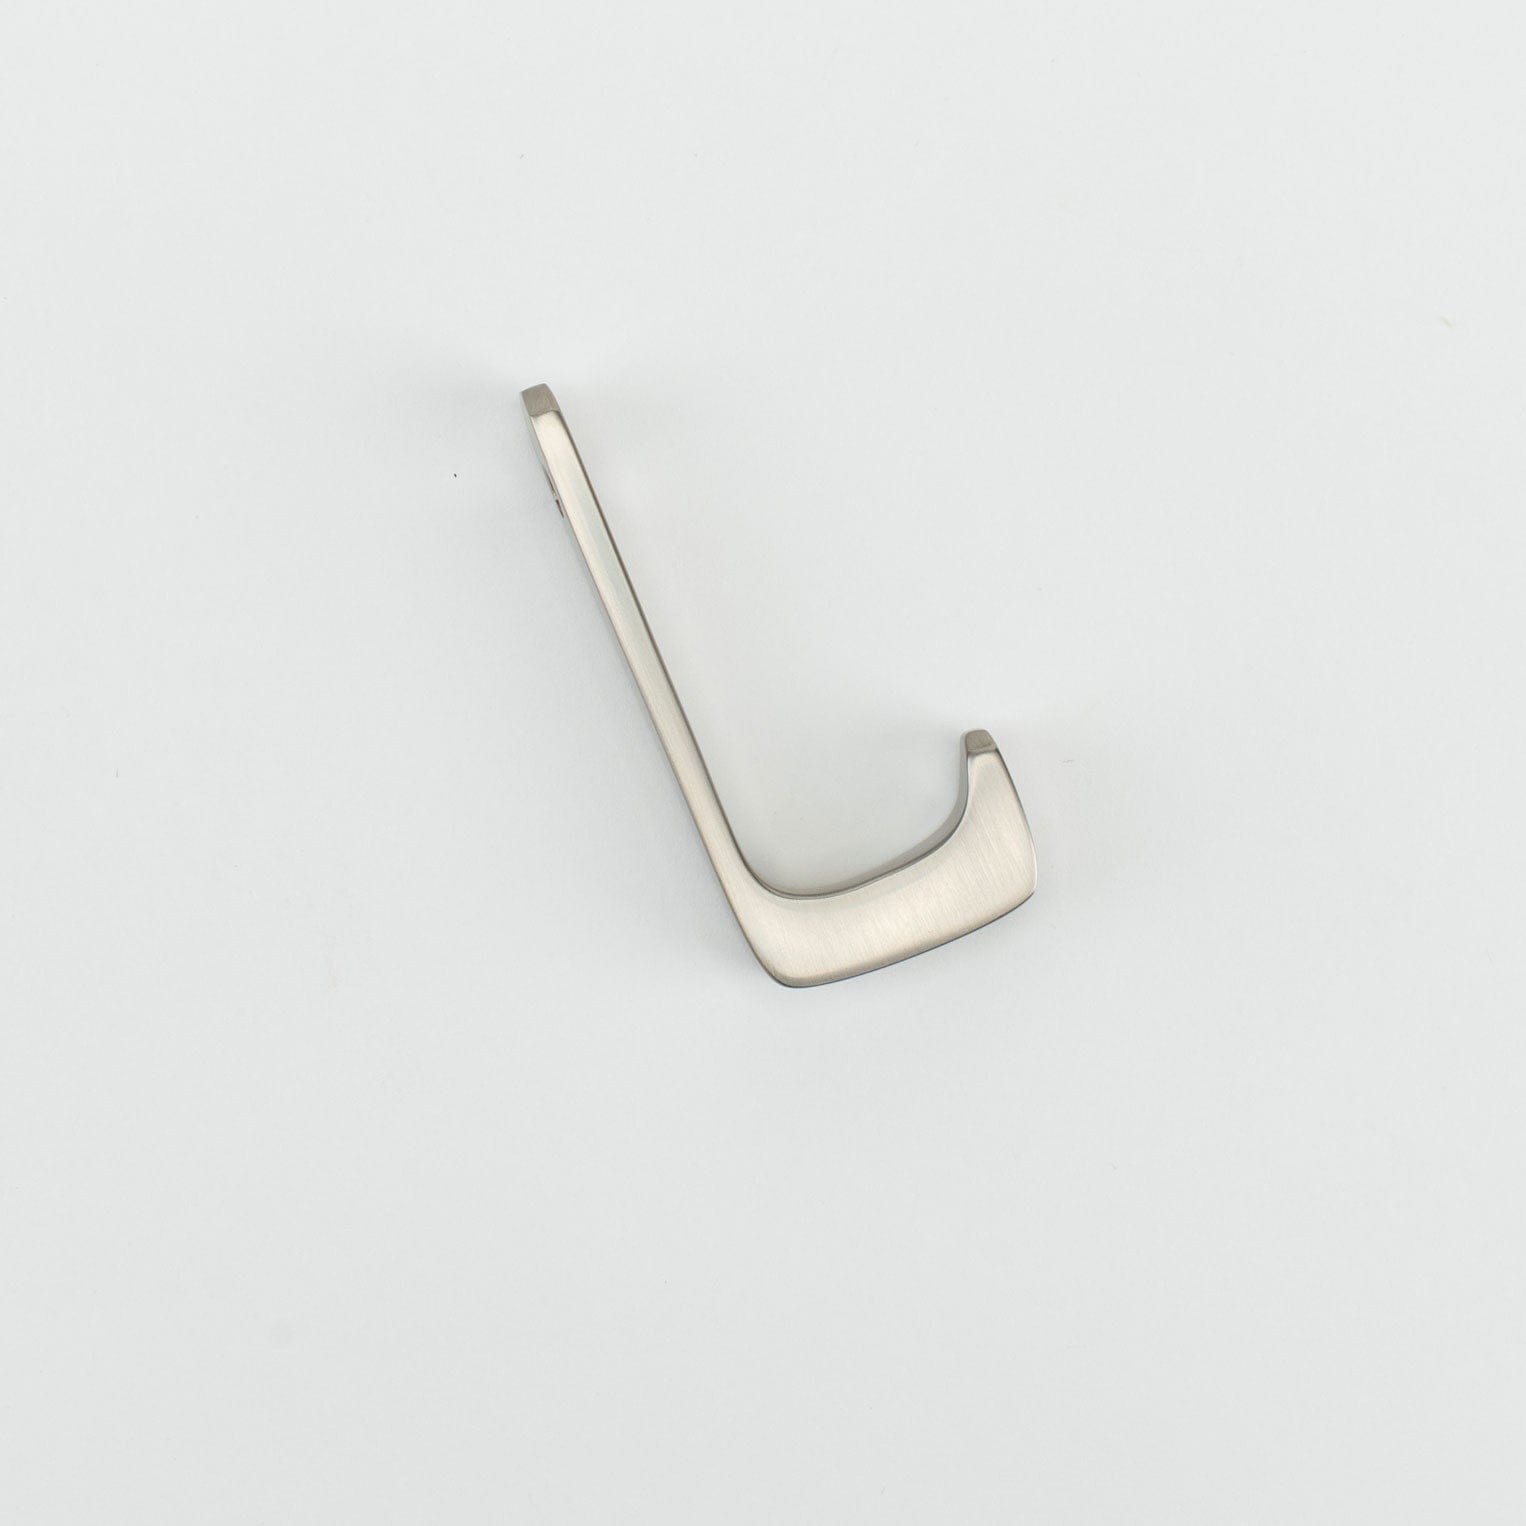
Otto Single Hook - Powder Coated Cream
Member of the Trade? Log in Here
 No Returns
 Estimated ship date: 10/26/26
 5 year warranty
Product Details
Dimensions
2.5" L x 0.45" W x 1.2" Projection
Shipping
Shop the Otto Collection Collection
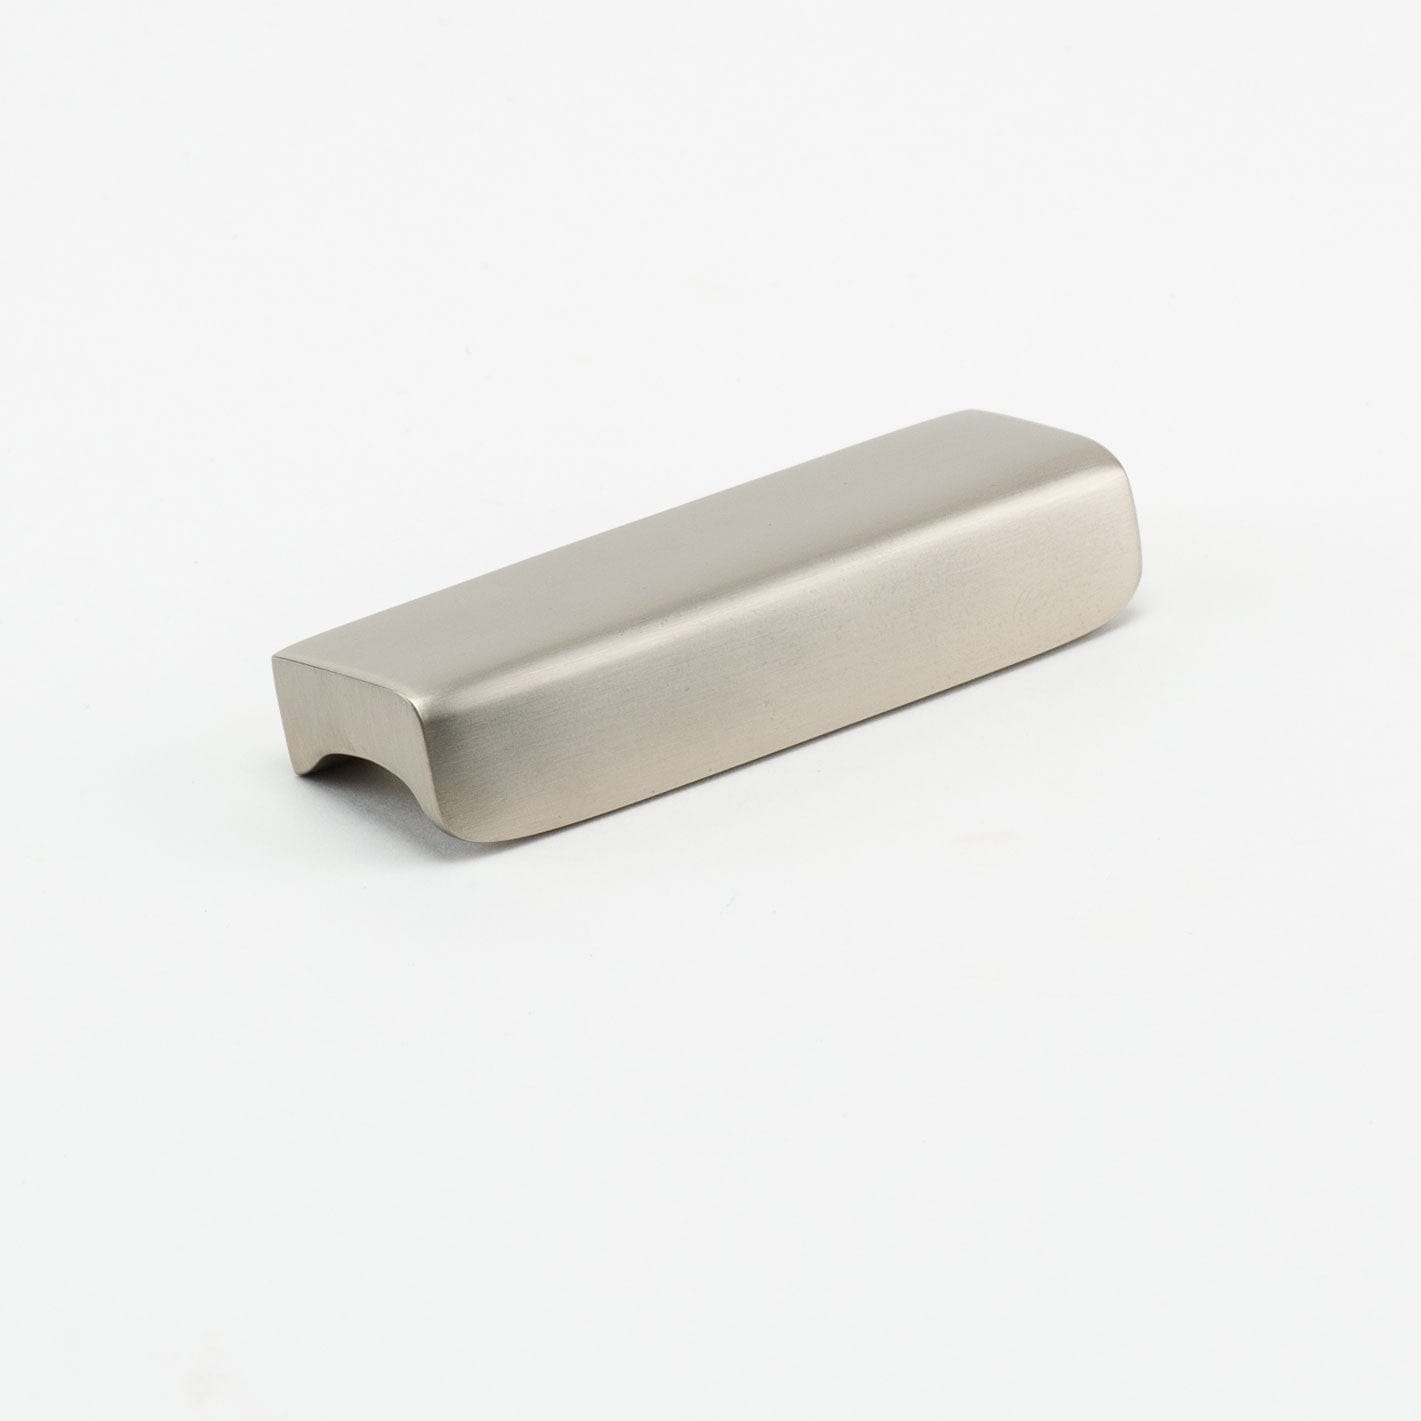
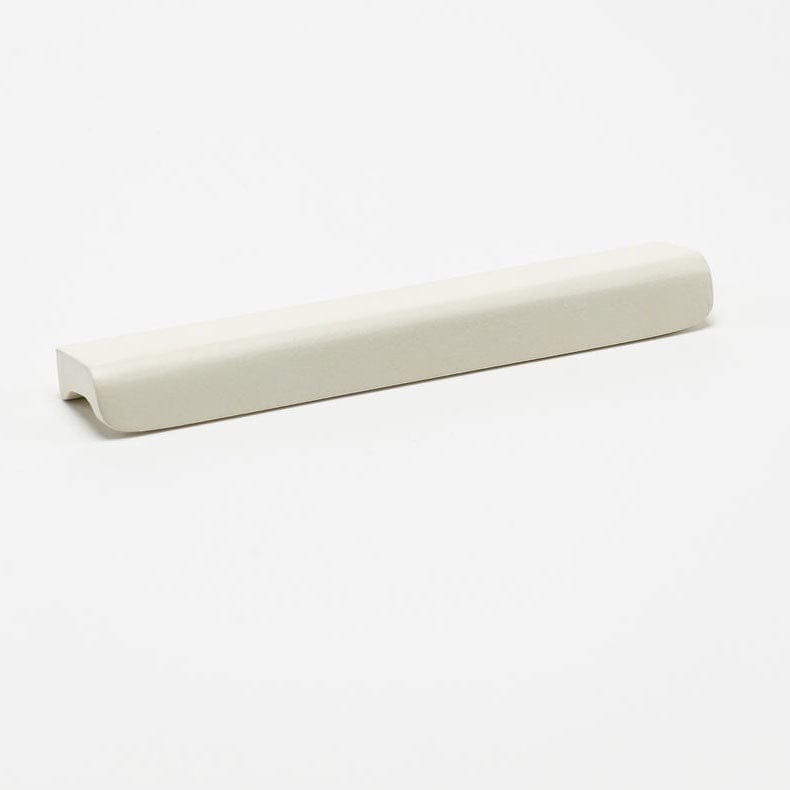
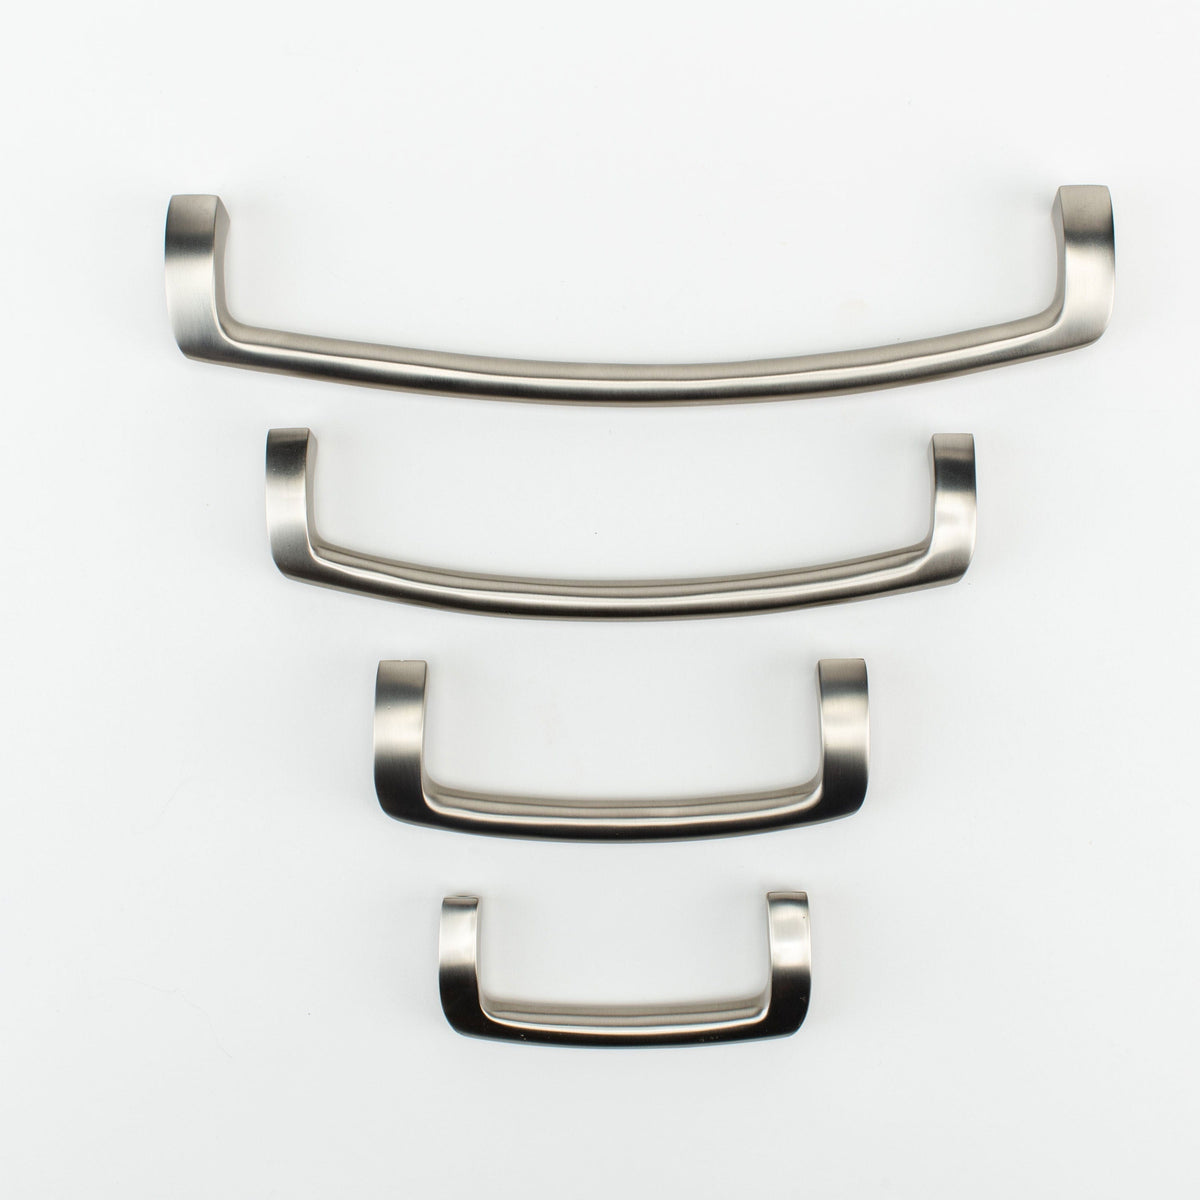
Available in 2 sizes
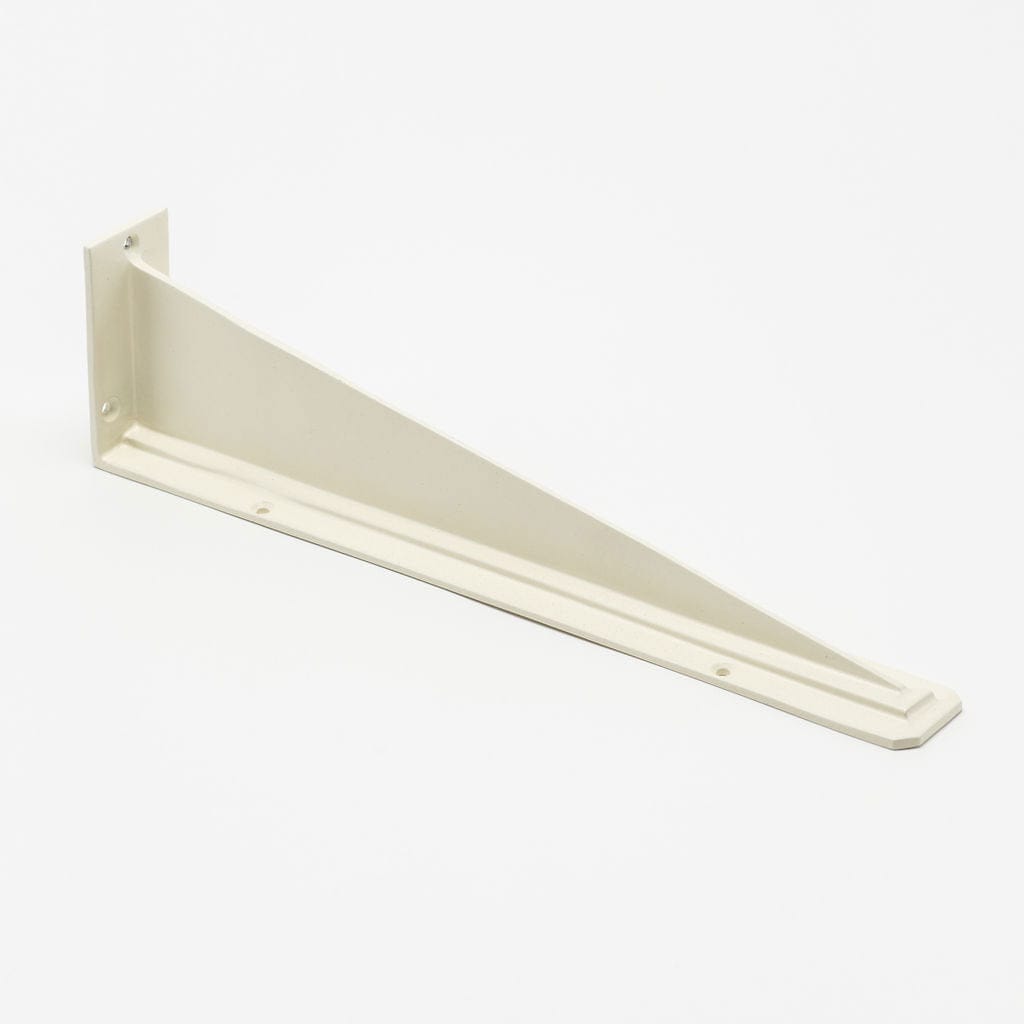
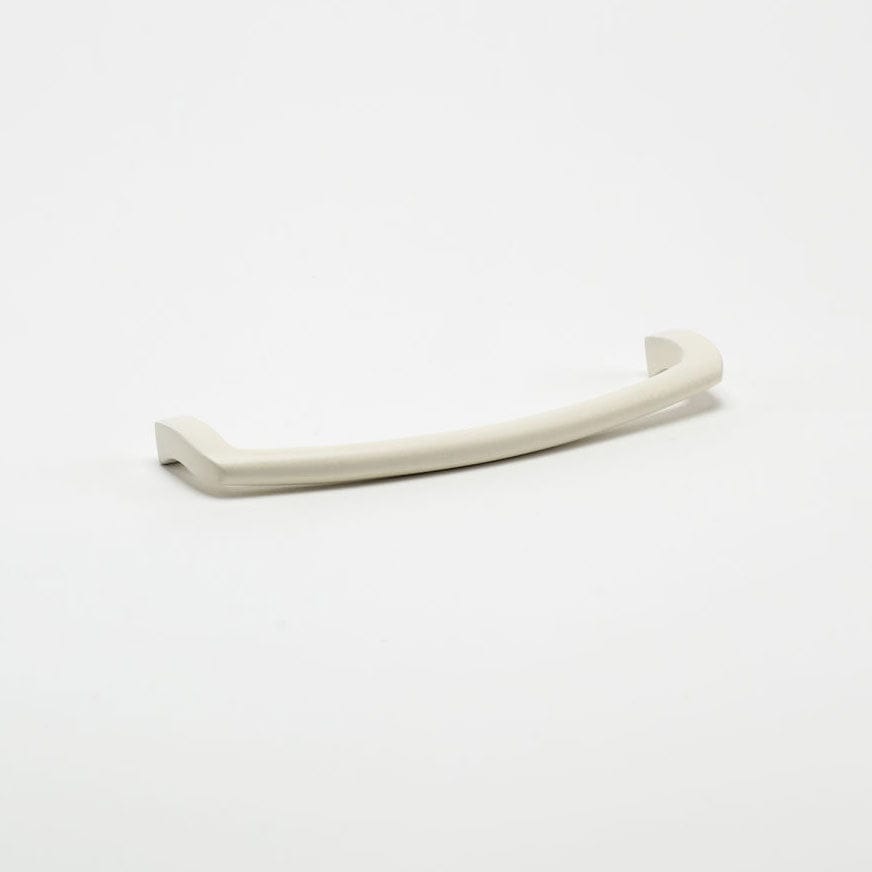
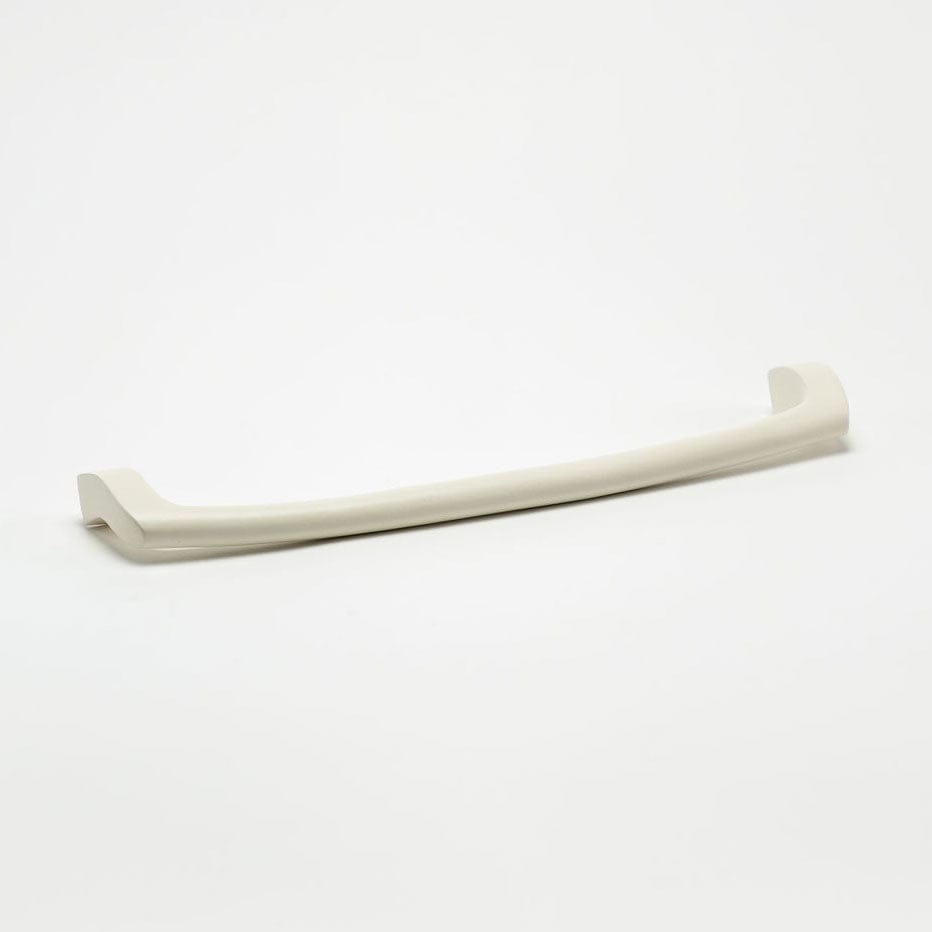
Available in 2 sizes
How Designers Are Using This
See how leading interior designers and architects are incorporating our hardware into their most stunning projects
Installation
Installing your hook is simple and takes just minutes. Follow our step-by-step guide for secure, design-forward results.
 Step 1
Determine Placement
Determine the desired hardware location. Apply painter’s tape and mark your exact drill point on top. This protects the wall while helping ensure precise placement.
 Step 2
Drill the Opening
For drywall, drill a 3/8" pilot hole and insert the wall anchor, tapping until flush. For studs, install directly using the provided screws.
 Step 3
Install Mounting Brackets
Secure the mounting bracket using the provided screws, installing into anchors or studs. Tighten with a screwdriver until snug.
 Step 4
Attach the Hook
Slide the hook onto the mounting bracket and tighten the set screws using the included Allen key until fully secure.


