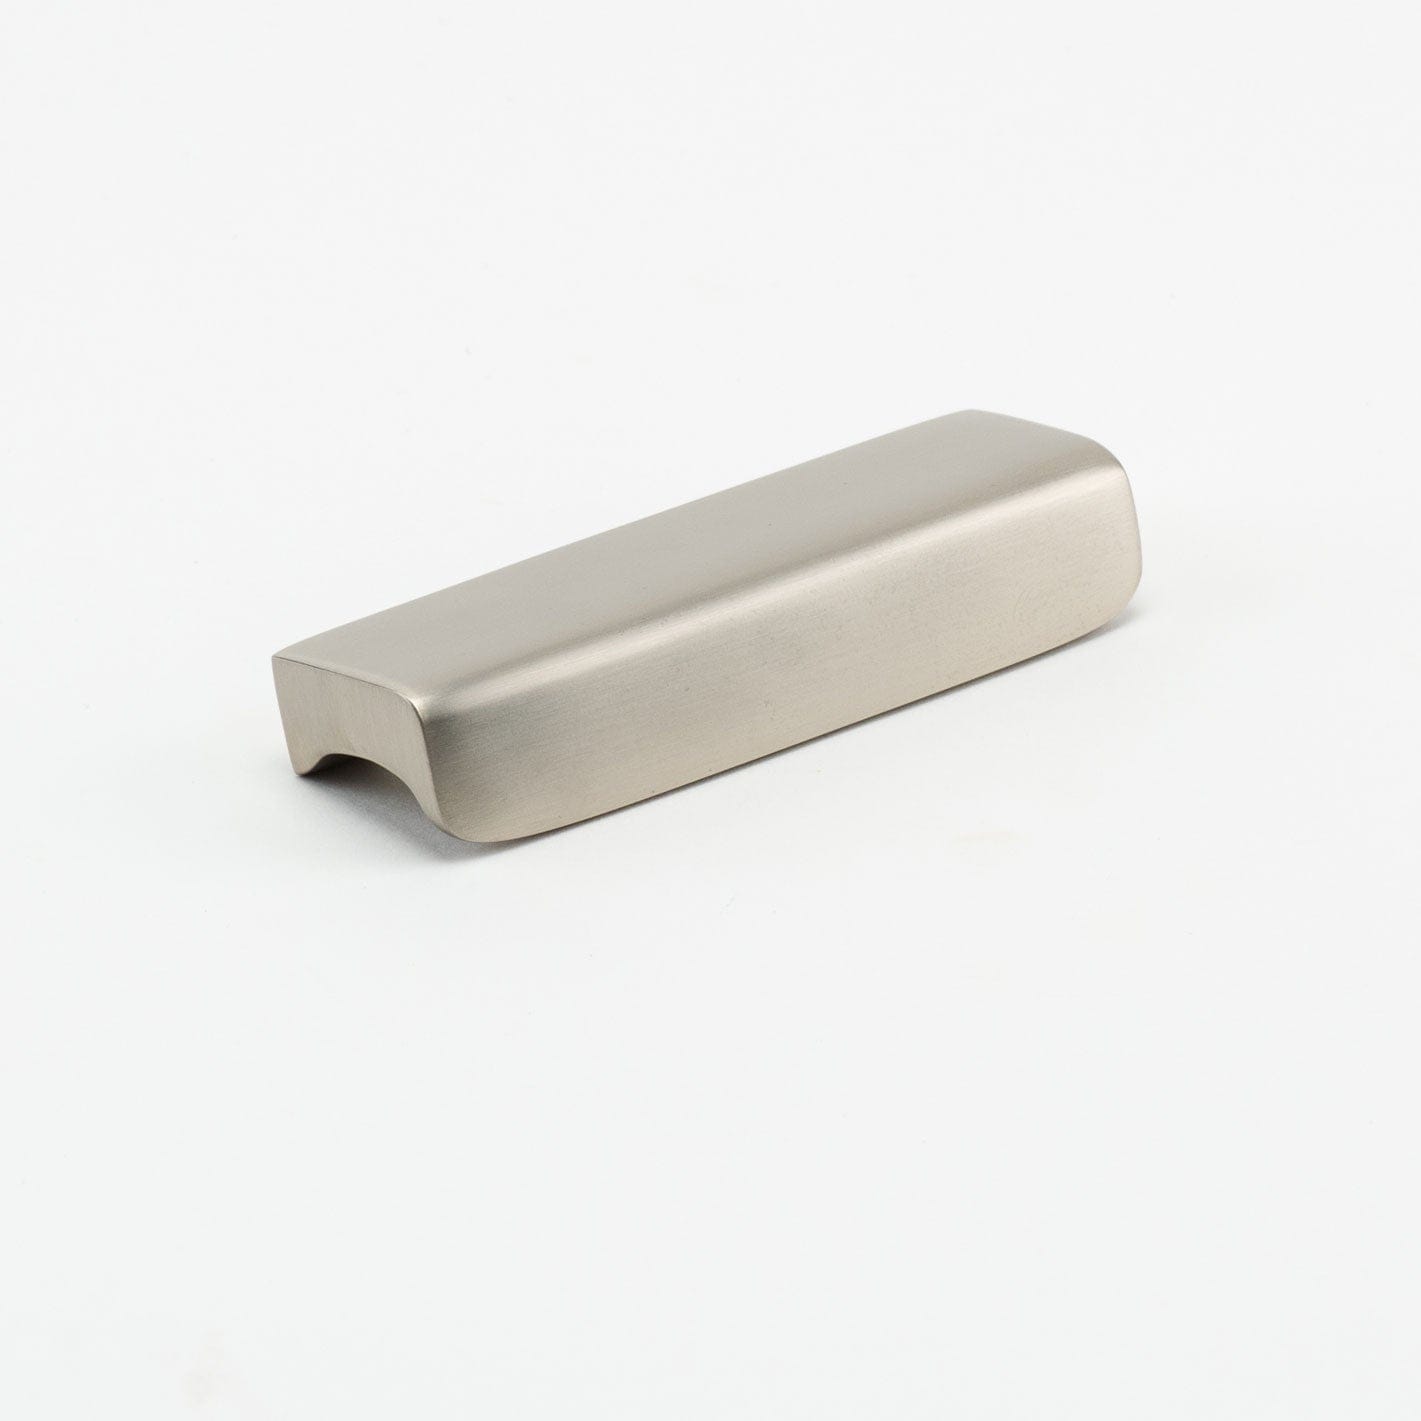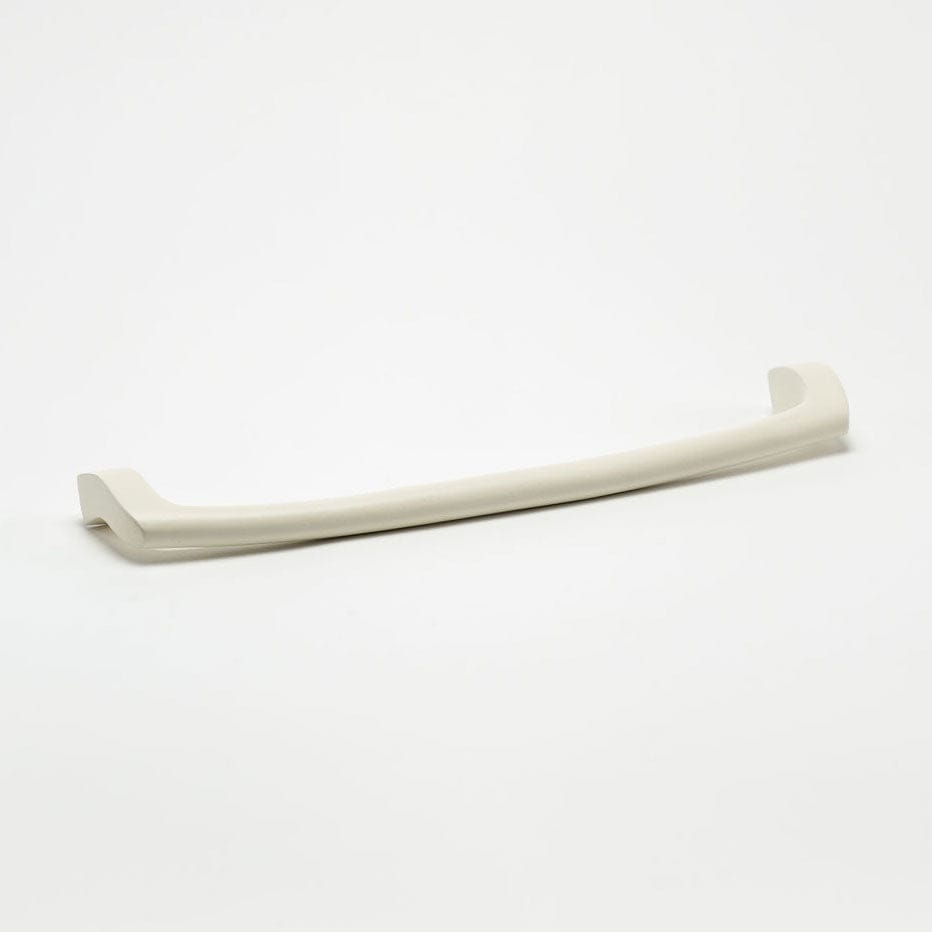



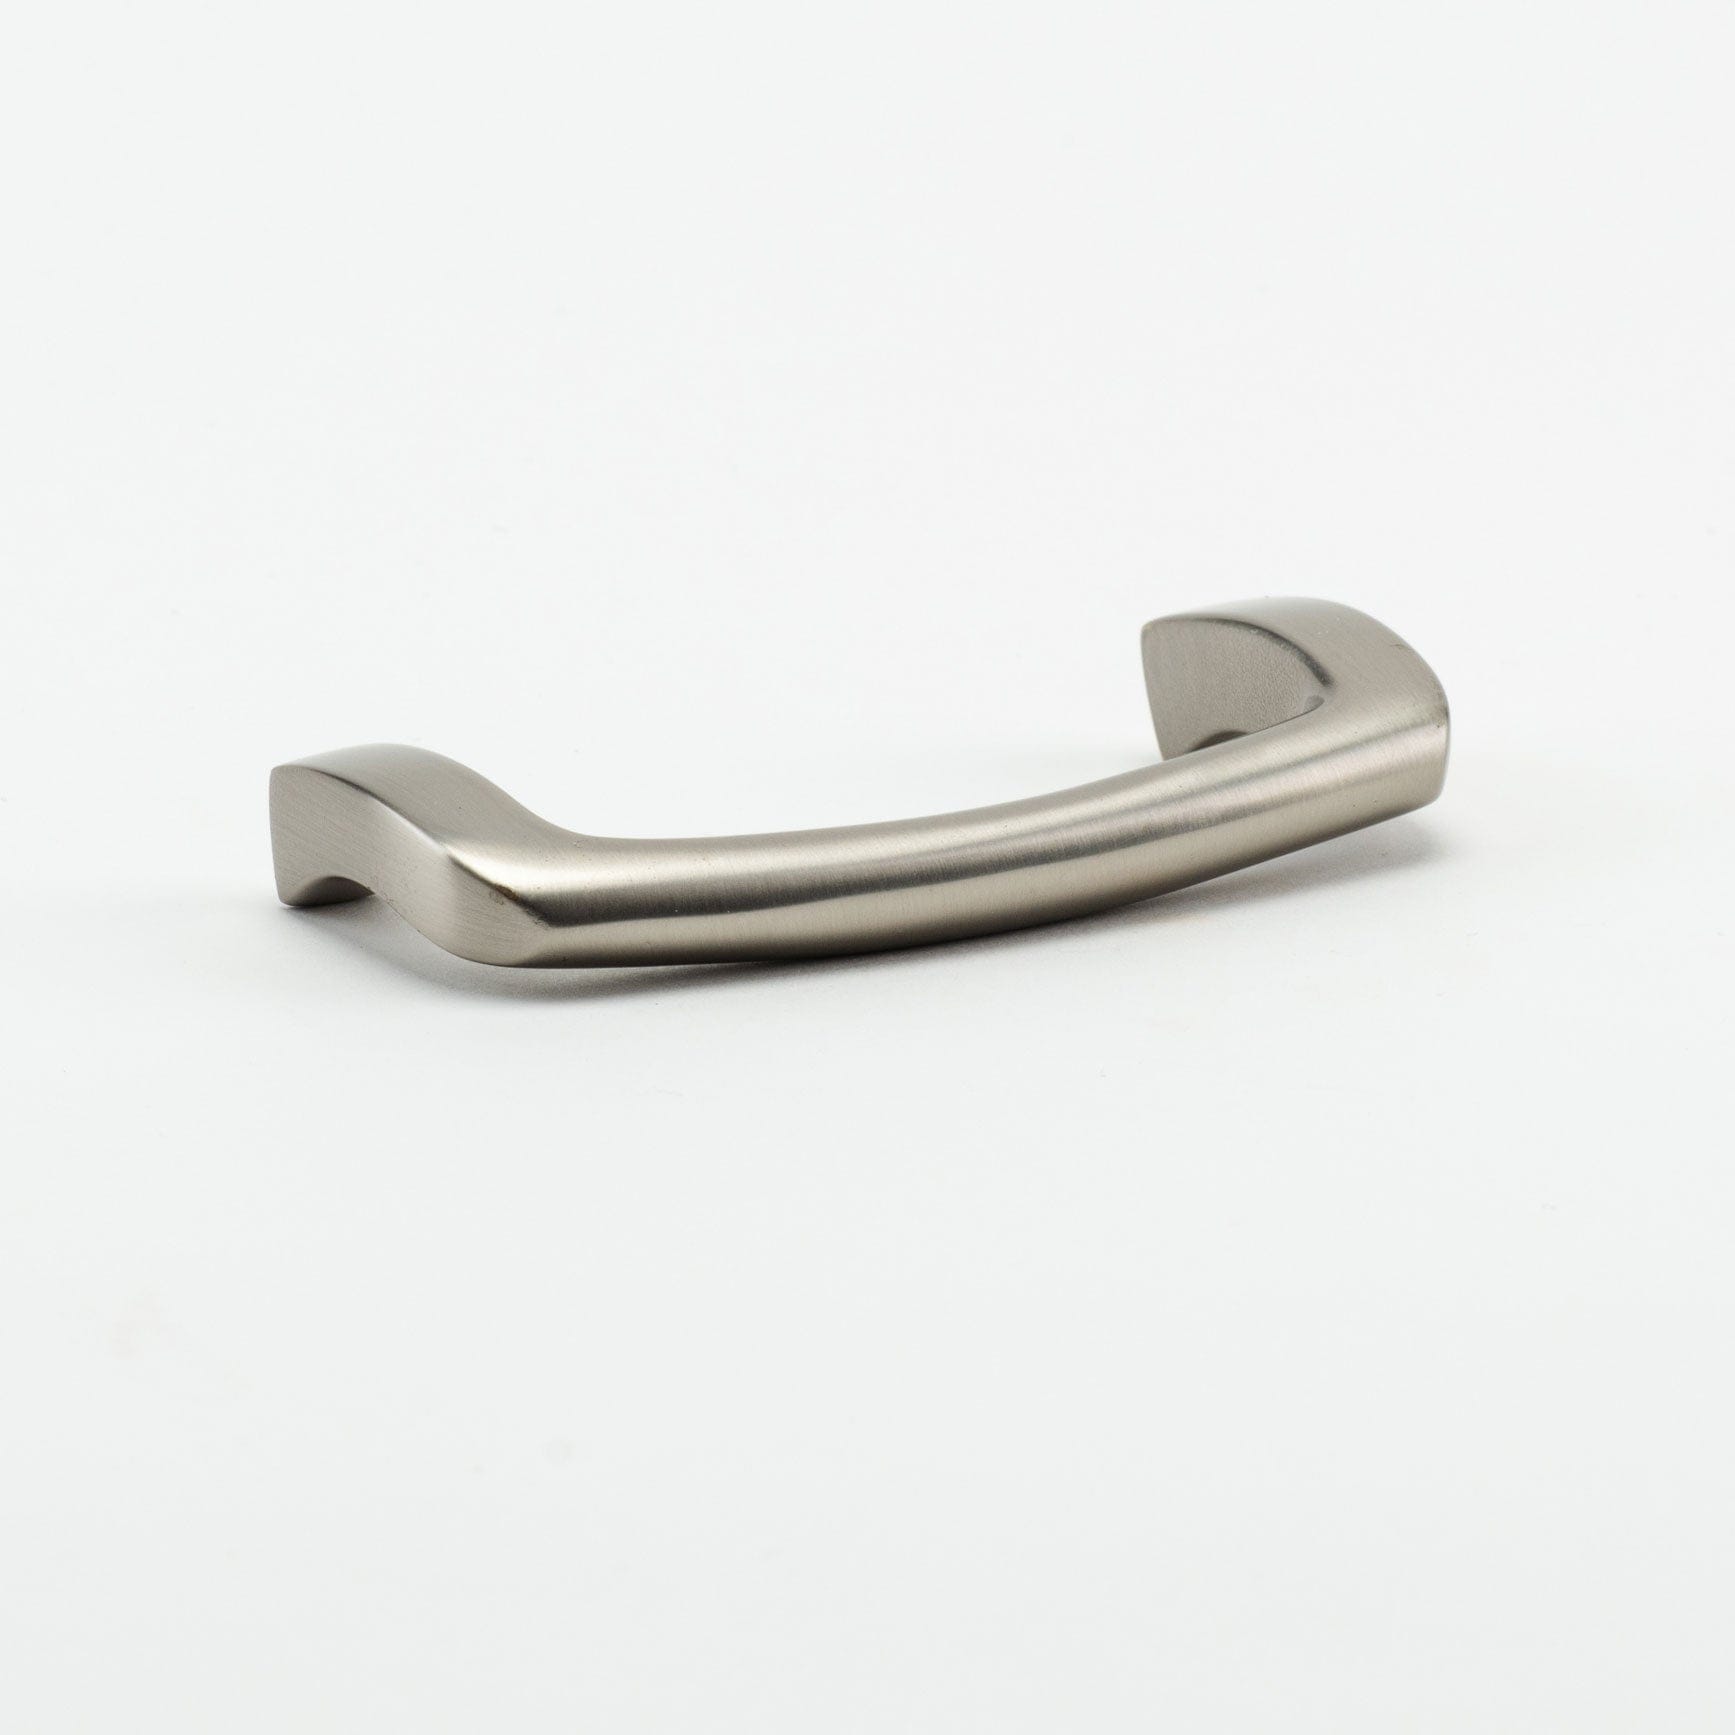
Otto Pull (4" c-c) - Stainless Steel

Archive
Sale price$14.75 Regular price$59
SKU: FL1121SS
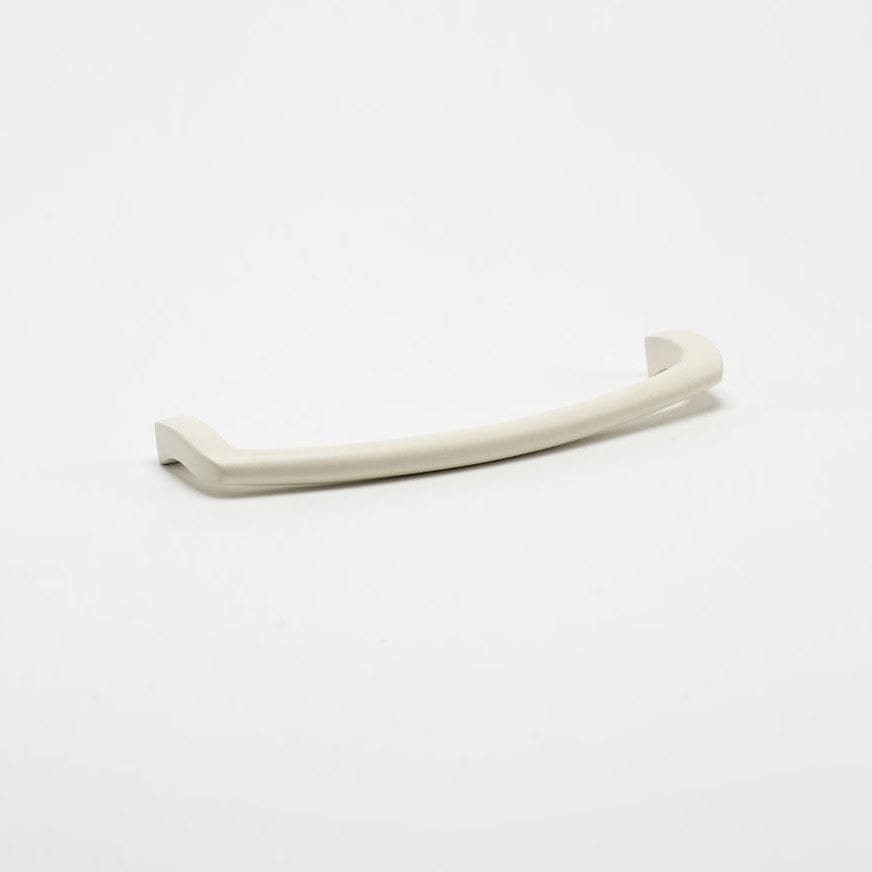
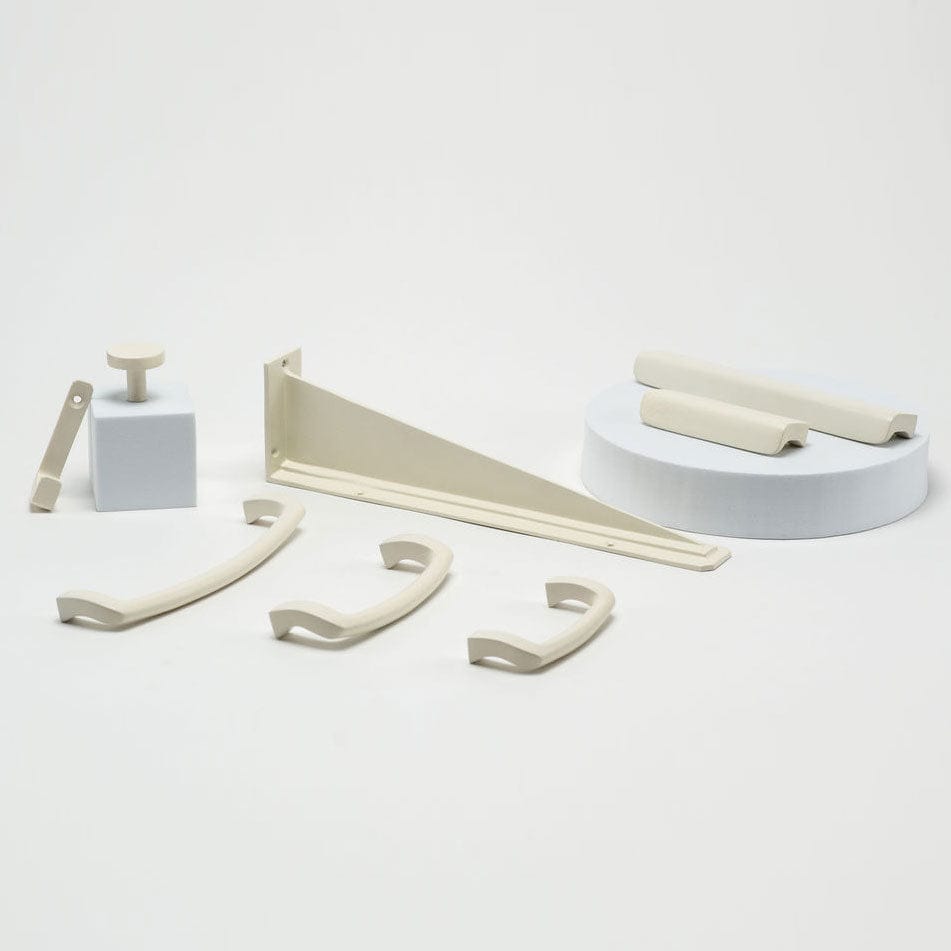
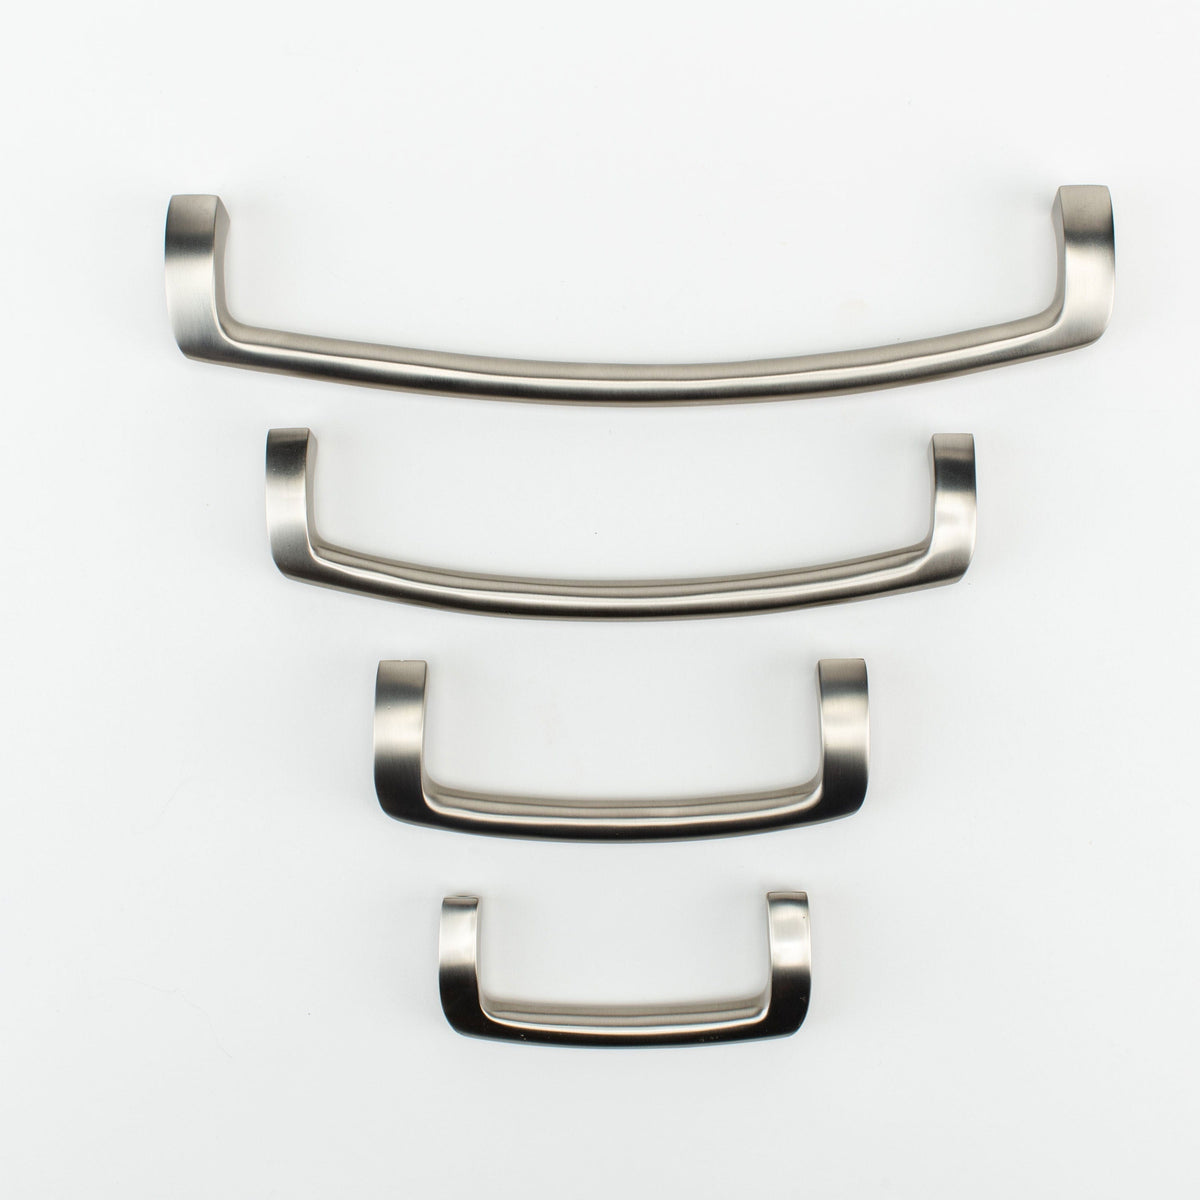
A modern pull designed with feel, form, and function in mind, the Otto Pull effortlessly works across an array of interiors. Available in Stainless Steel and Cream Powder Coated, the sleek pull comes in an array of sizes.
62 in stock

Member of the Trade? Log in Here

No Returns
Estimated ship date: 11/20/26
5 year warranty

Product Details

Projection:
1.33"
Center to Center:
4" C-C
Care:
To preserve the beauty and integrity of your solid brass hardware, dust regularly with a soft, lint-free or microfiber cloth. When needed, clean gently with a slightly damp microfiber cloth and mild soap, then dry thoroughly. This product features a lacquered finish protected by a clear coating that helps preserve its original color and appearance. Do not use brass cleaner, metal polish, abrasive materials, scouring pads, or harsh chemicals, as these may damage the lacquered surface. Due to the nature of our hand-finishing process, products may have lot-to-lot variations as to color and/or finish.

Shop the Otto Collection Collection
Archive
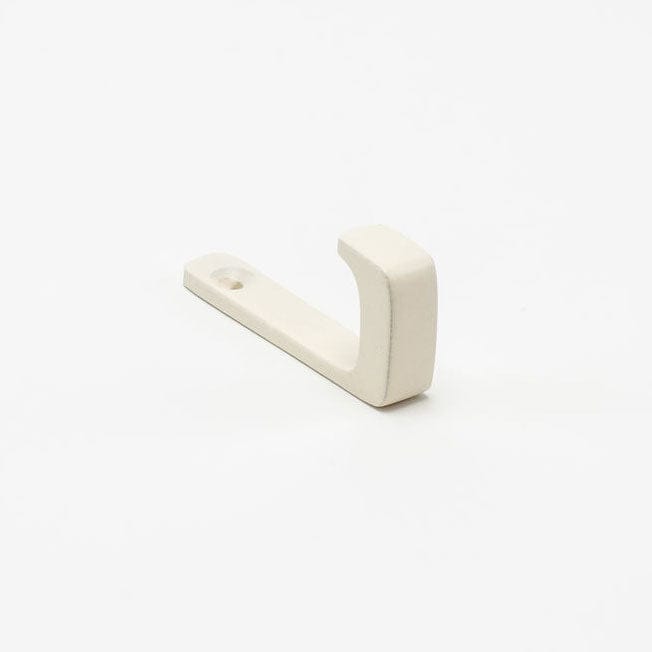
Otto Single Hook - Powder Coated Cream
Otto Single Hook - Powder Coated Cream Sale price$9.75 Regular price$39
Archive
Otto Waterfall Pull#Size_3" c-c#Color_Stainless Steel
Otto Waterfall Pull Sale price$24.75 Regular price$99
Color
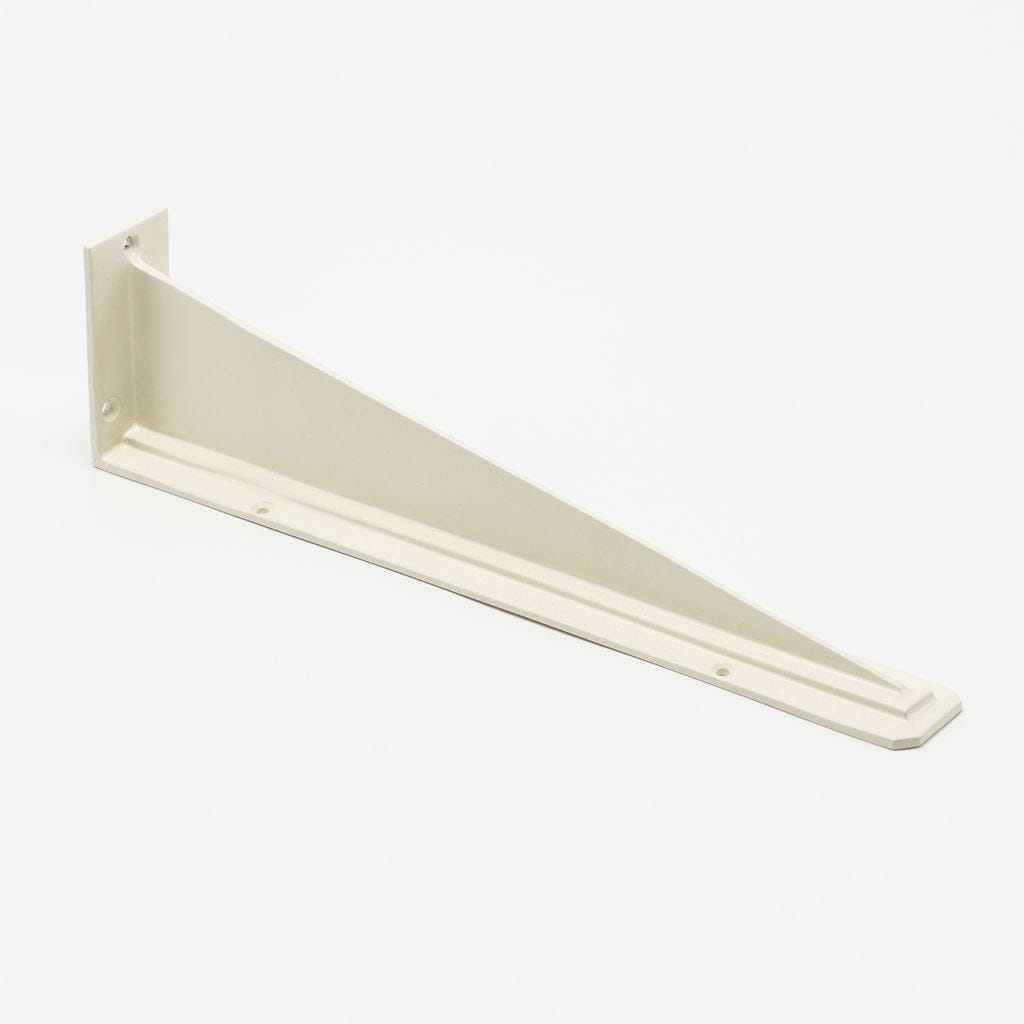
Otto Bracket#Color_Cream
Otto Bracket Sale price$29.75
Color
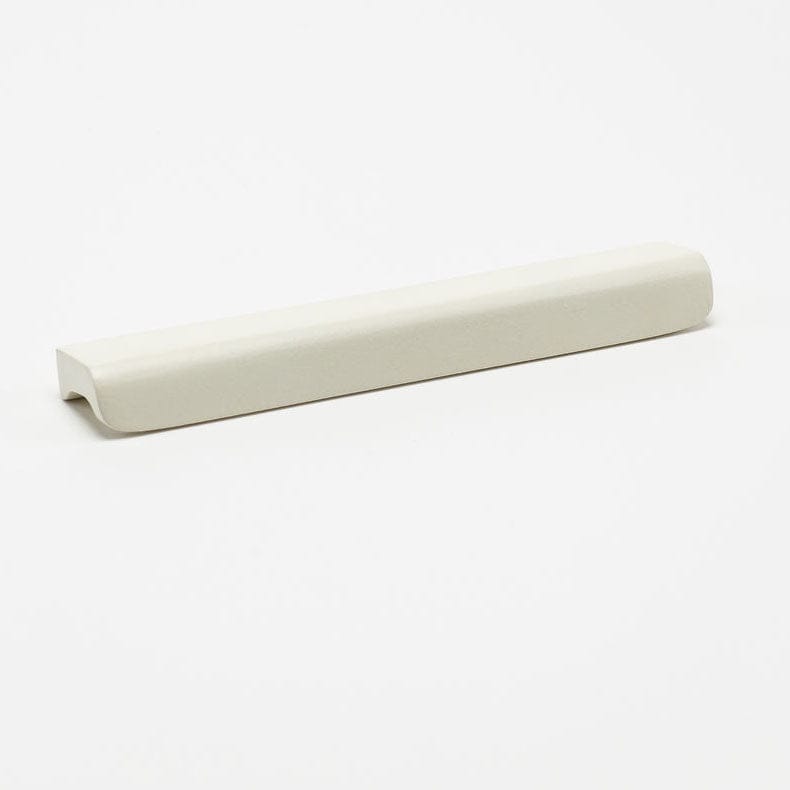
Otto Appliance Pull#Size_12" c-c#Color_Cream
Otto Appliance Pull Sale price$39.75- Sale price$49.75
Color

Available in 2 sizes

Otto Knob#Color_Cream
Otto Knob Sale price$7.25
Color

Installation

Installing your pulls is simple and takes just minutes. Follow our step-by-step guide for precise, polished results.

Download Instructions Guide
Determine Placement Step 1

Determine Placement

Using a tape measure, measure your pull’s center-to-center distance to confirm correct hole spacing. Then determine the pull orientation and ideal placement on each door or drawer.

Mark the Surface Step 2

Mark the Surface

Apply painter’s tape and mark both drill points, ensuring the spacing matches your pull’s center-to-center measurement. Use a level to confirm both holes are perfectly aligned.

Drill the Openings Step 3

Drill the Openings

Using a 7/32" drill bit, carefully drill both marked holes. Remove the tape once complete to reveal clean, ready-to-install openings.

Install by Hand Step 4

Install by Hand

Insert the appropriate screw (typically 1” for ¾” thickness) into the drilled holes. Attach the pull, rotate screw until hand-tight, then secure with a screwdriver.