

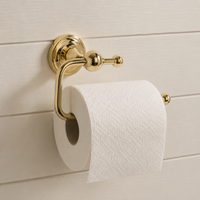

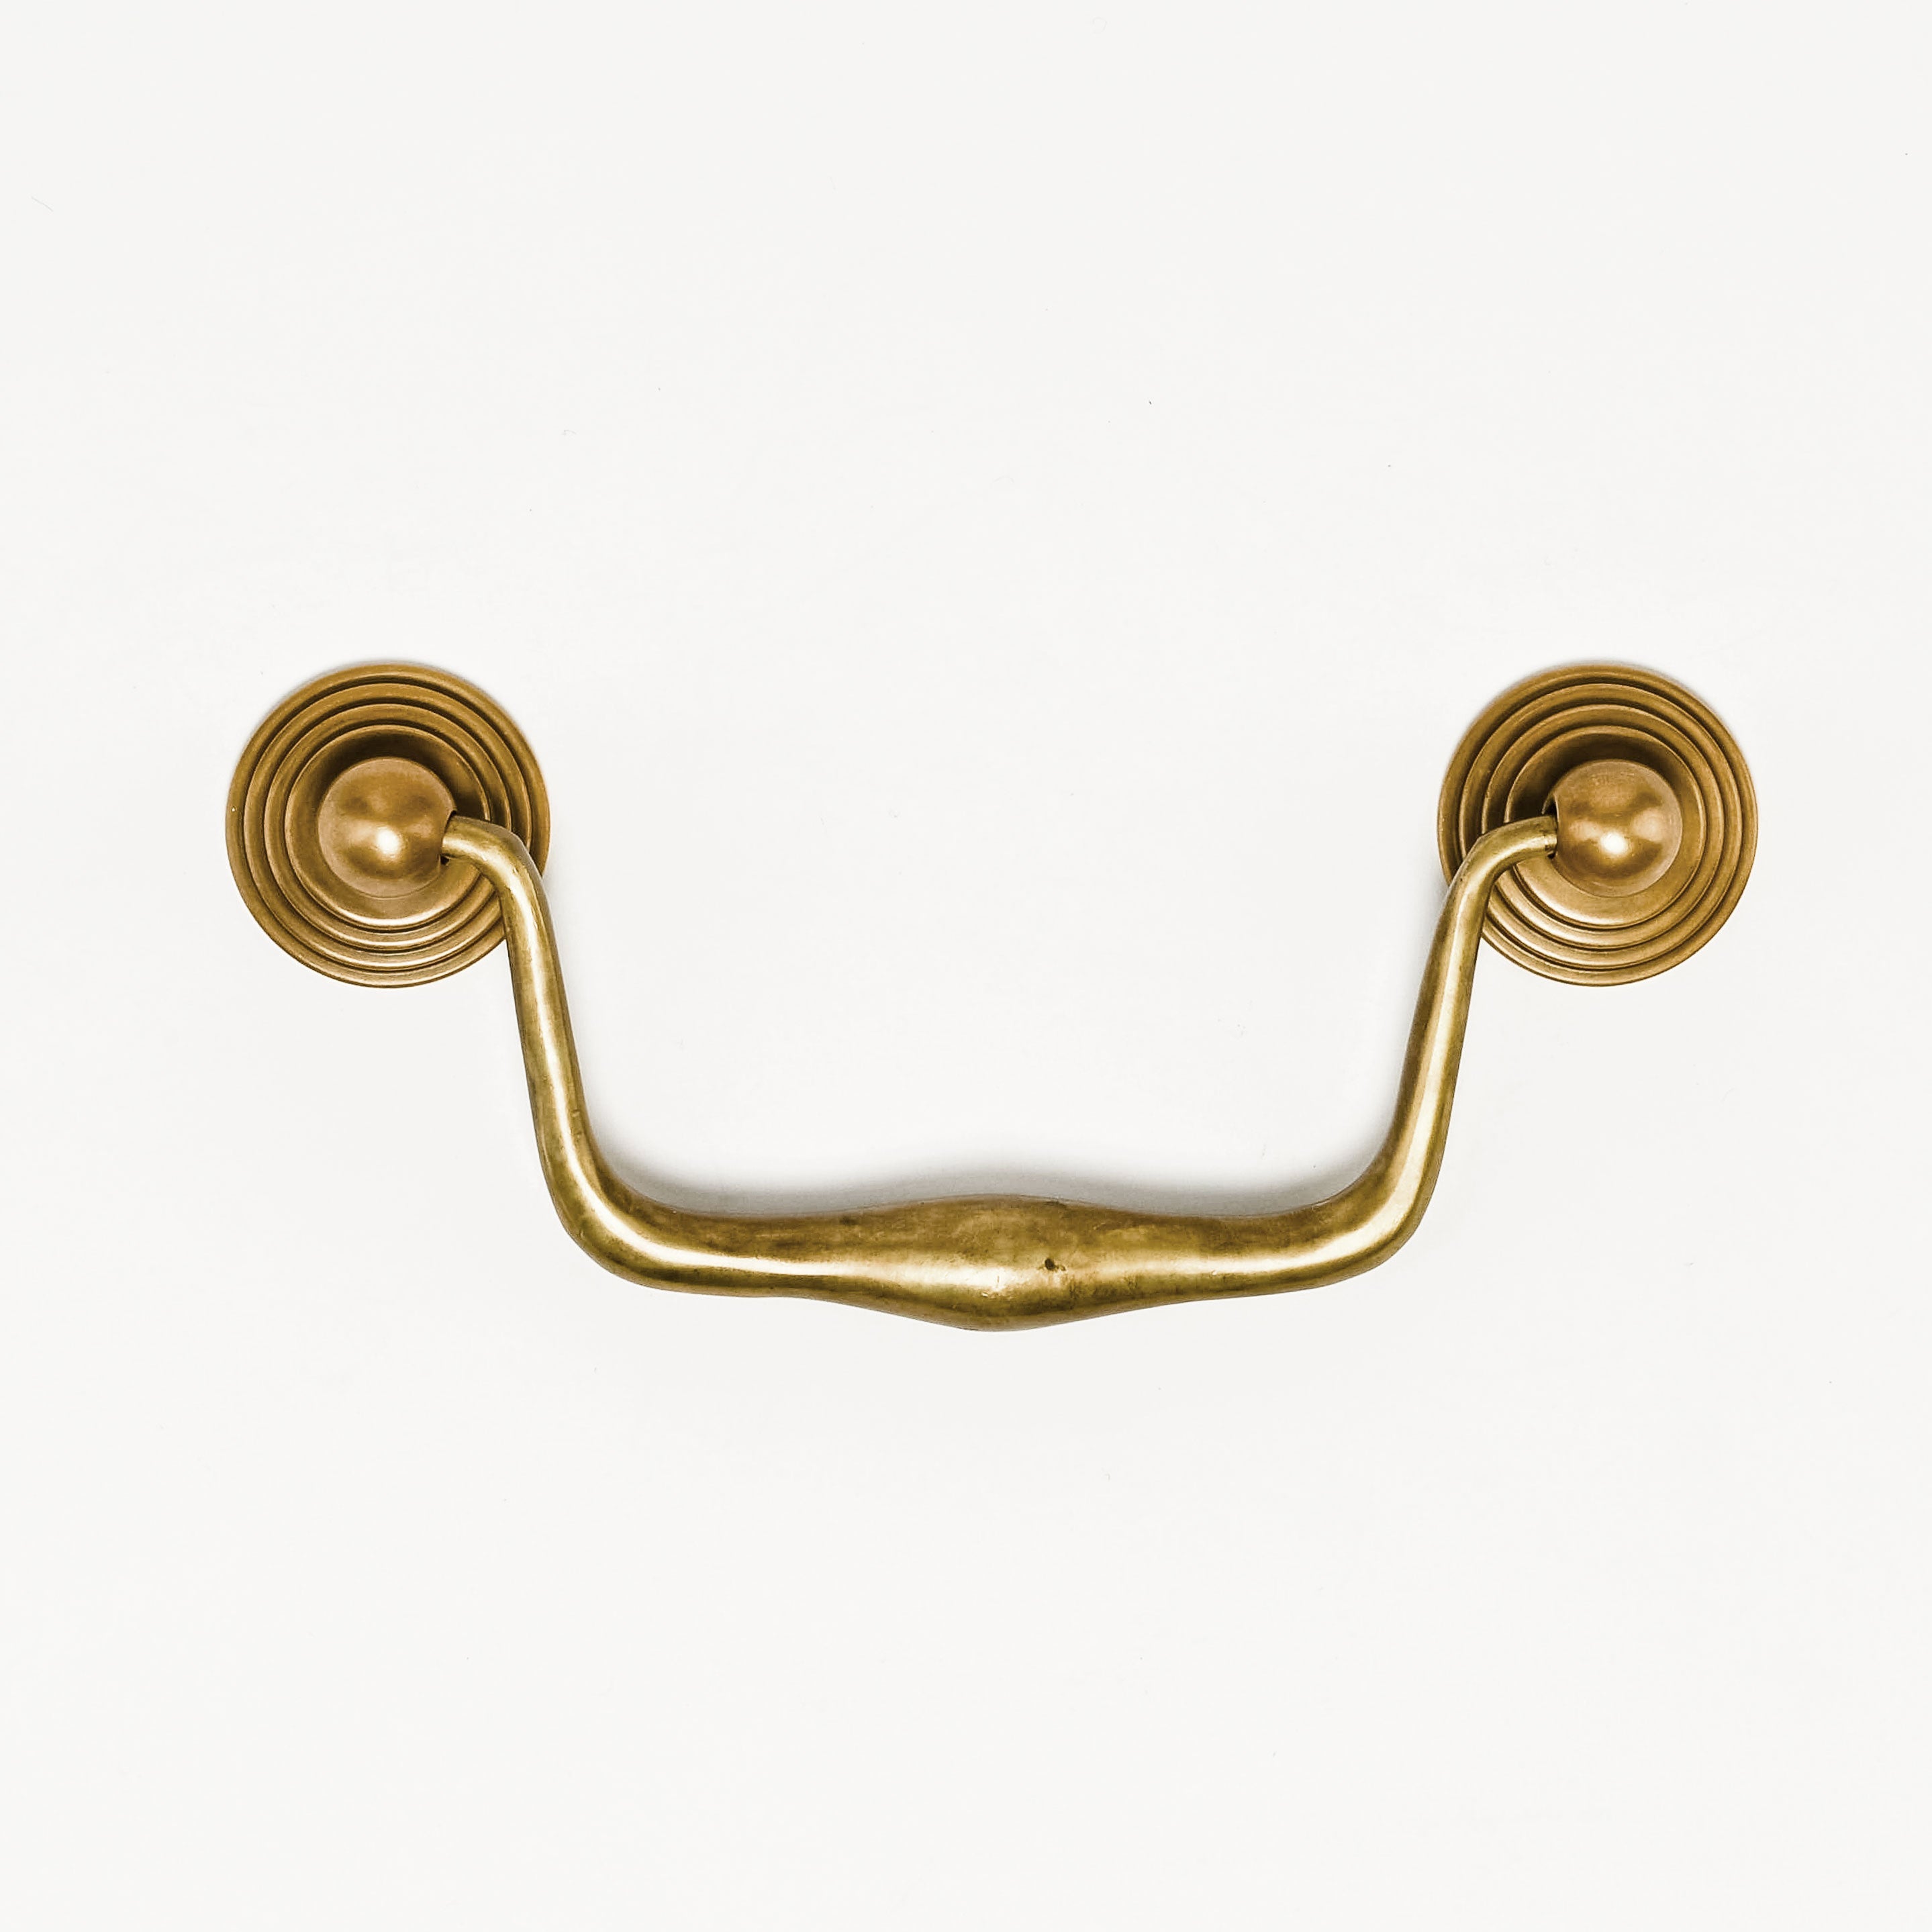
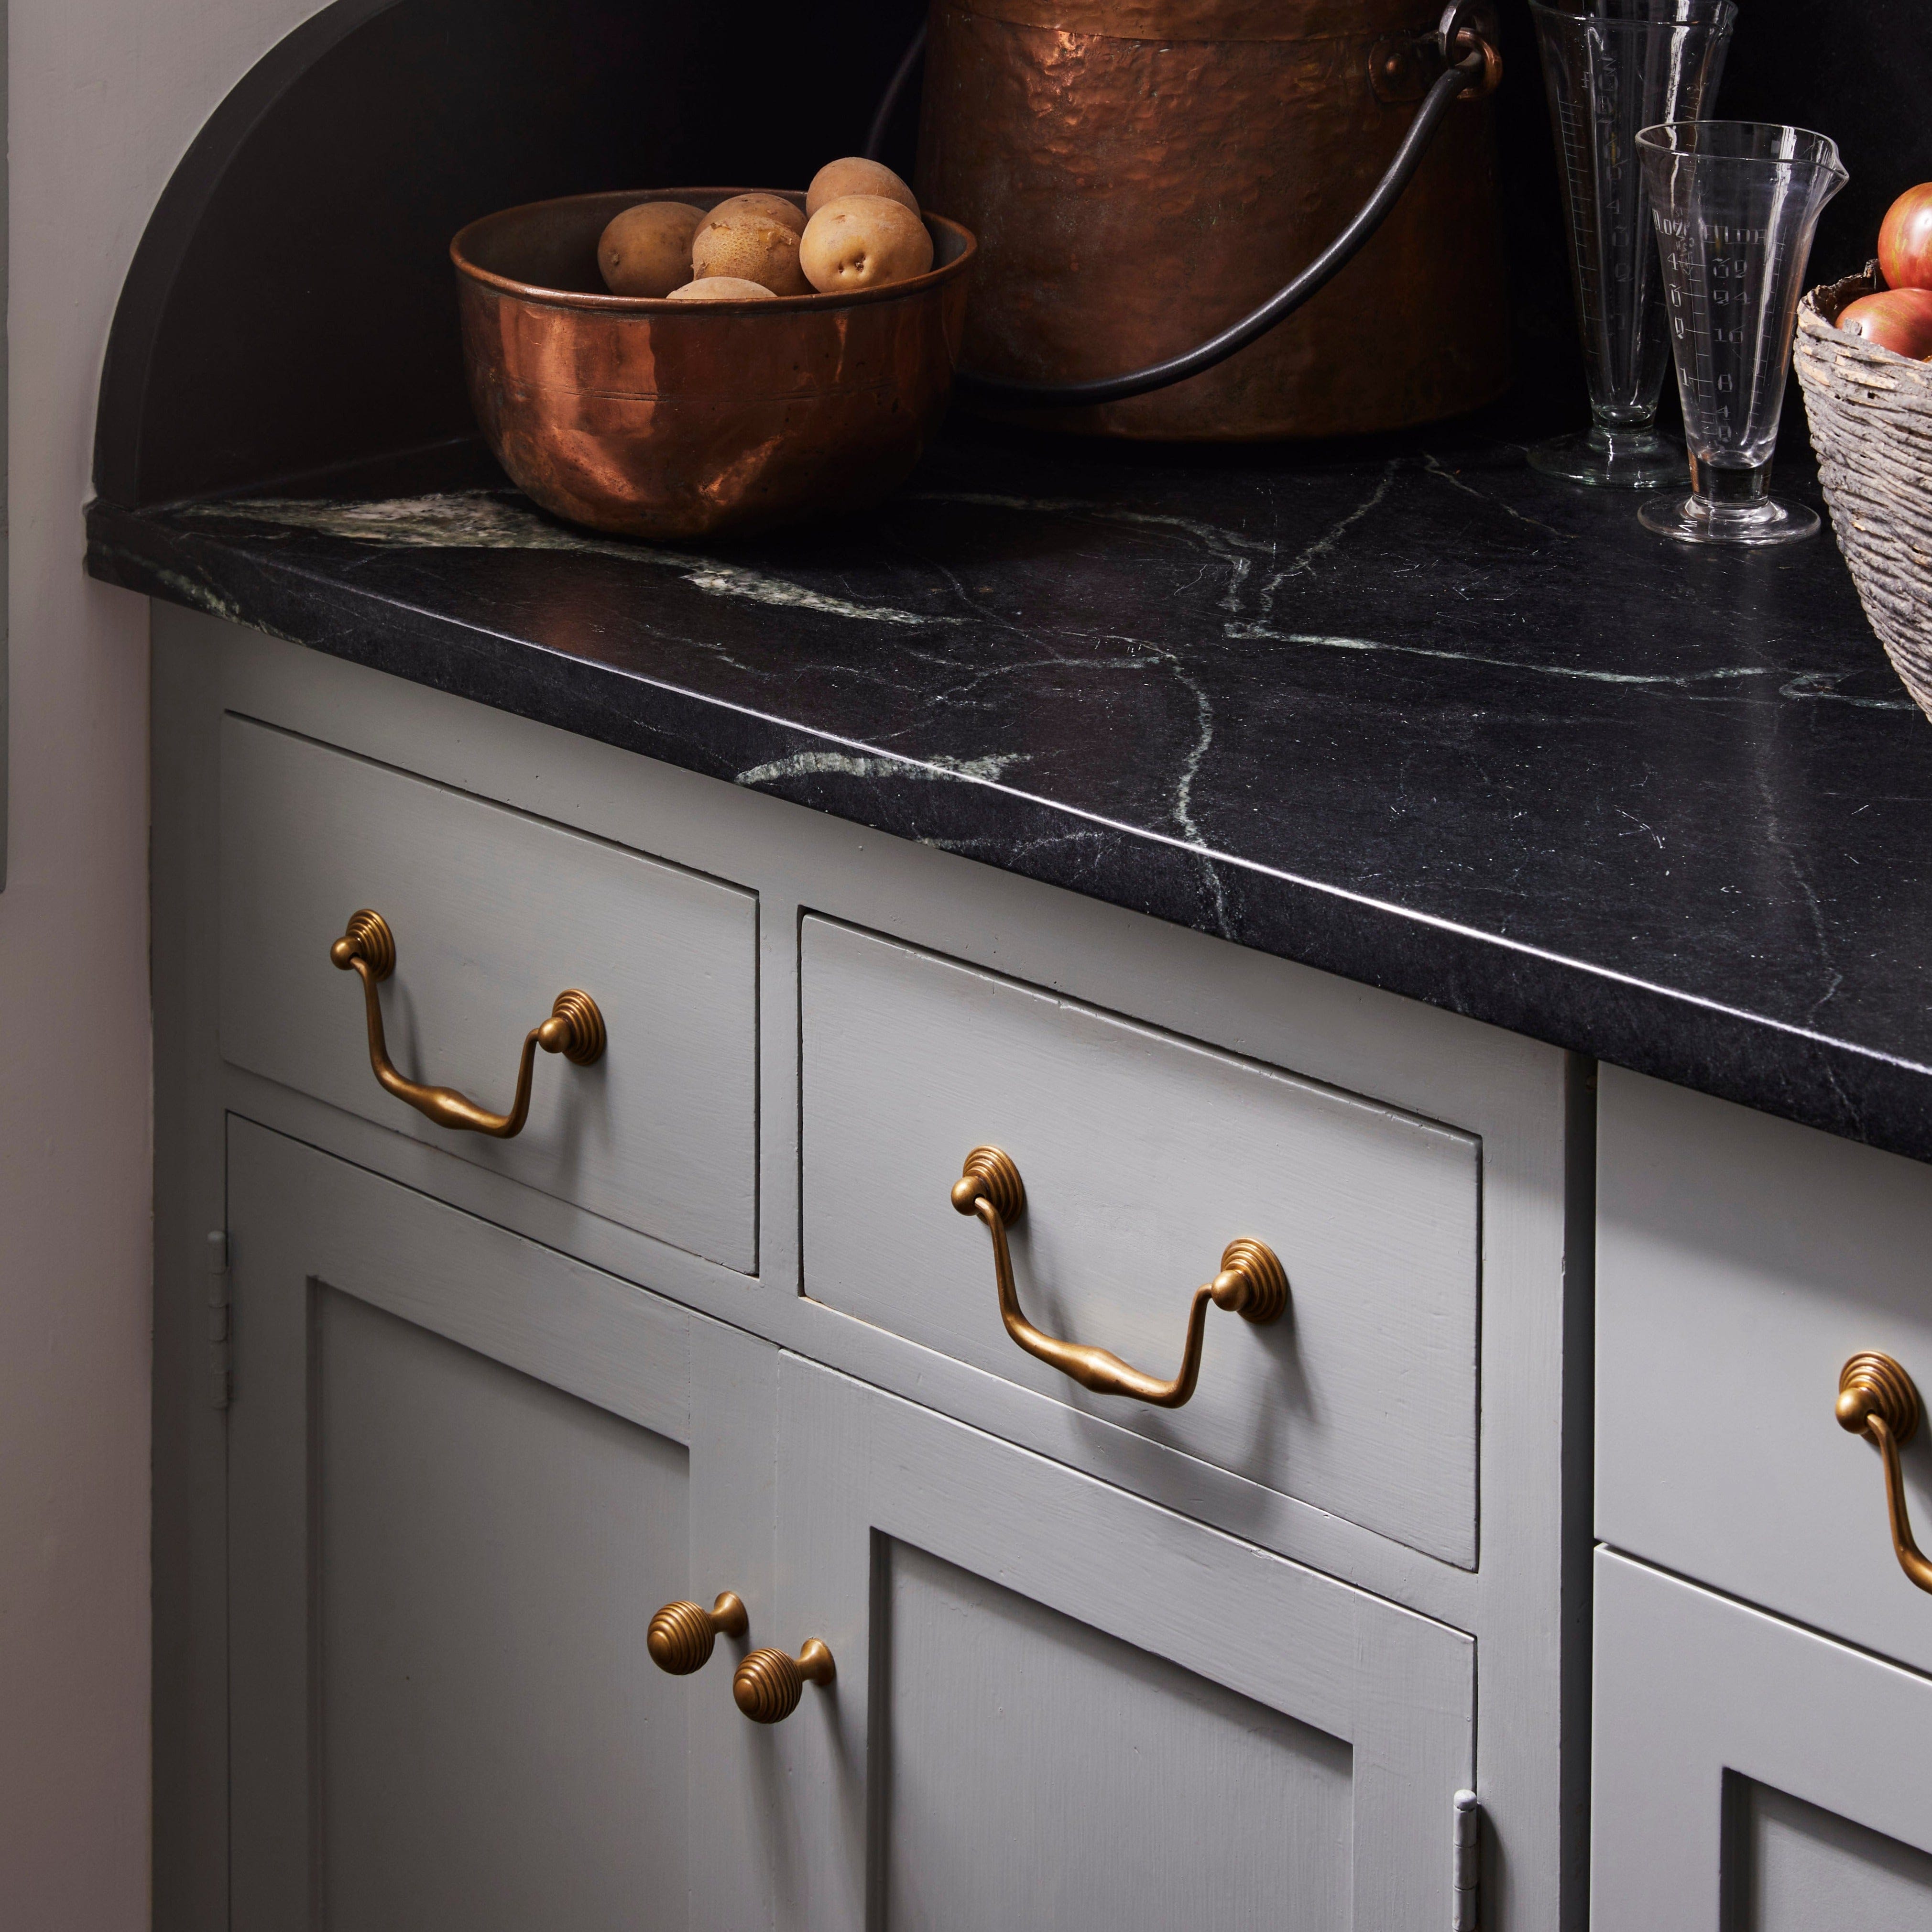
Washington Bail Pull - Burnished Brass
Finish
Burnished Brass
Burnished Brass Polished Brass
 Polished Nickel

Burnished Brass
Darker, aged brass with a hand-applied patina and soft luster. Unlacquered living finish.

Polished Brass
High-shine solid brass with a gold-like sheen. Lacquered finish.

Polished Nickel
Bright nickel-plated brass with a silver-like sheen. Lacquered finish.
Member of the Trade? Log in Here
 Free Exchanges
 5 year warranty
Product Details
Projection:
0.75"
Center to Center:
4.7" C-C
Care:
Dimensions
5.86" L 2.46" W x 0.75" Projection
Shipping
Shop the Washington & Alexandria Hardware Collections by Sarah Bartholomew Collection
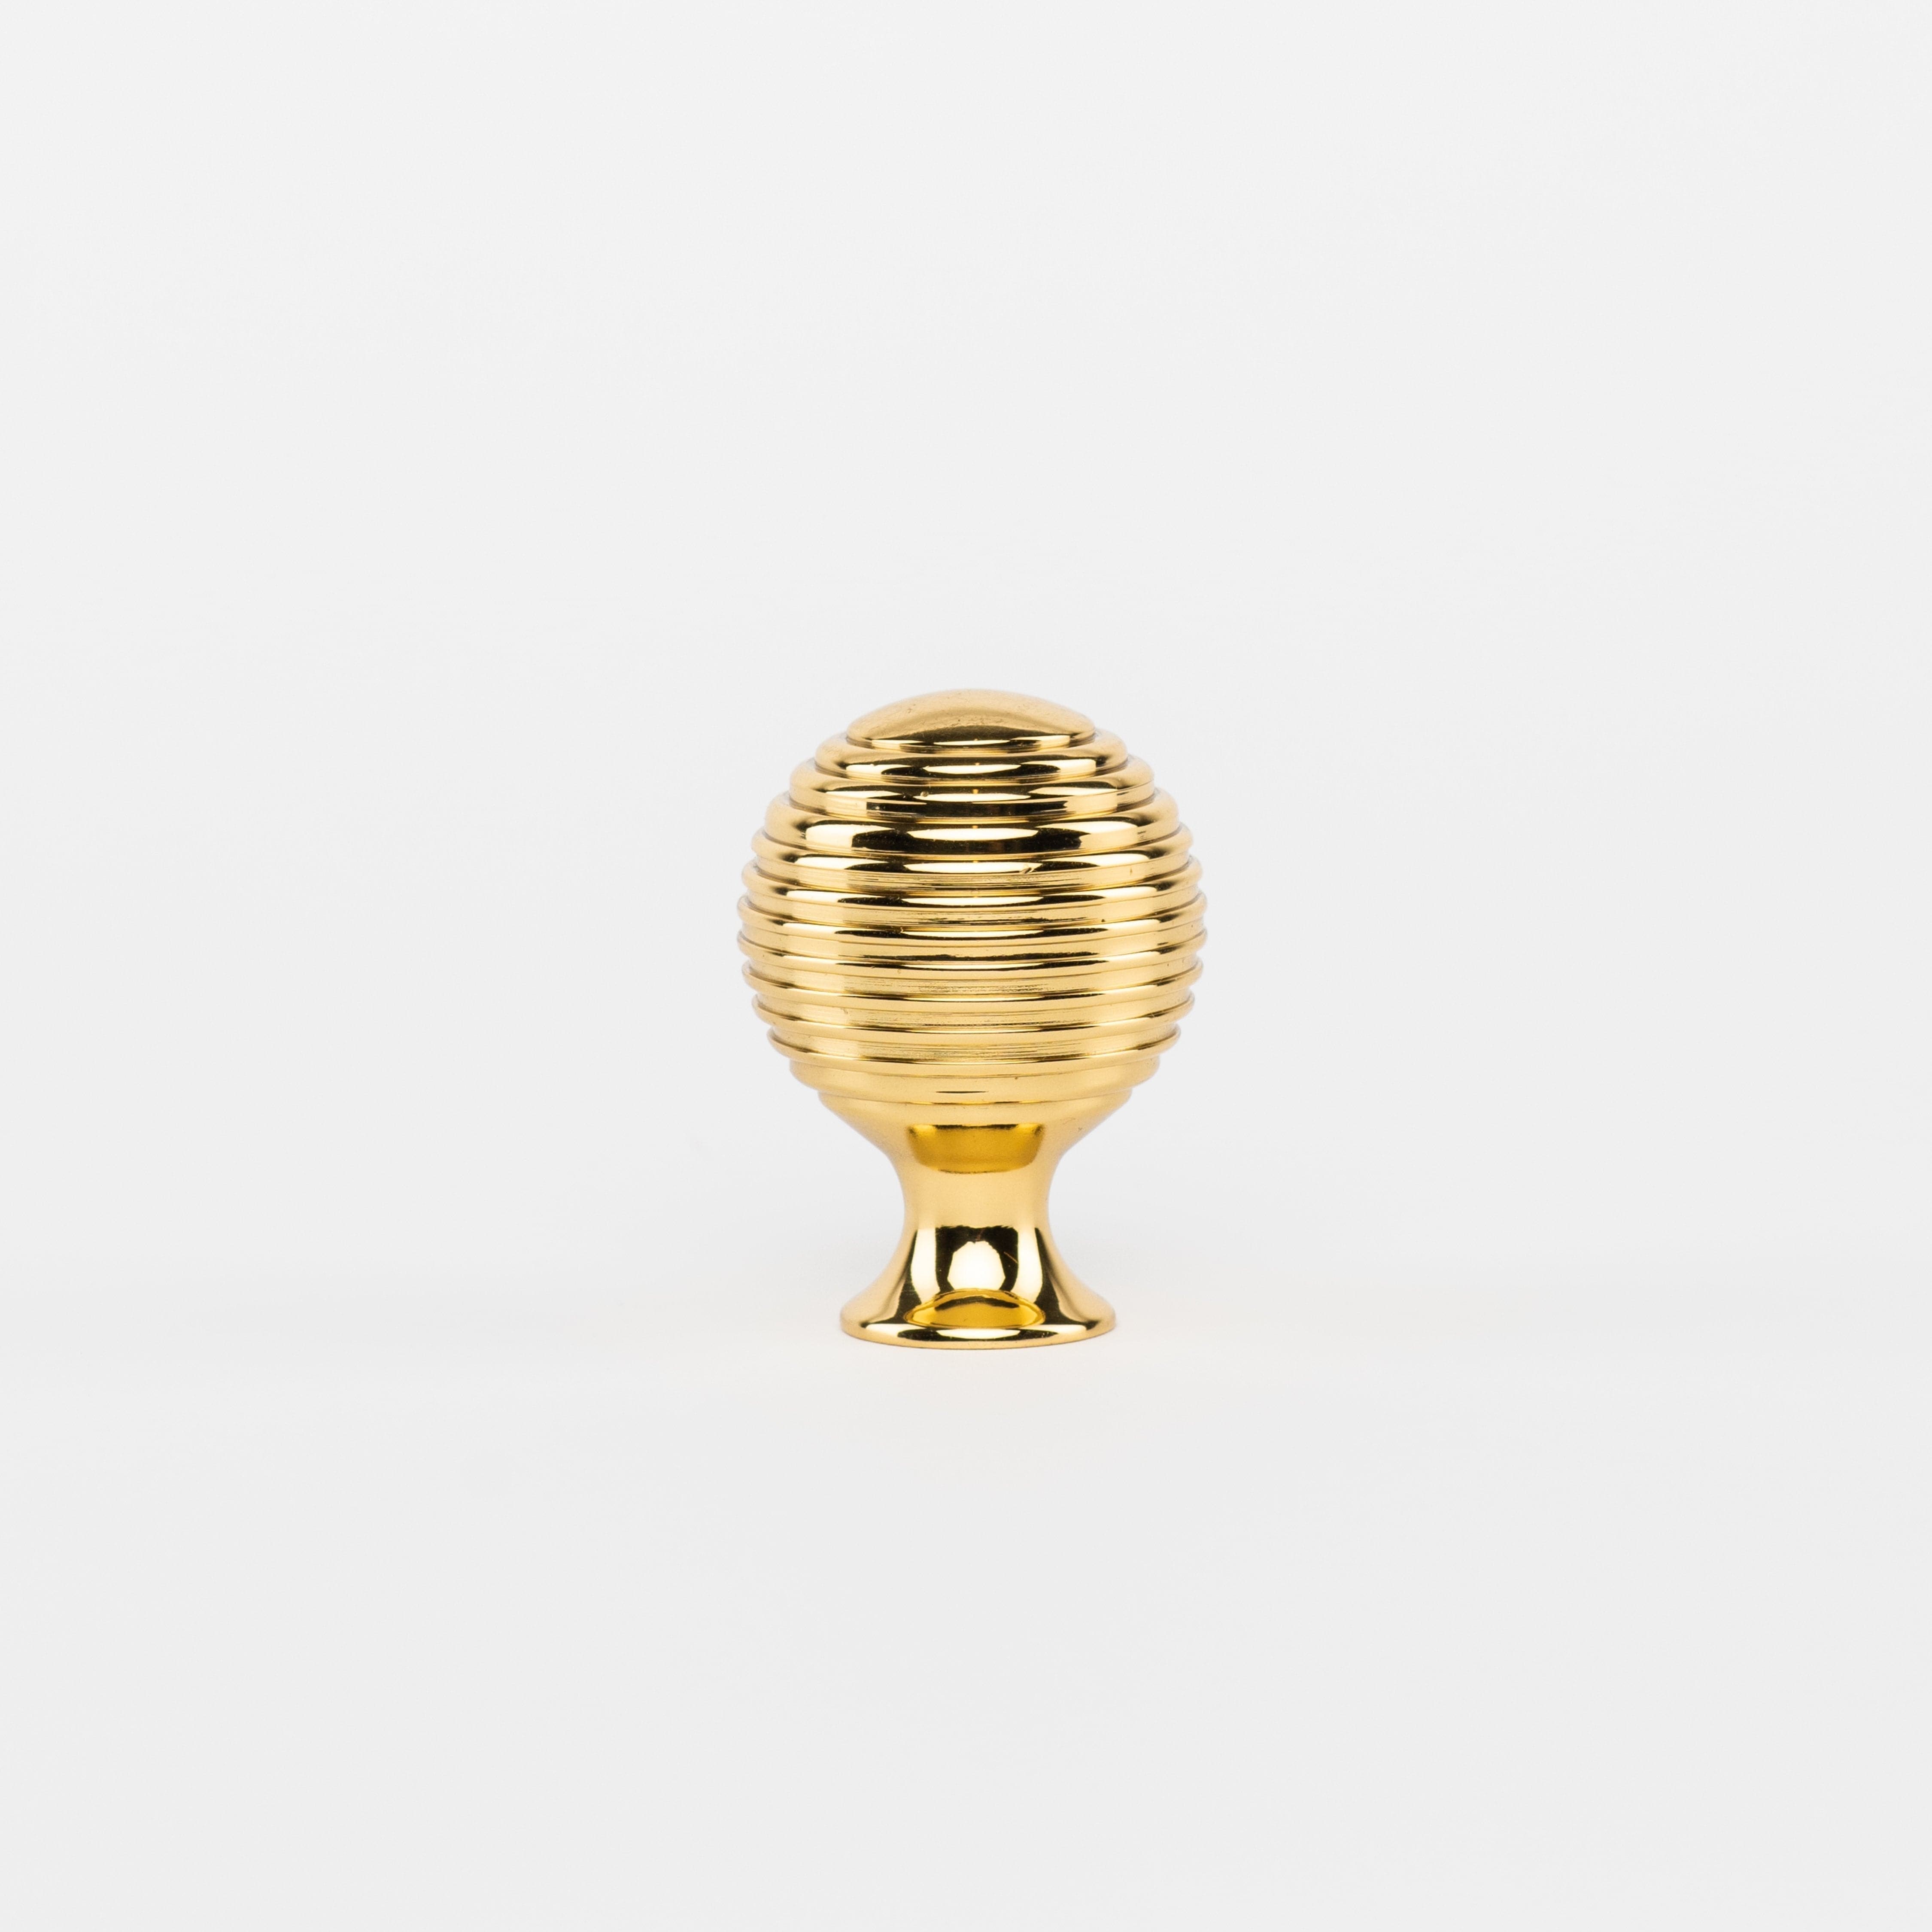
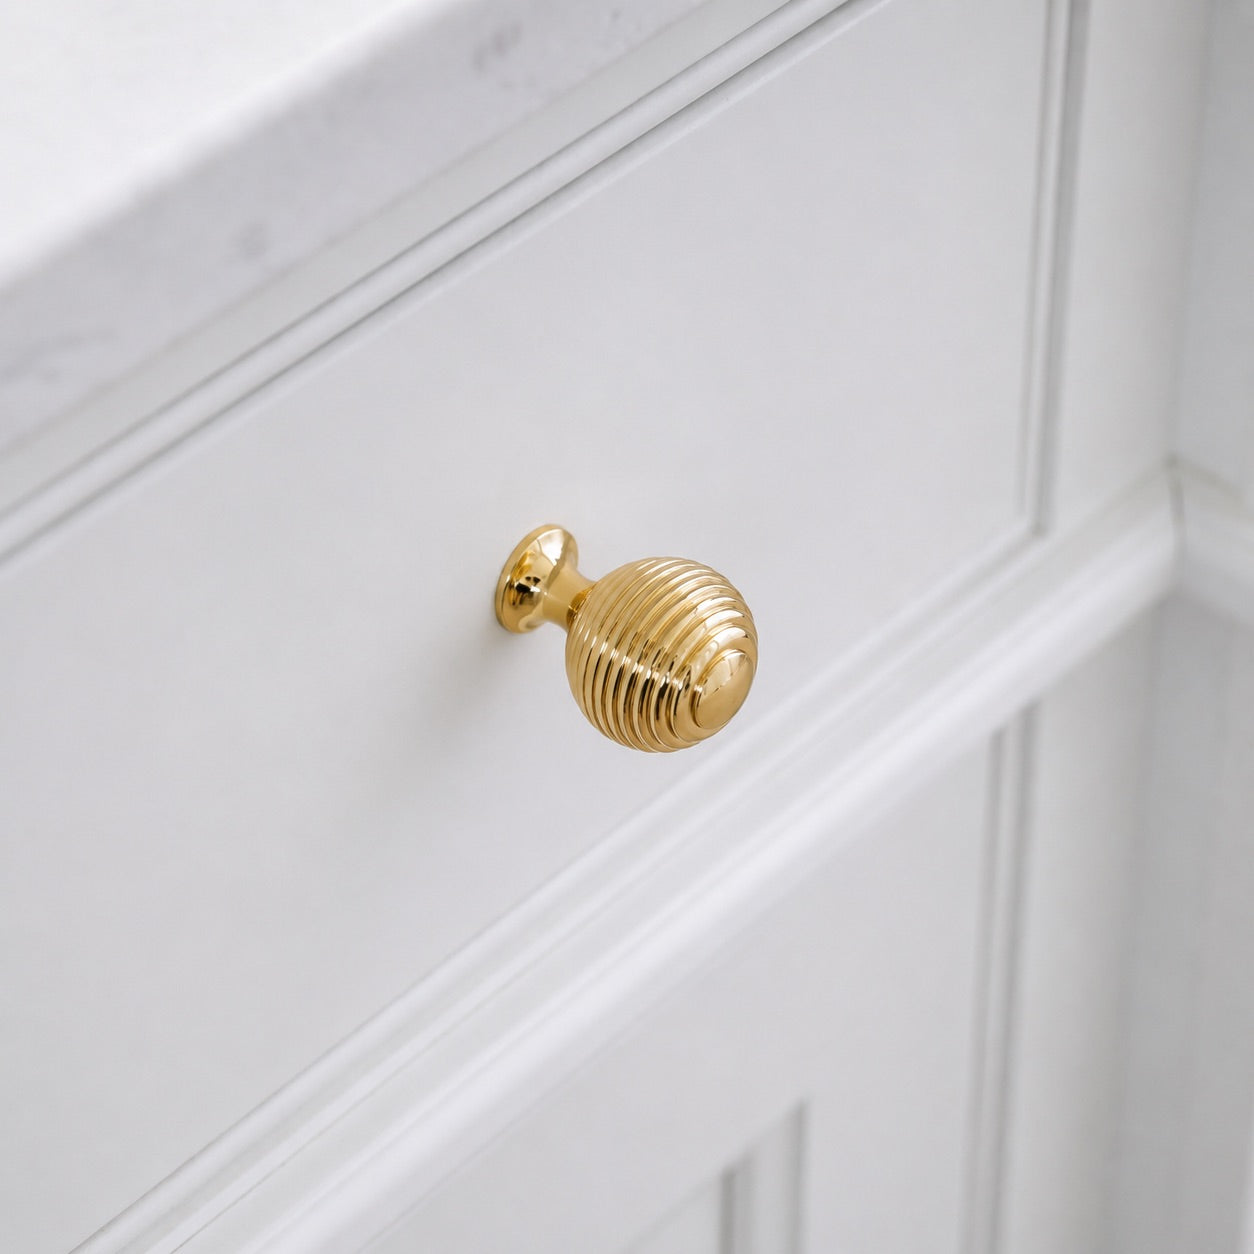
Washington Knob - Polished Brass
Sale price$59 -
Sale price$69
Available in 2 sizes
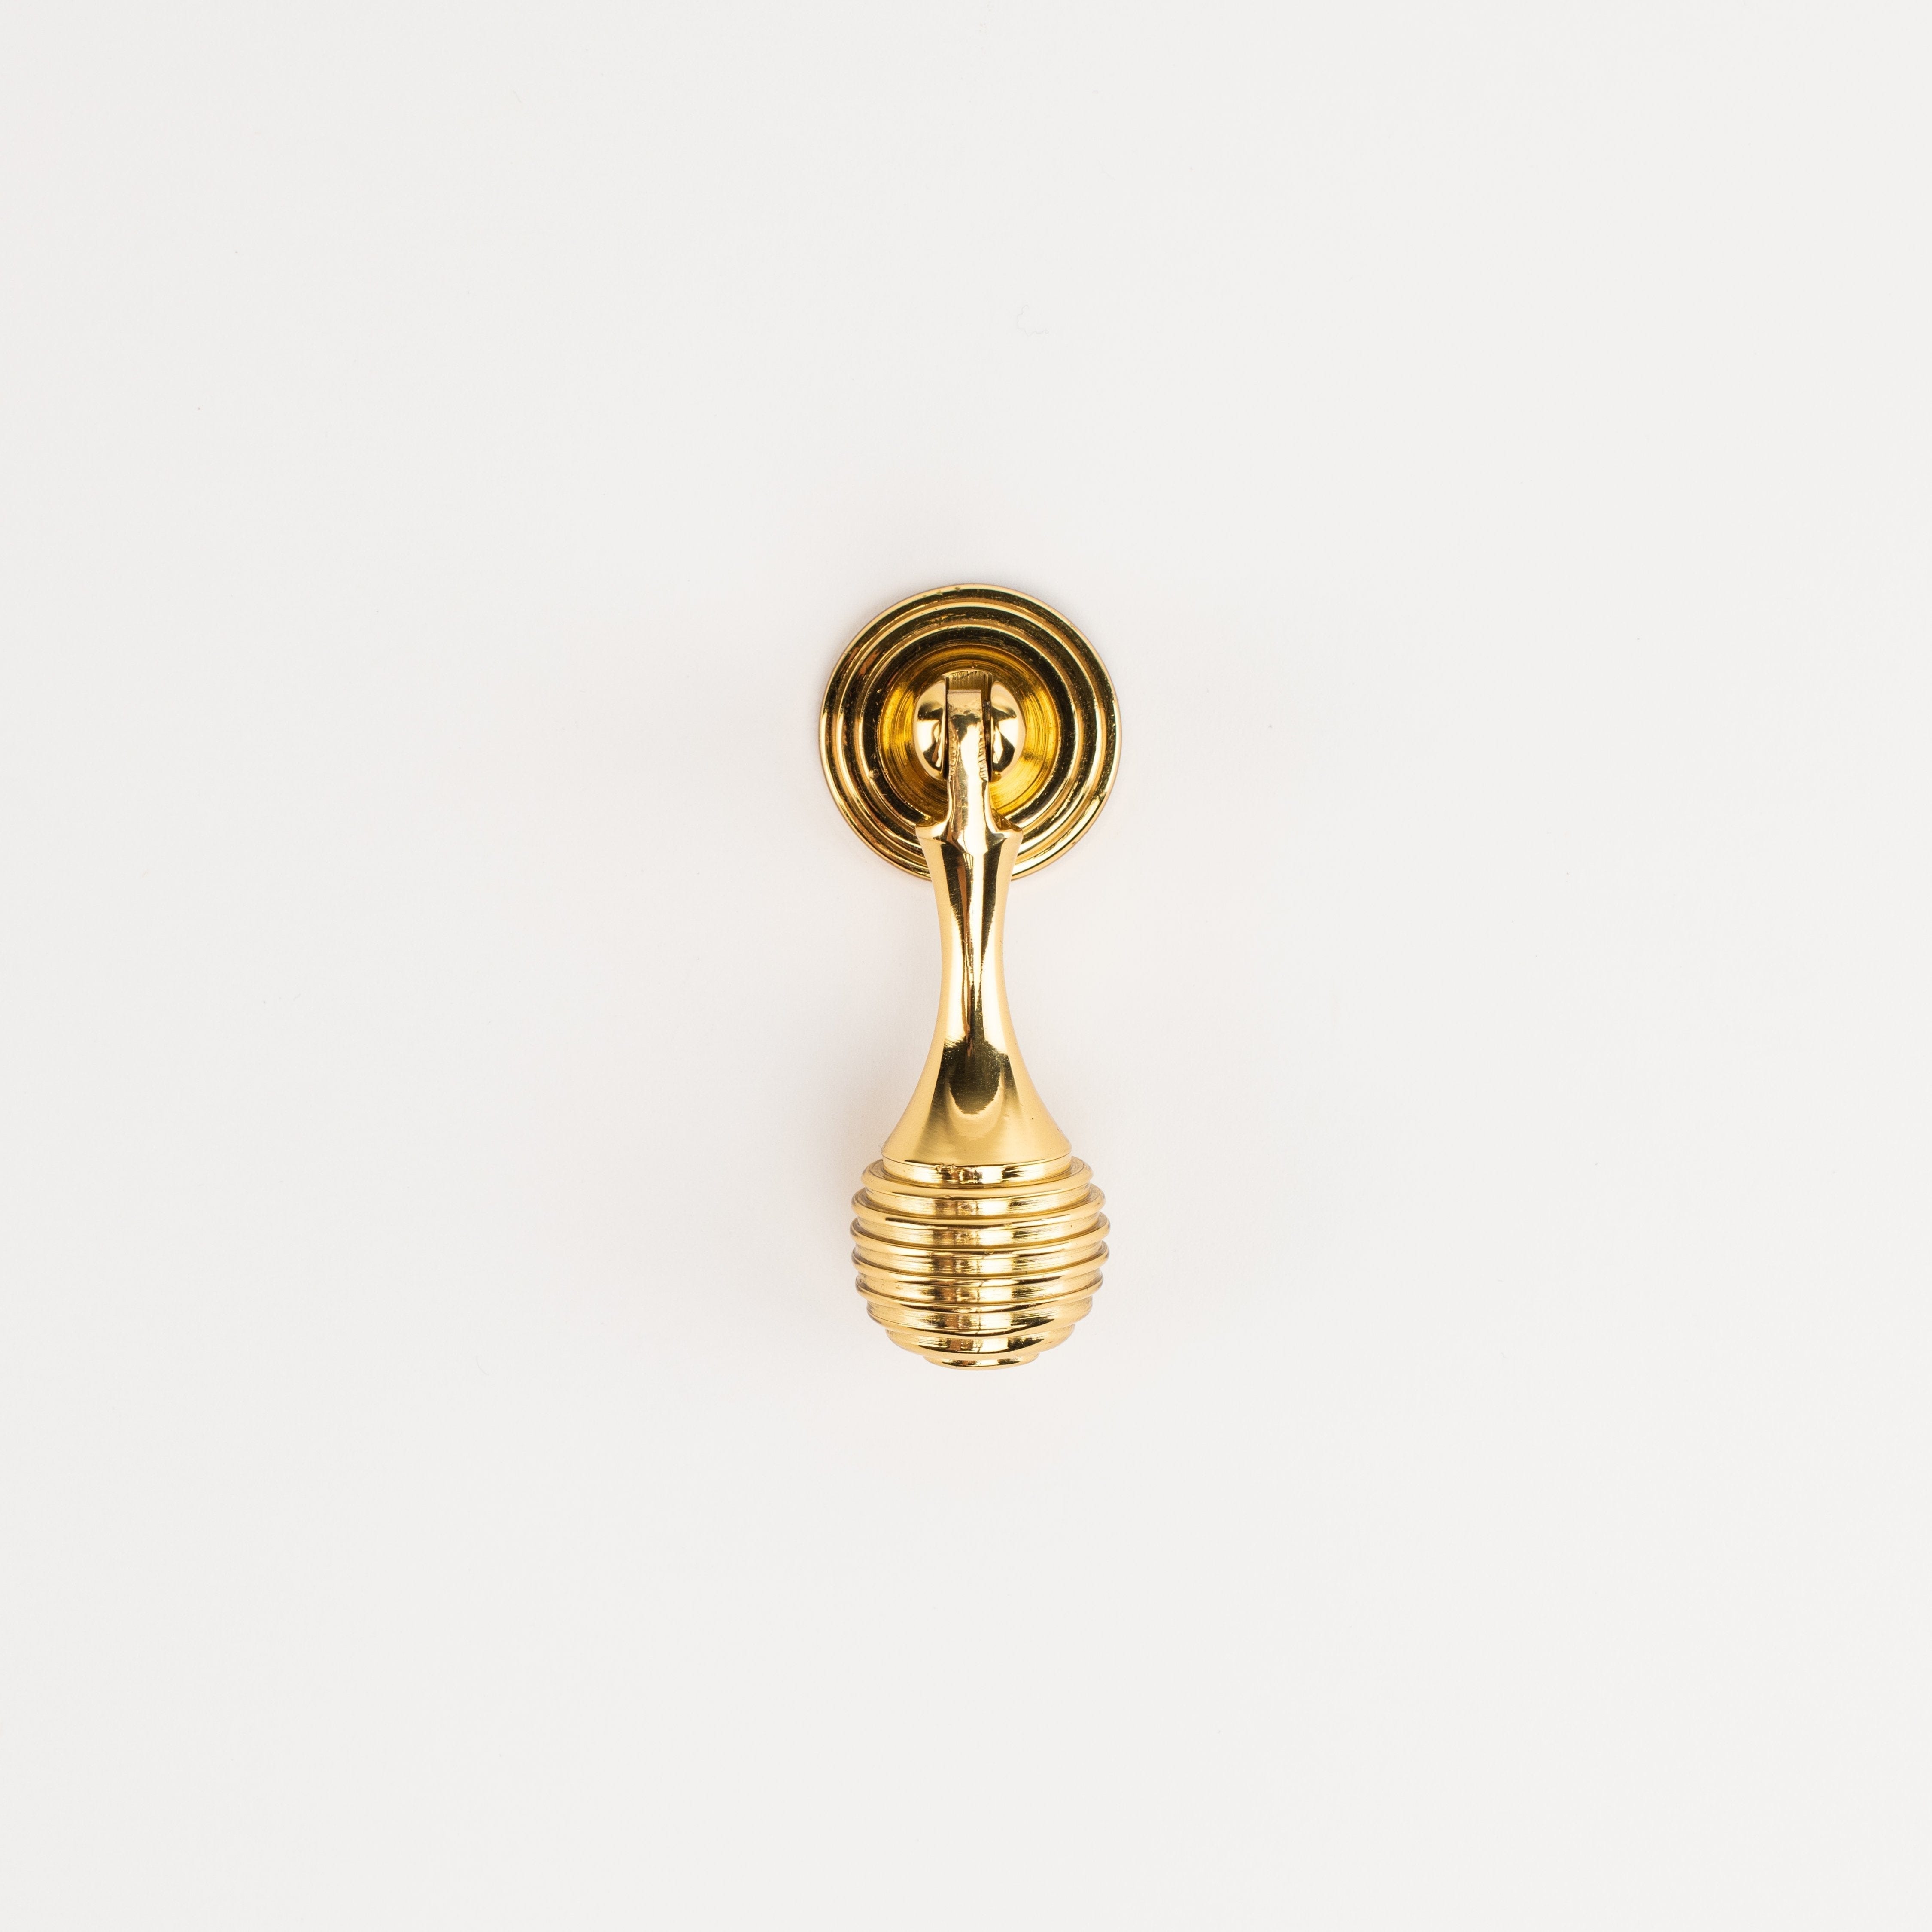
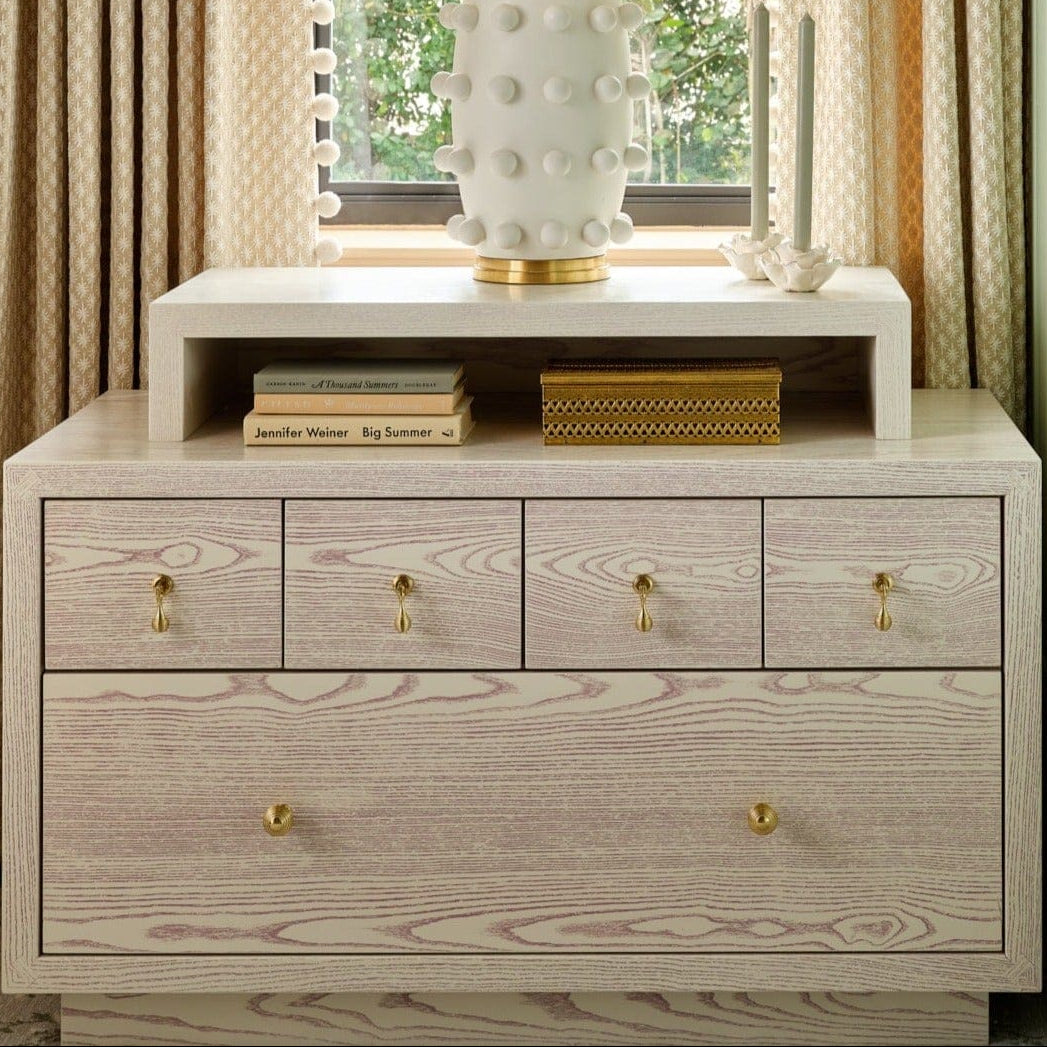
Washington 2" Drop Pull - Polished Brass
Sale price$79
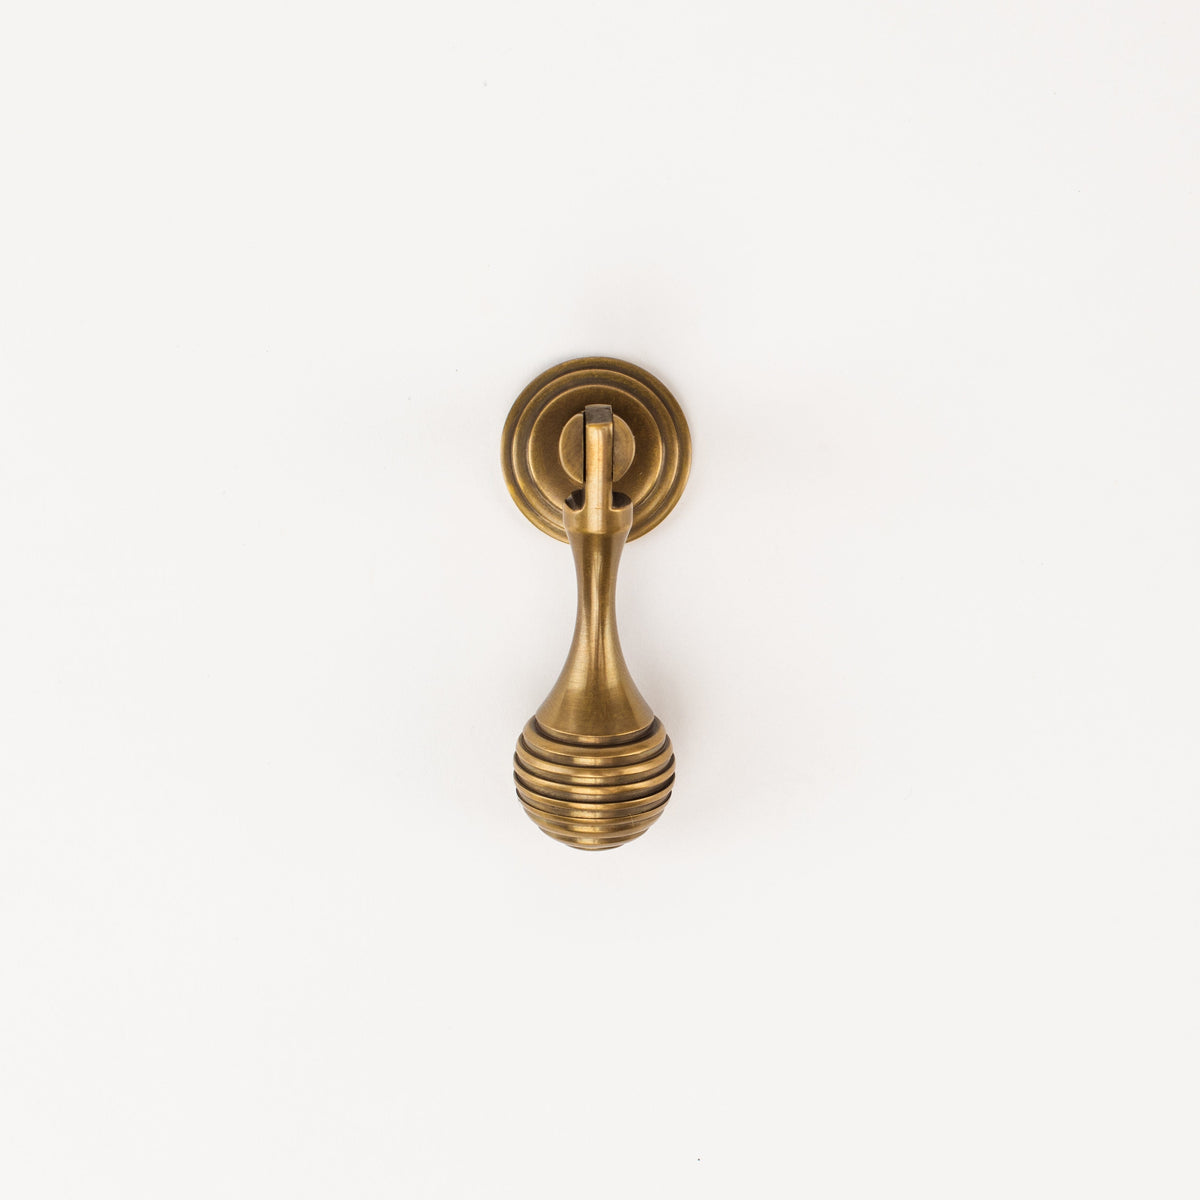
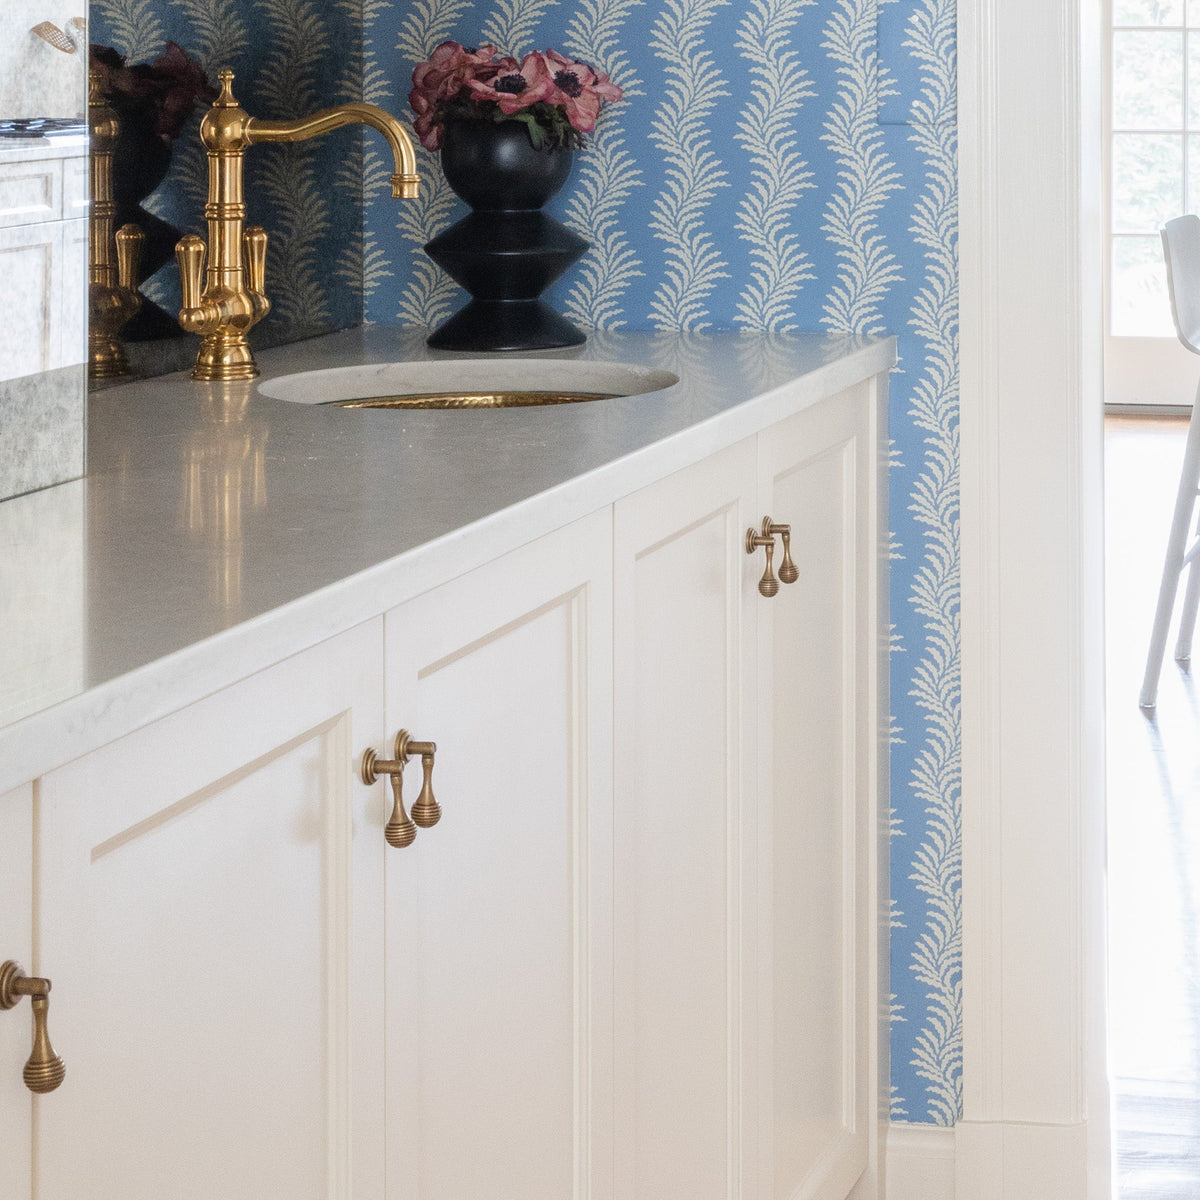
Washington 2" Drop Pull - Burnished Brass
Sale price$79
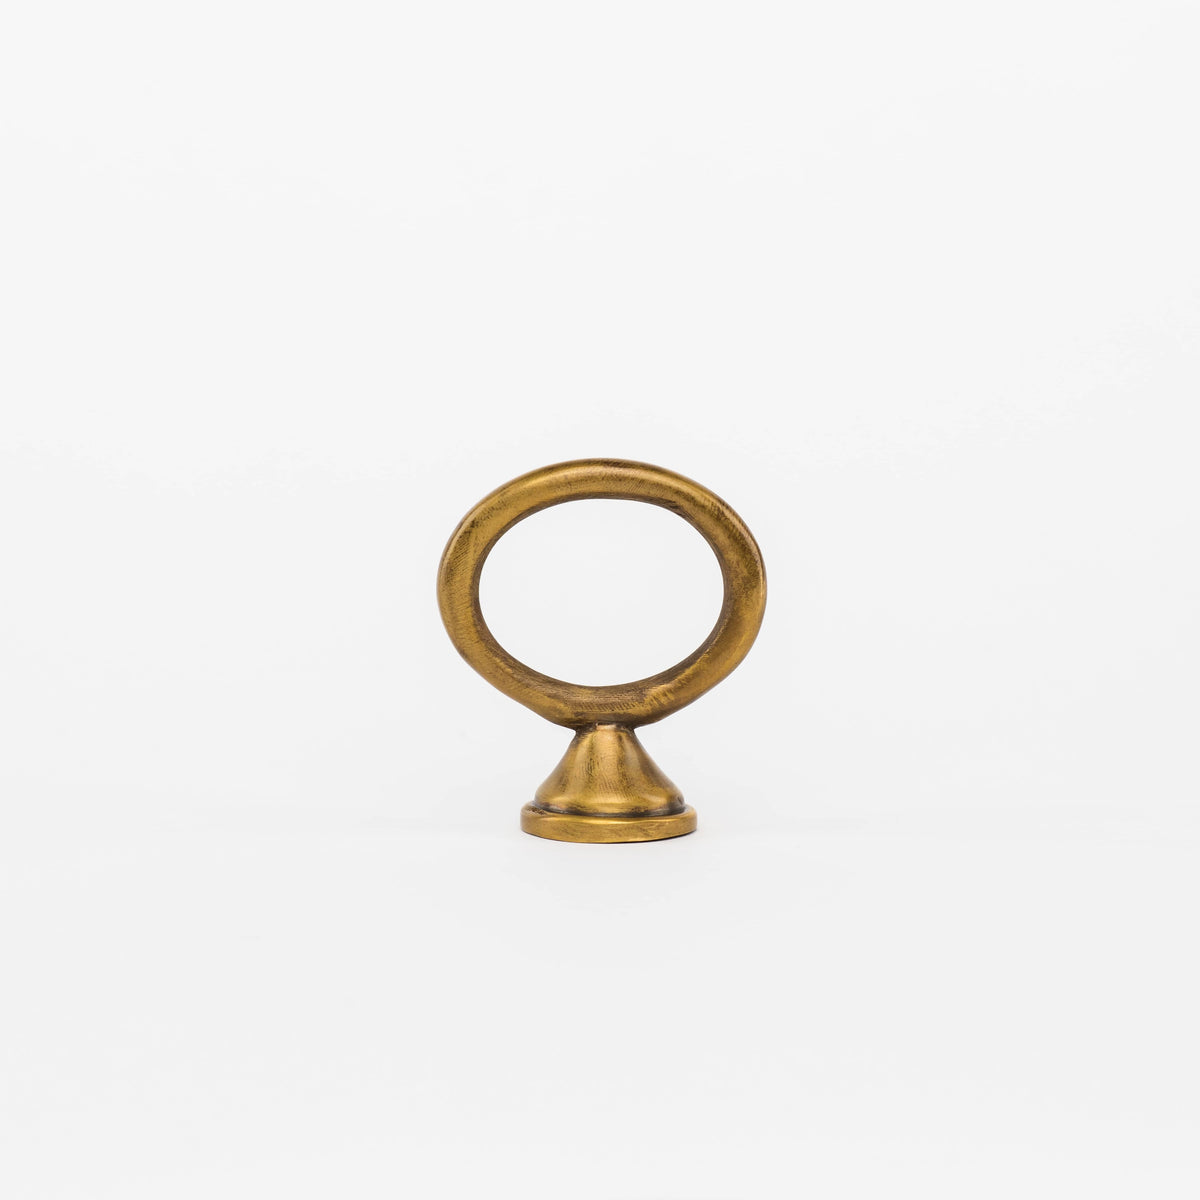
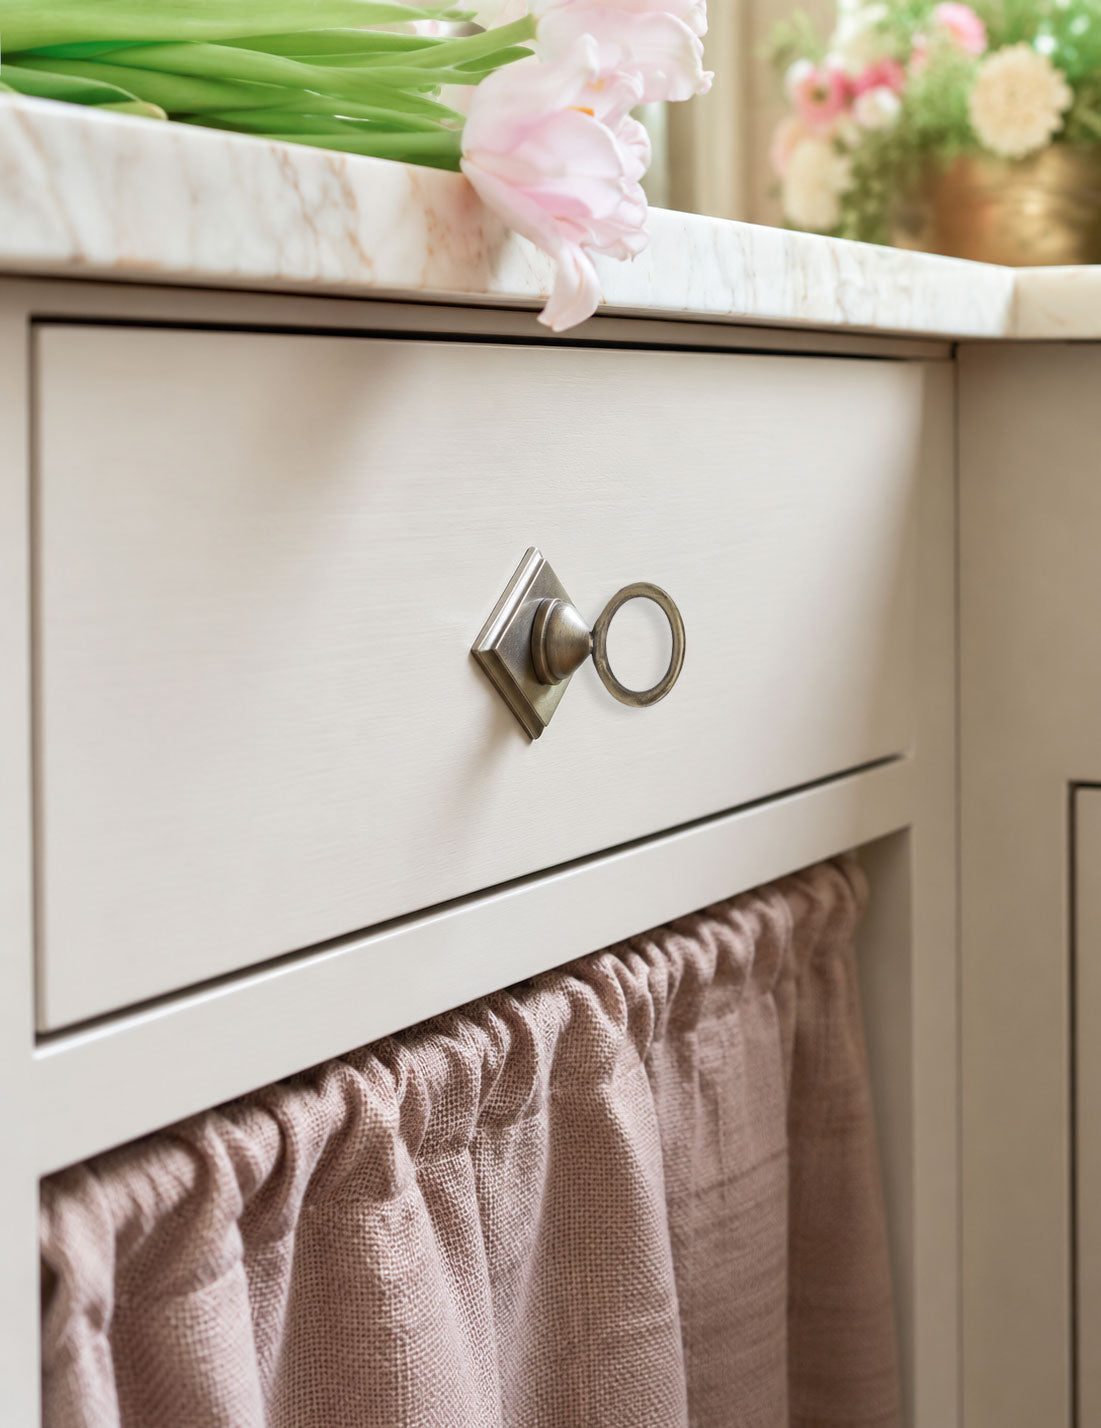
Alexandria Ring Pull - Burnished Brass
Sale price$49 -
Sale price$55
Available in 2 sizes
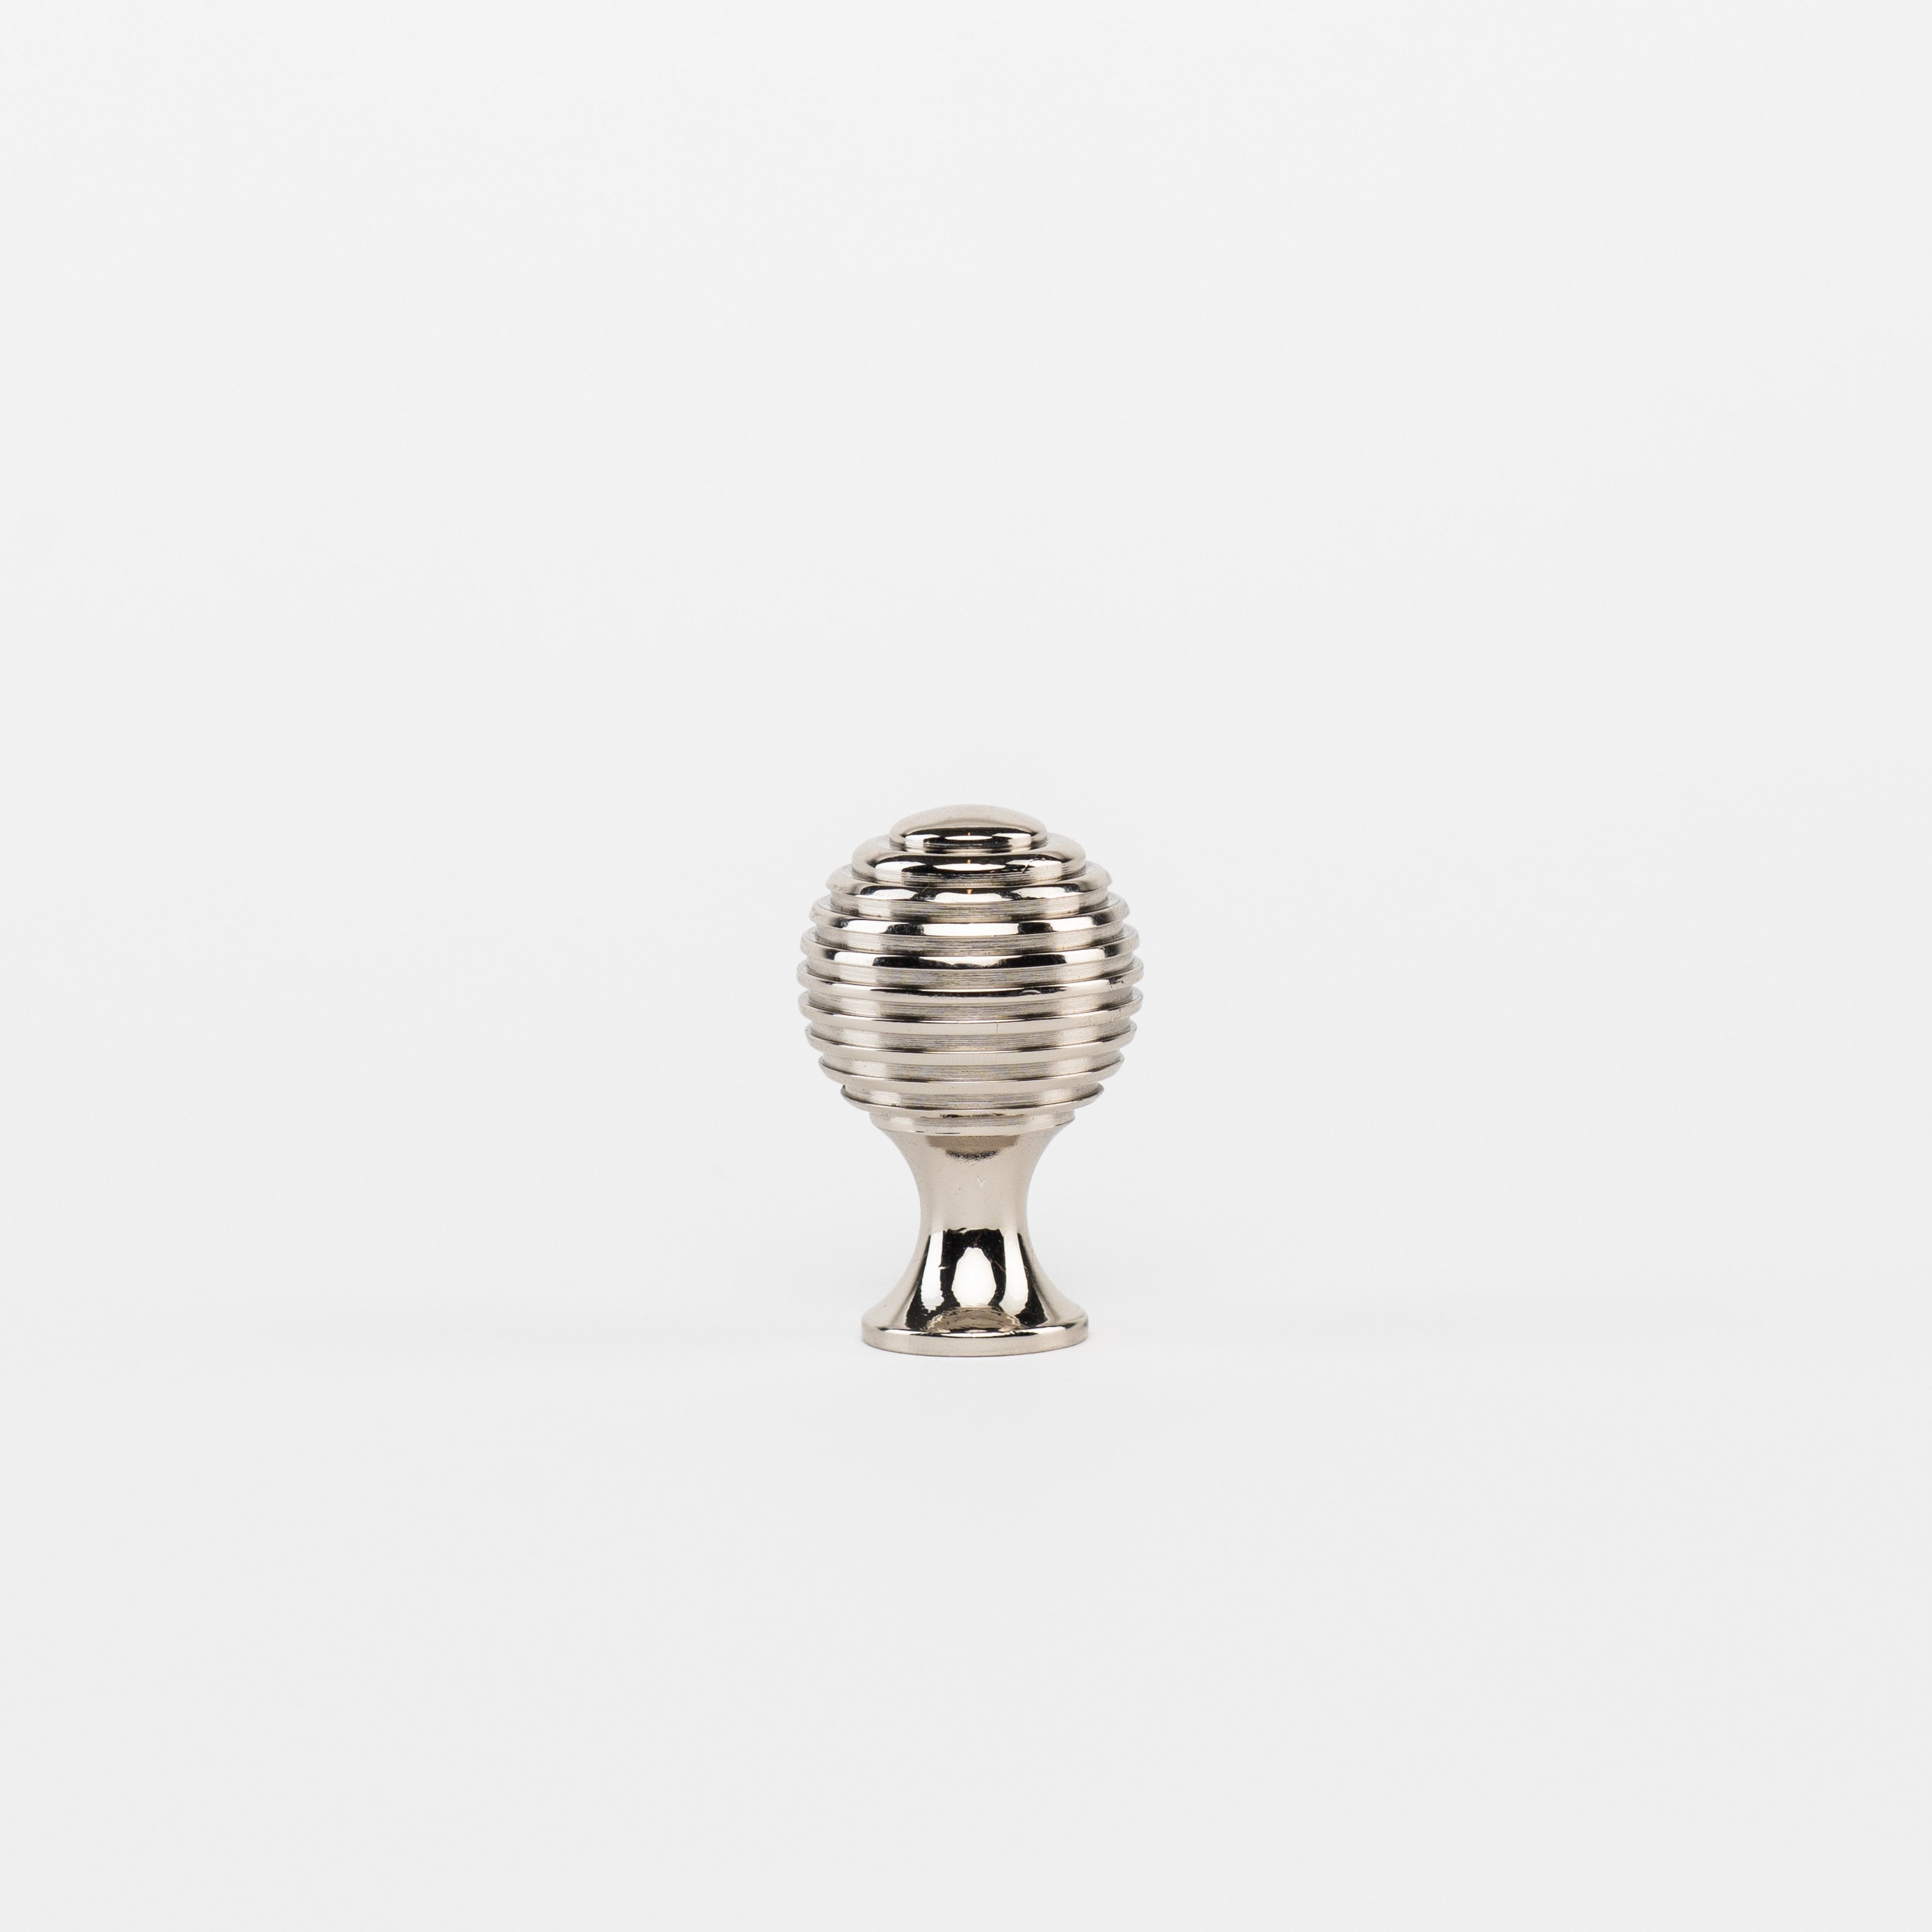
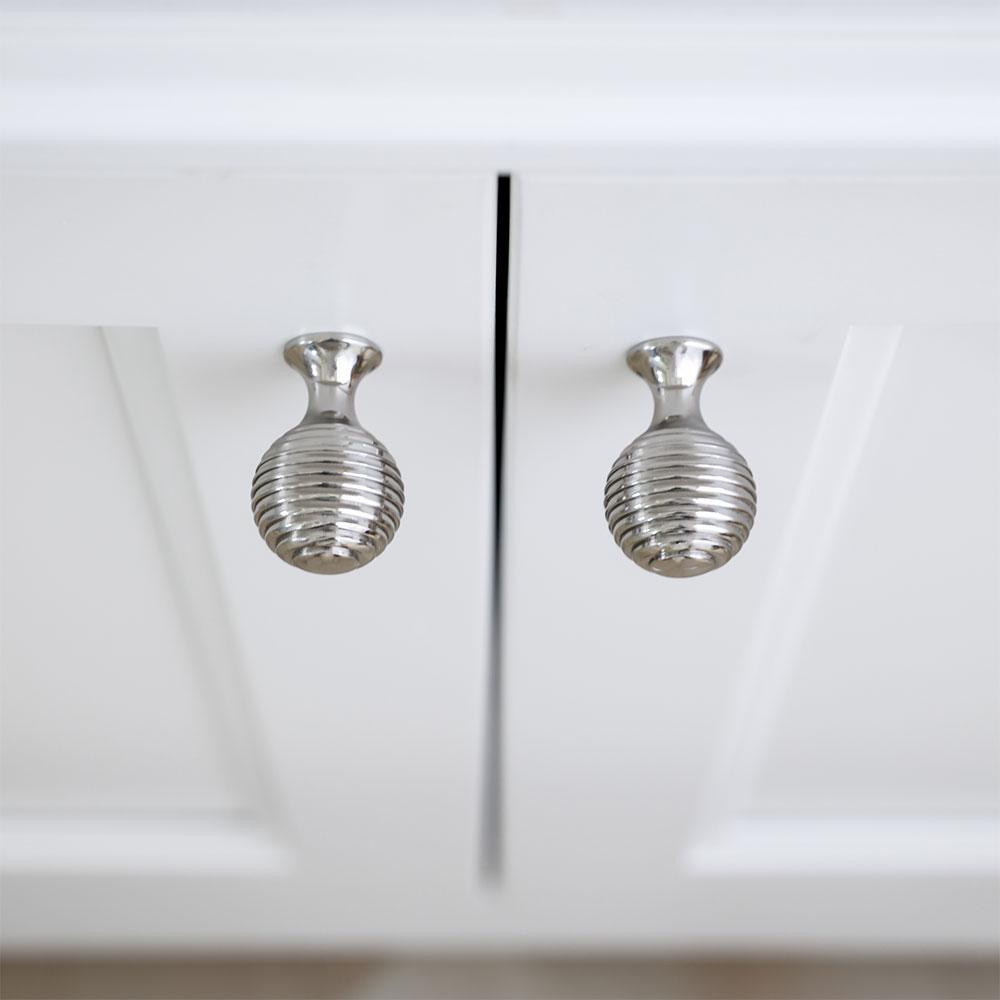
Washington Knob - Polished Nickel
Sale price$59 -
Sale price$69
Available in 2 sizes
How Designers Are Using This
See how leading interior designers and architects are incorporating our hardware into their most stunning projects


