




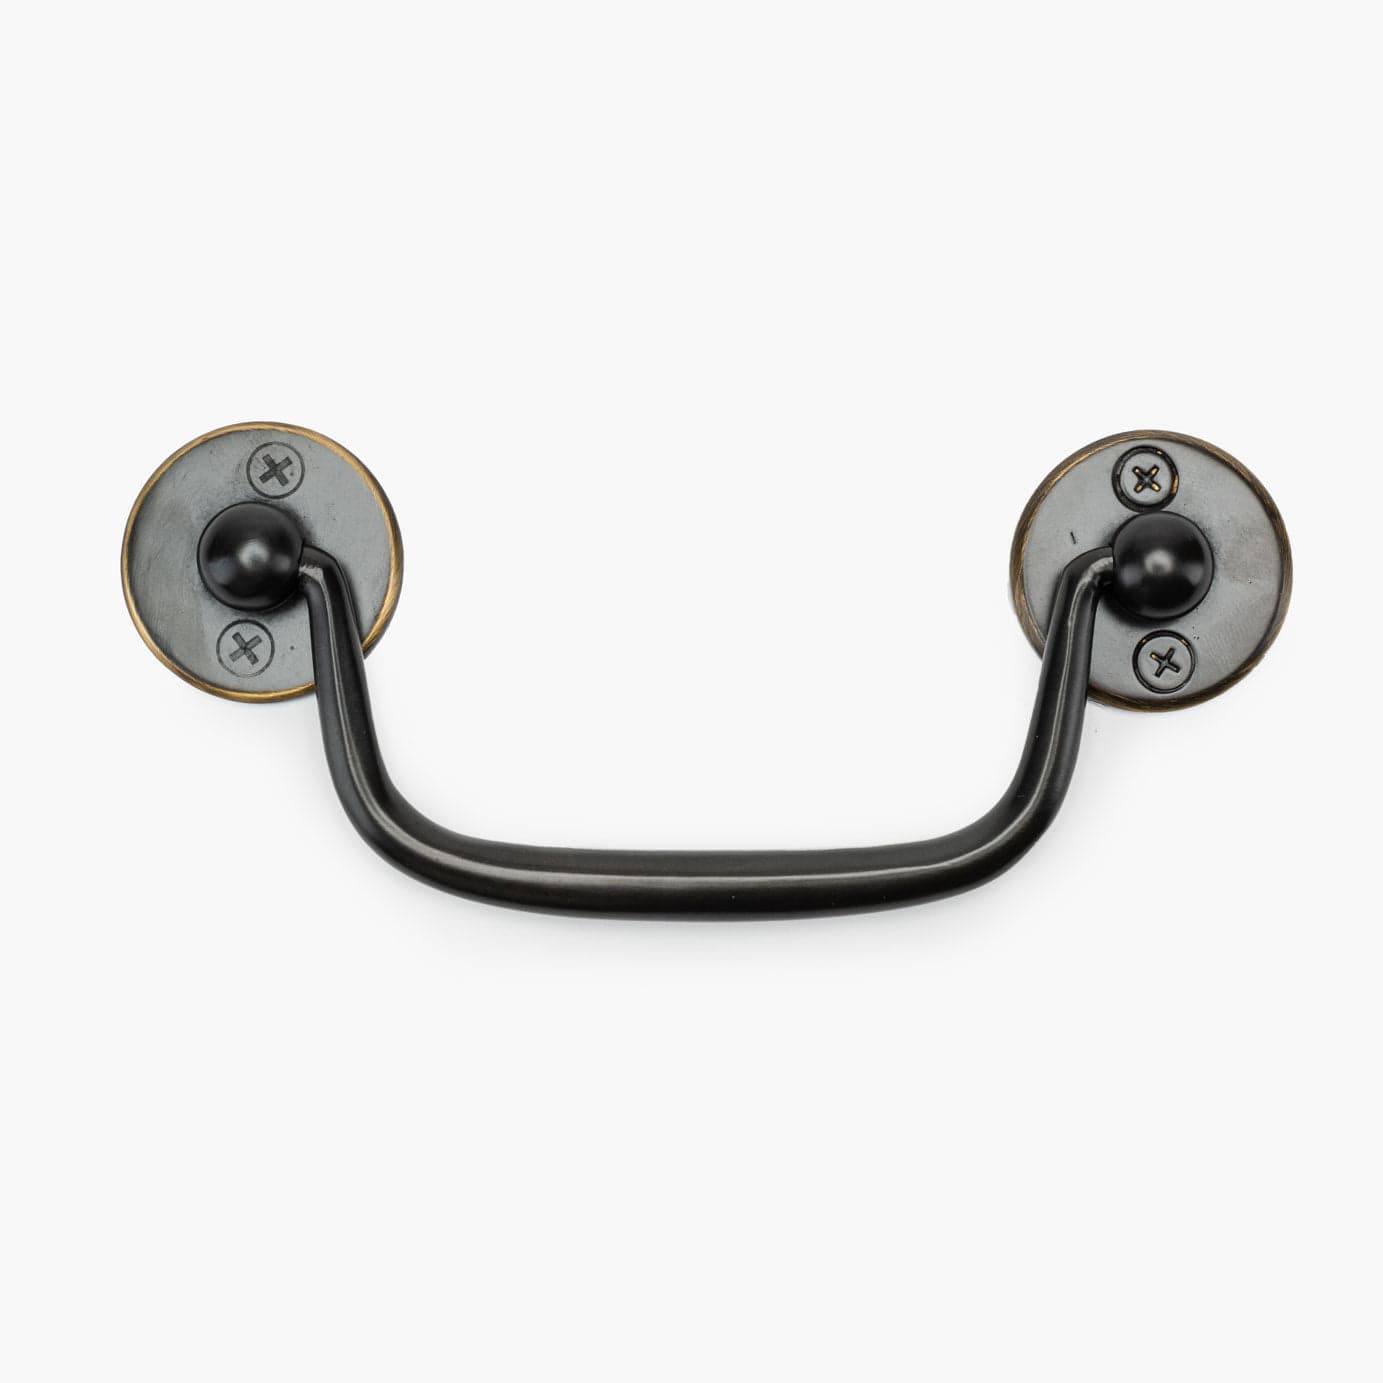
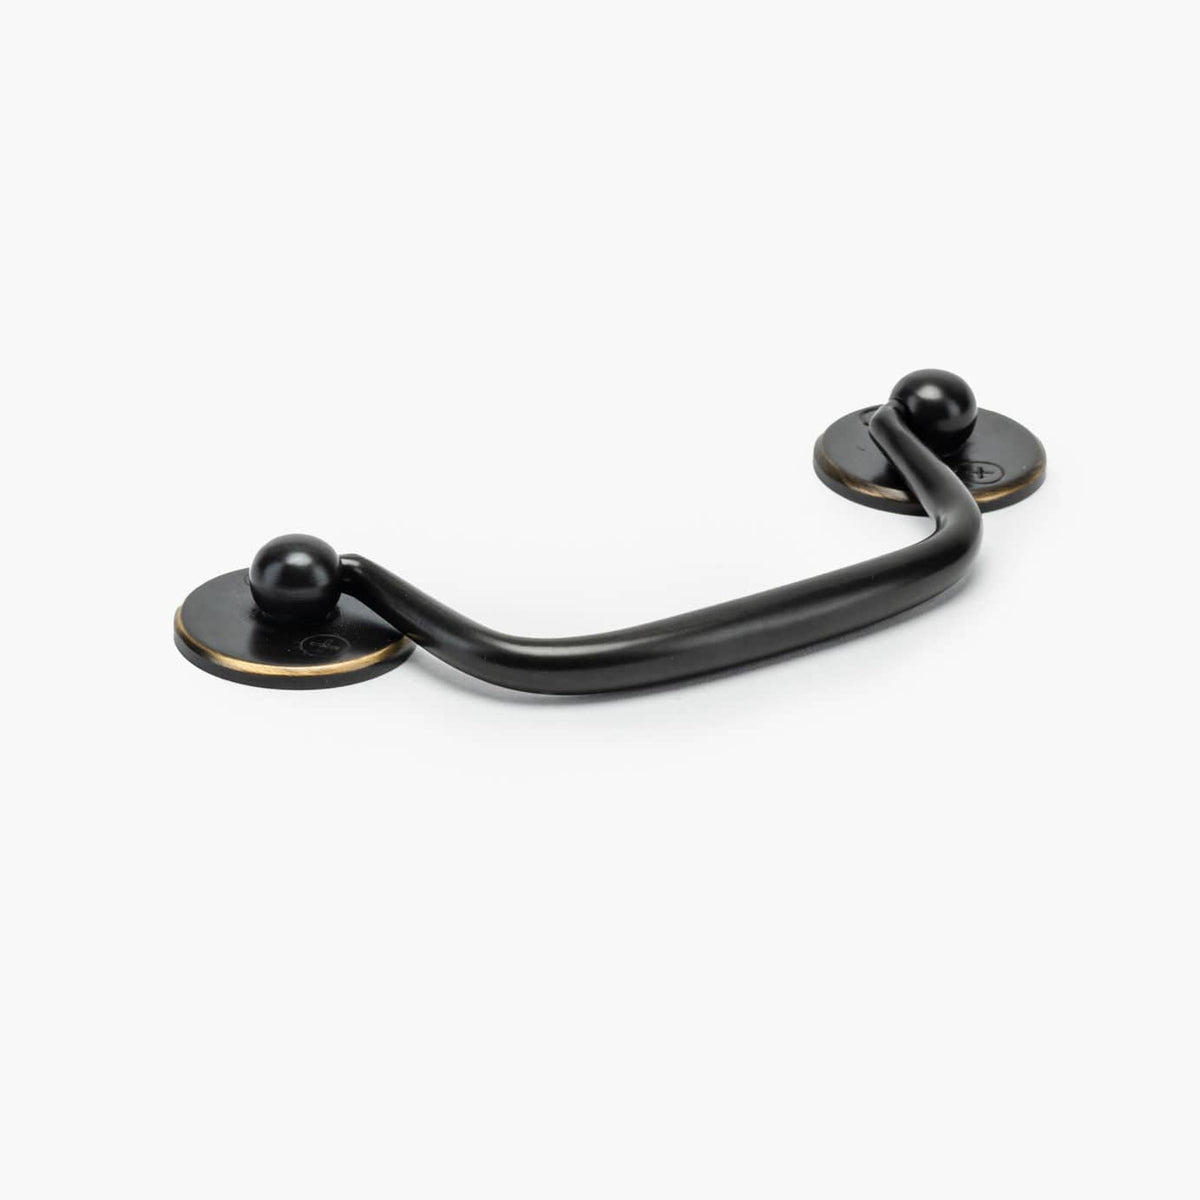
Pixie Bail Pull - Oil Rubbed Bronze

Member of the Trade? Log in Here
 No Returns
 Estimated ship date: 9/23/26
 5 year warranty
Product Details
Dimensions
2" W
Shipping
Shop the Pixie Collection
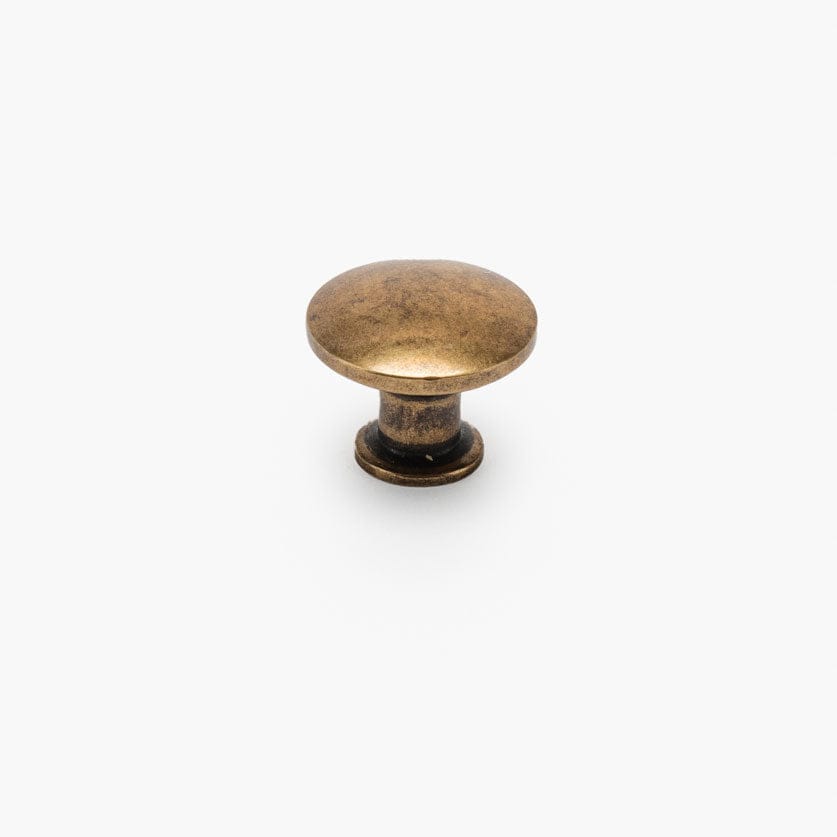

Available in 2 sizes
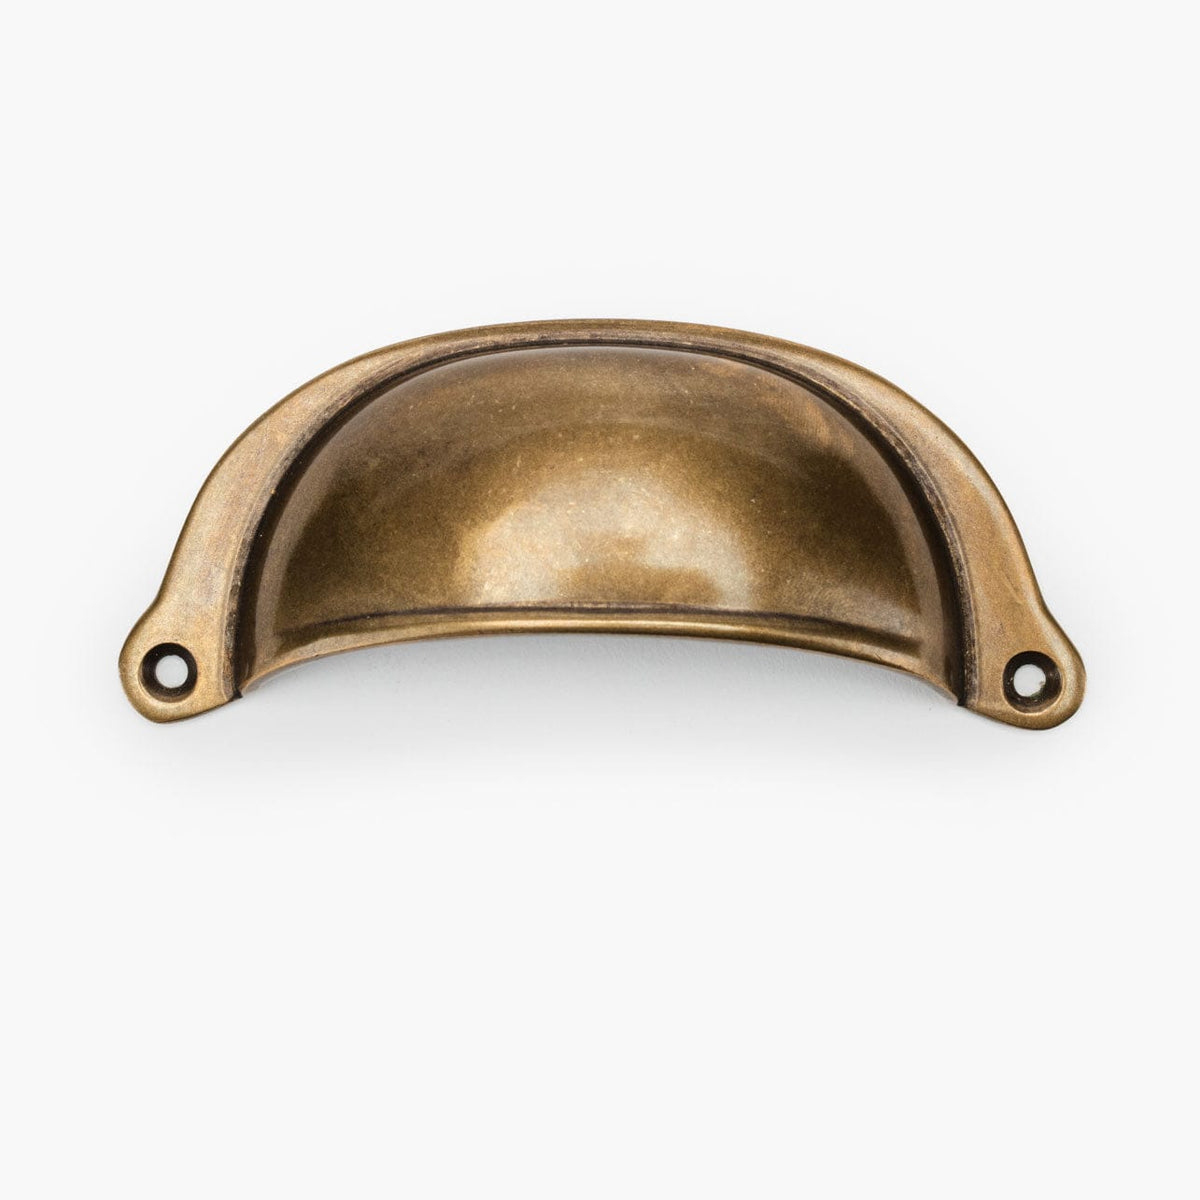
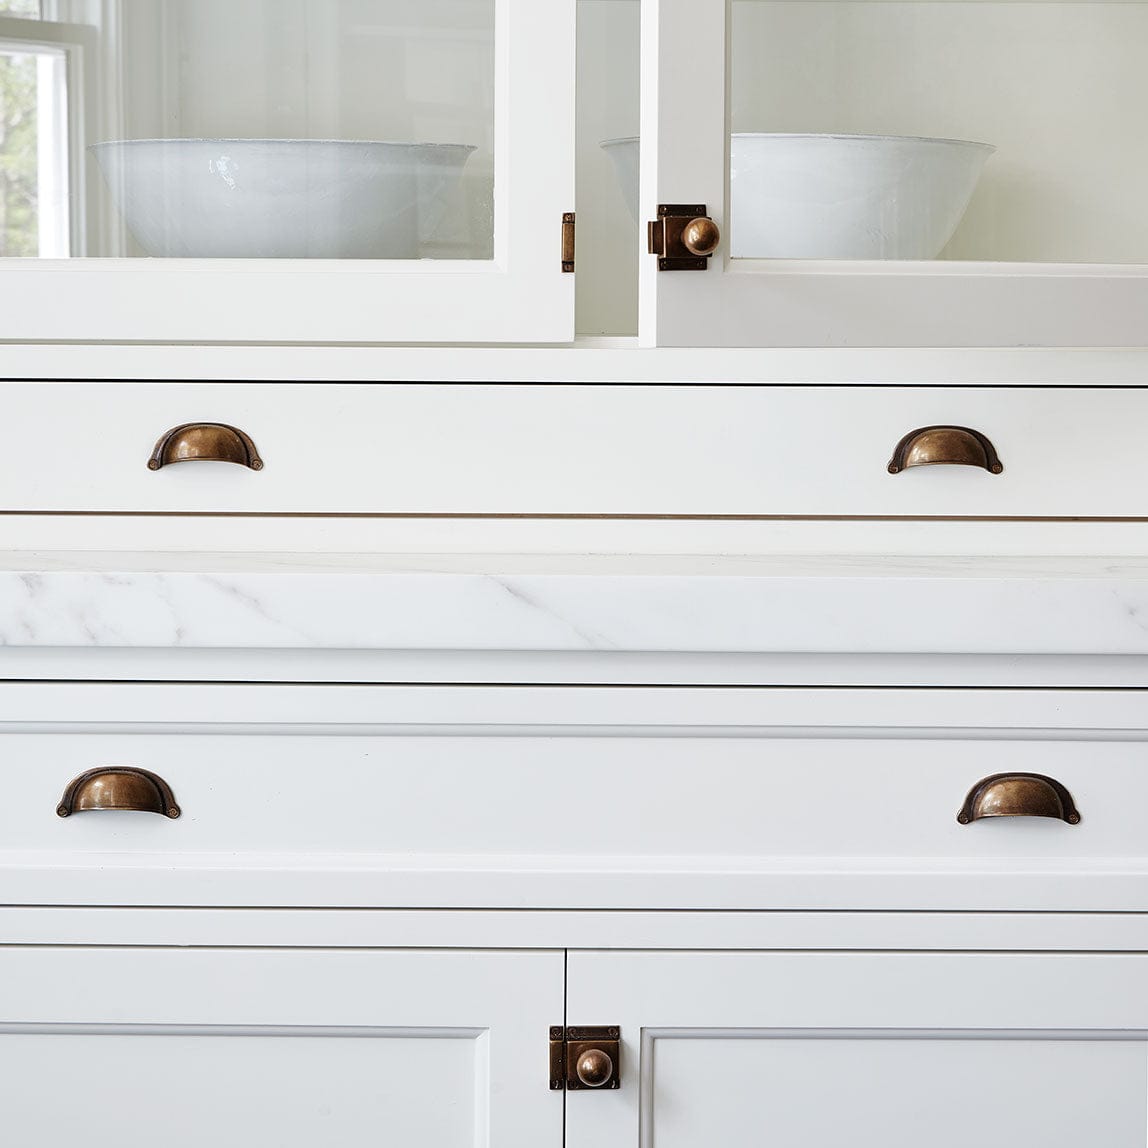
Available in 2 sizes


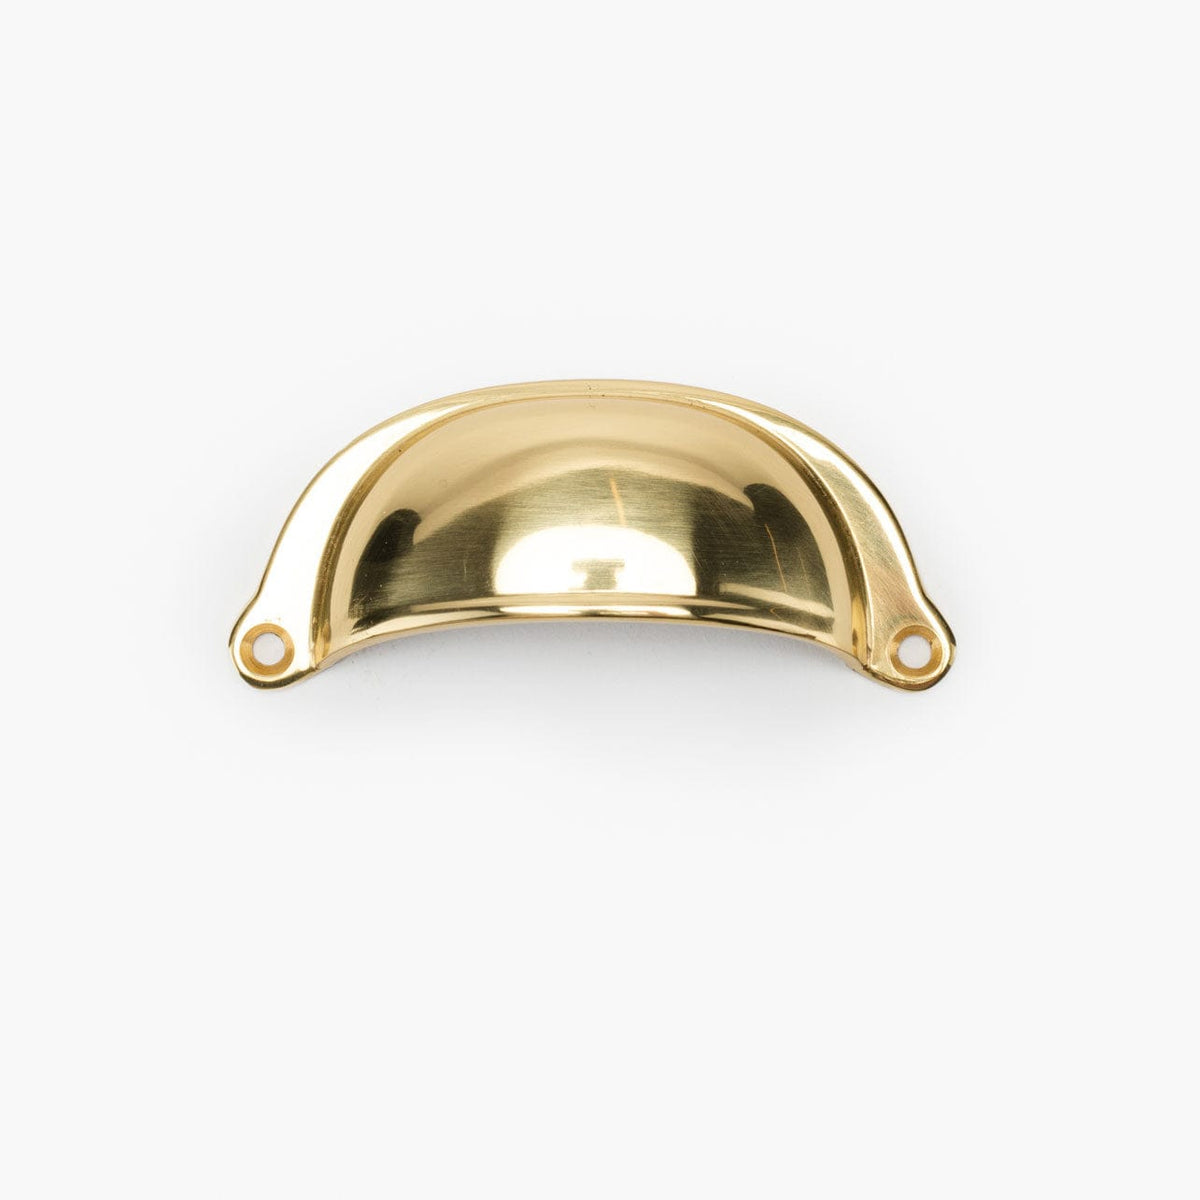
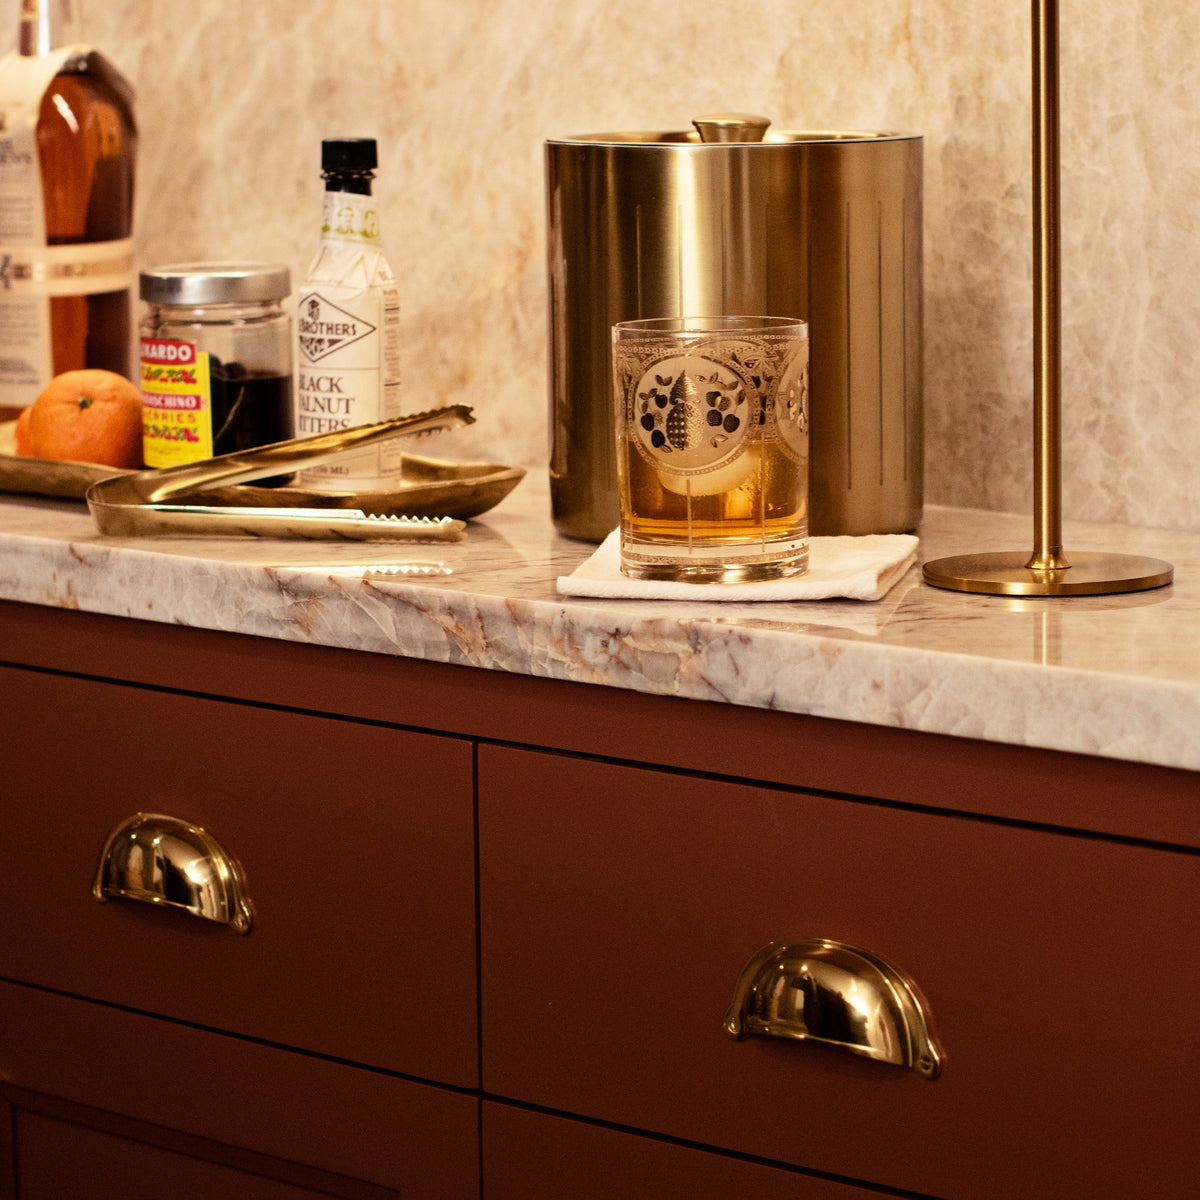
Available in 2 sizes
How Designers Are Using This
See how leading interior designers and architects are incorporating our hardware into their most stunning projects


Installation
Installing your pulls is simple and takes just minutes. Follow our step-by-step guide for precise, polished results.
 Step 1
Determine Placement
Using a tape measure, measure your pull’s center-to-center distance to confirm correct hole spacing. Then determine the pull orientation and ideal placement on each door or drawer.
 Step 2
Mark the Surface
Apply painter’s tape and mark both drill points, ensuring the spacing matches your pull’s center-to-center measurement. Use a level to confirm both holes are perfectly aligned.
 Step 3
Drill the Openings
Using a 7/32" drill bit, carefully drill both marked holes. Remove the tape once complete to reveal clean, ready-to-install openings.
 Step 4
Install by Hand
Insert the appropriate screw (typically 1” for ¾” thickness) into the drilled holes. Attach the pull, rotate screw until hand-tight, then secure with a screwdriver.


