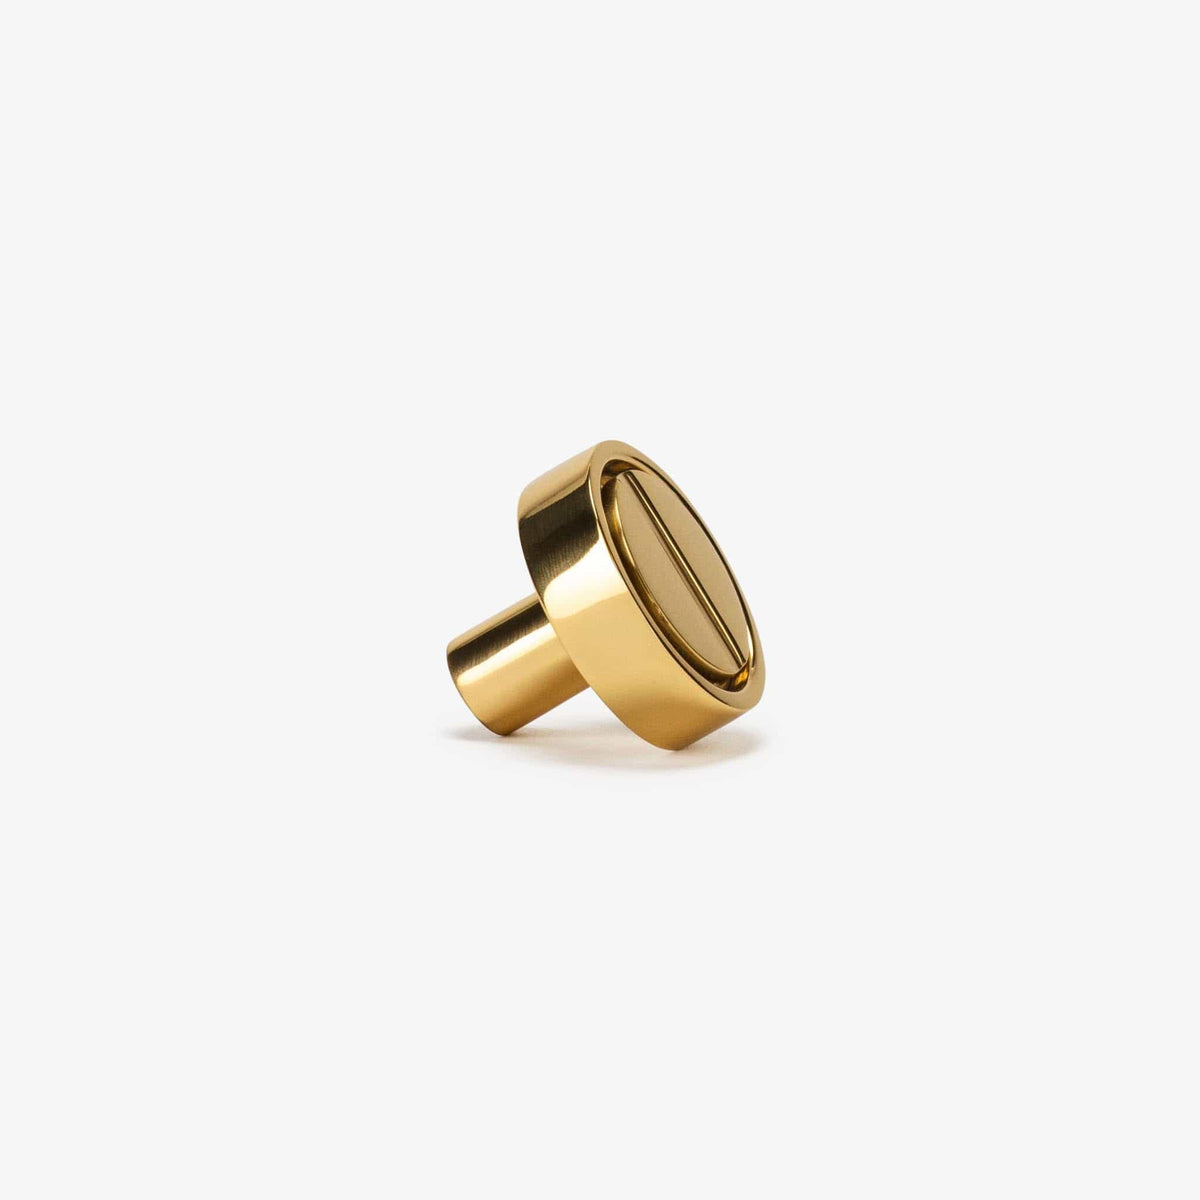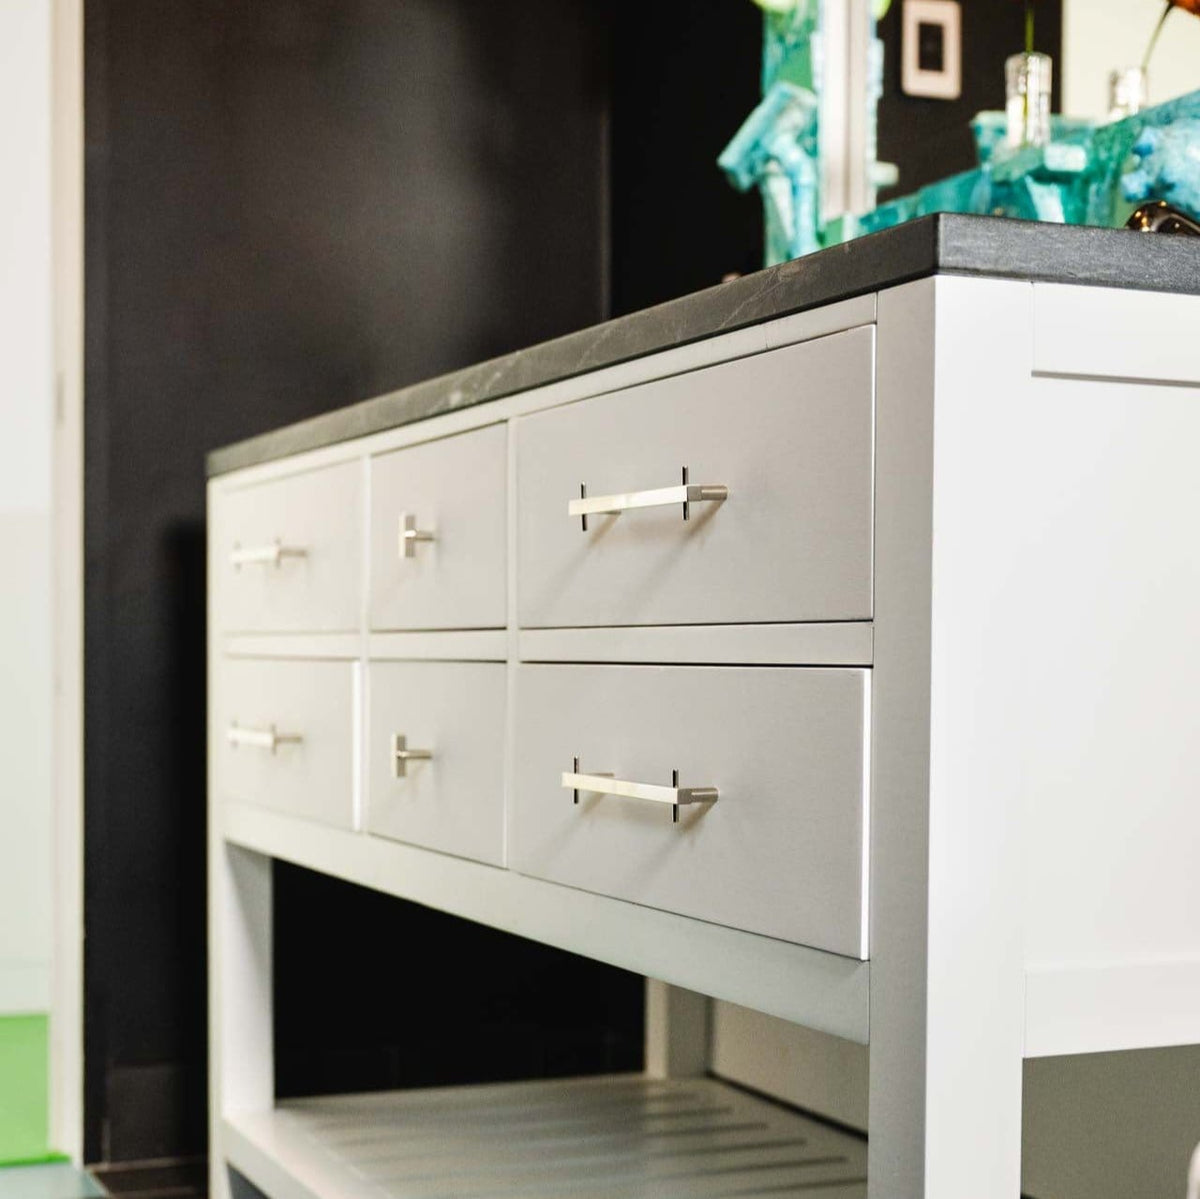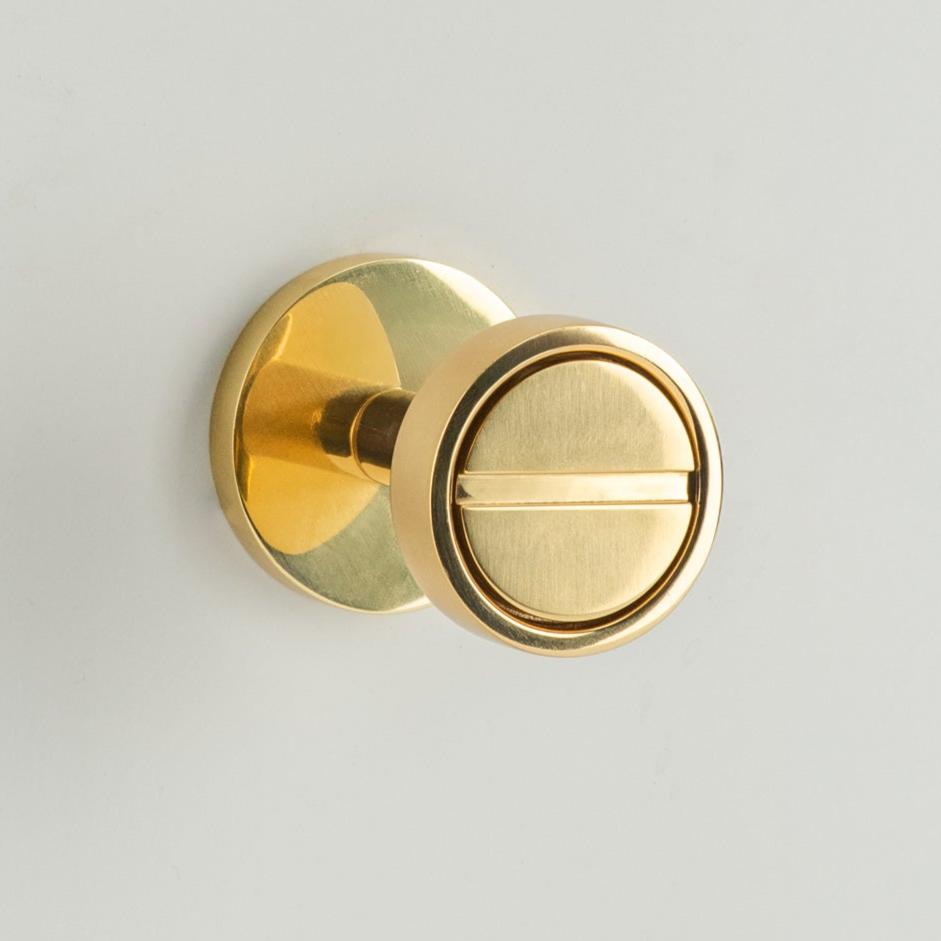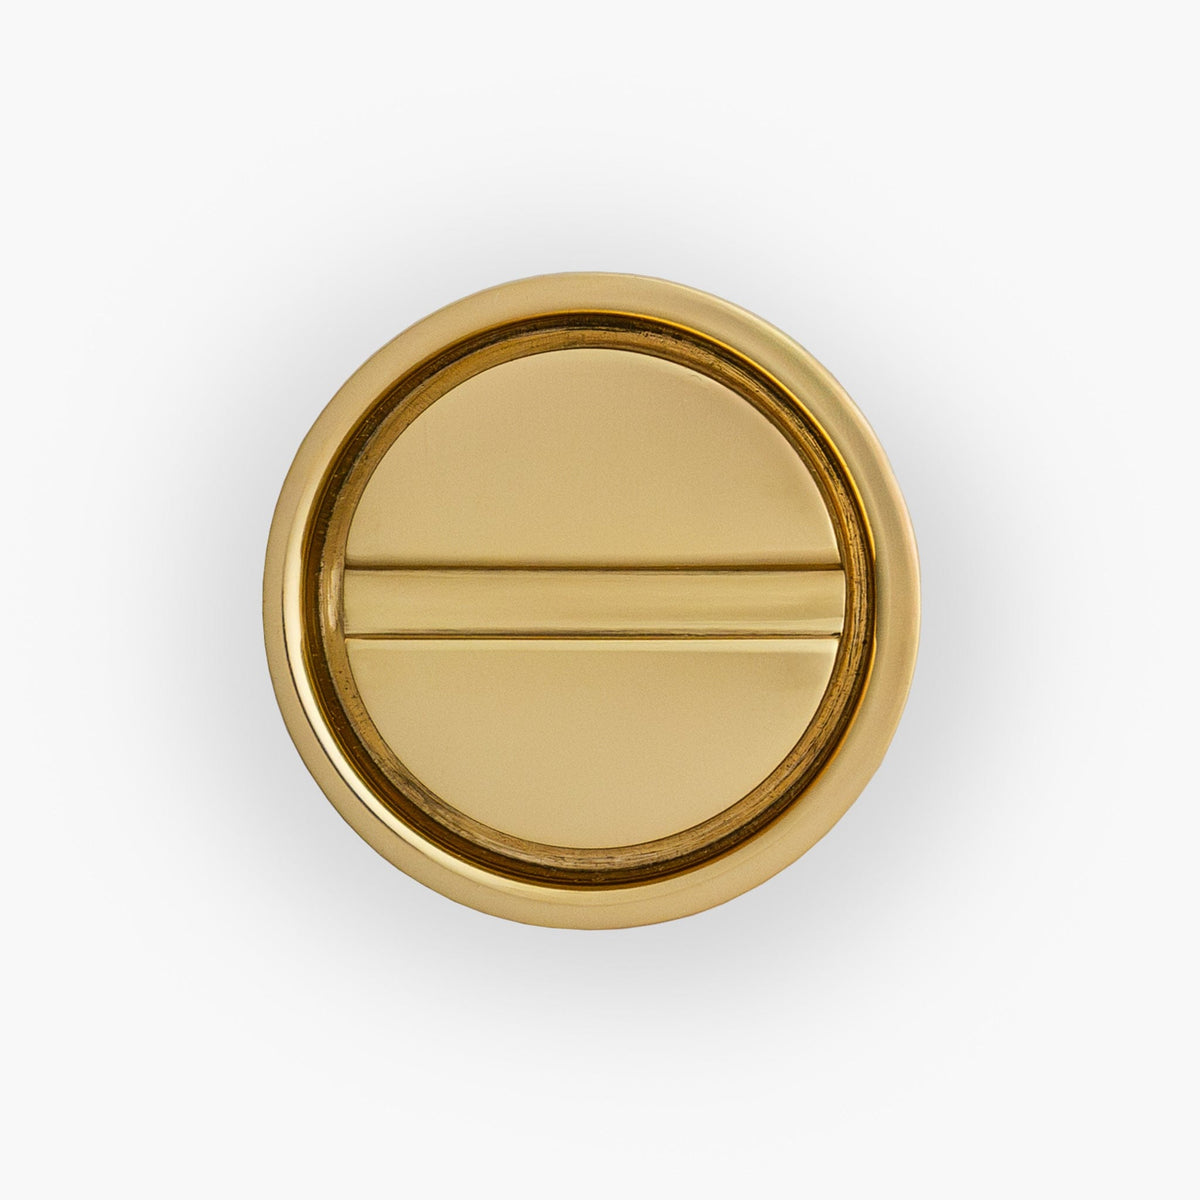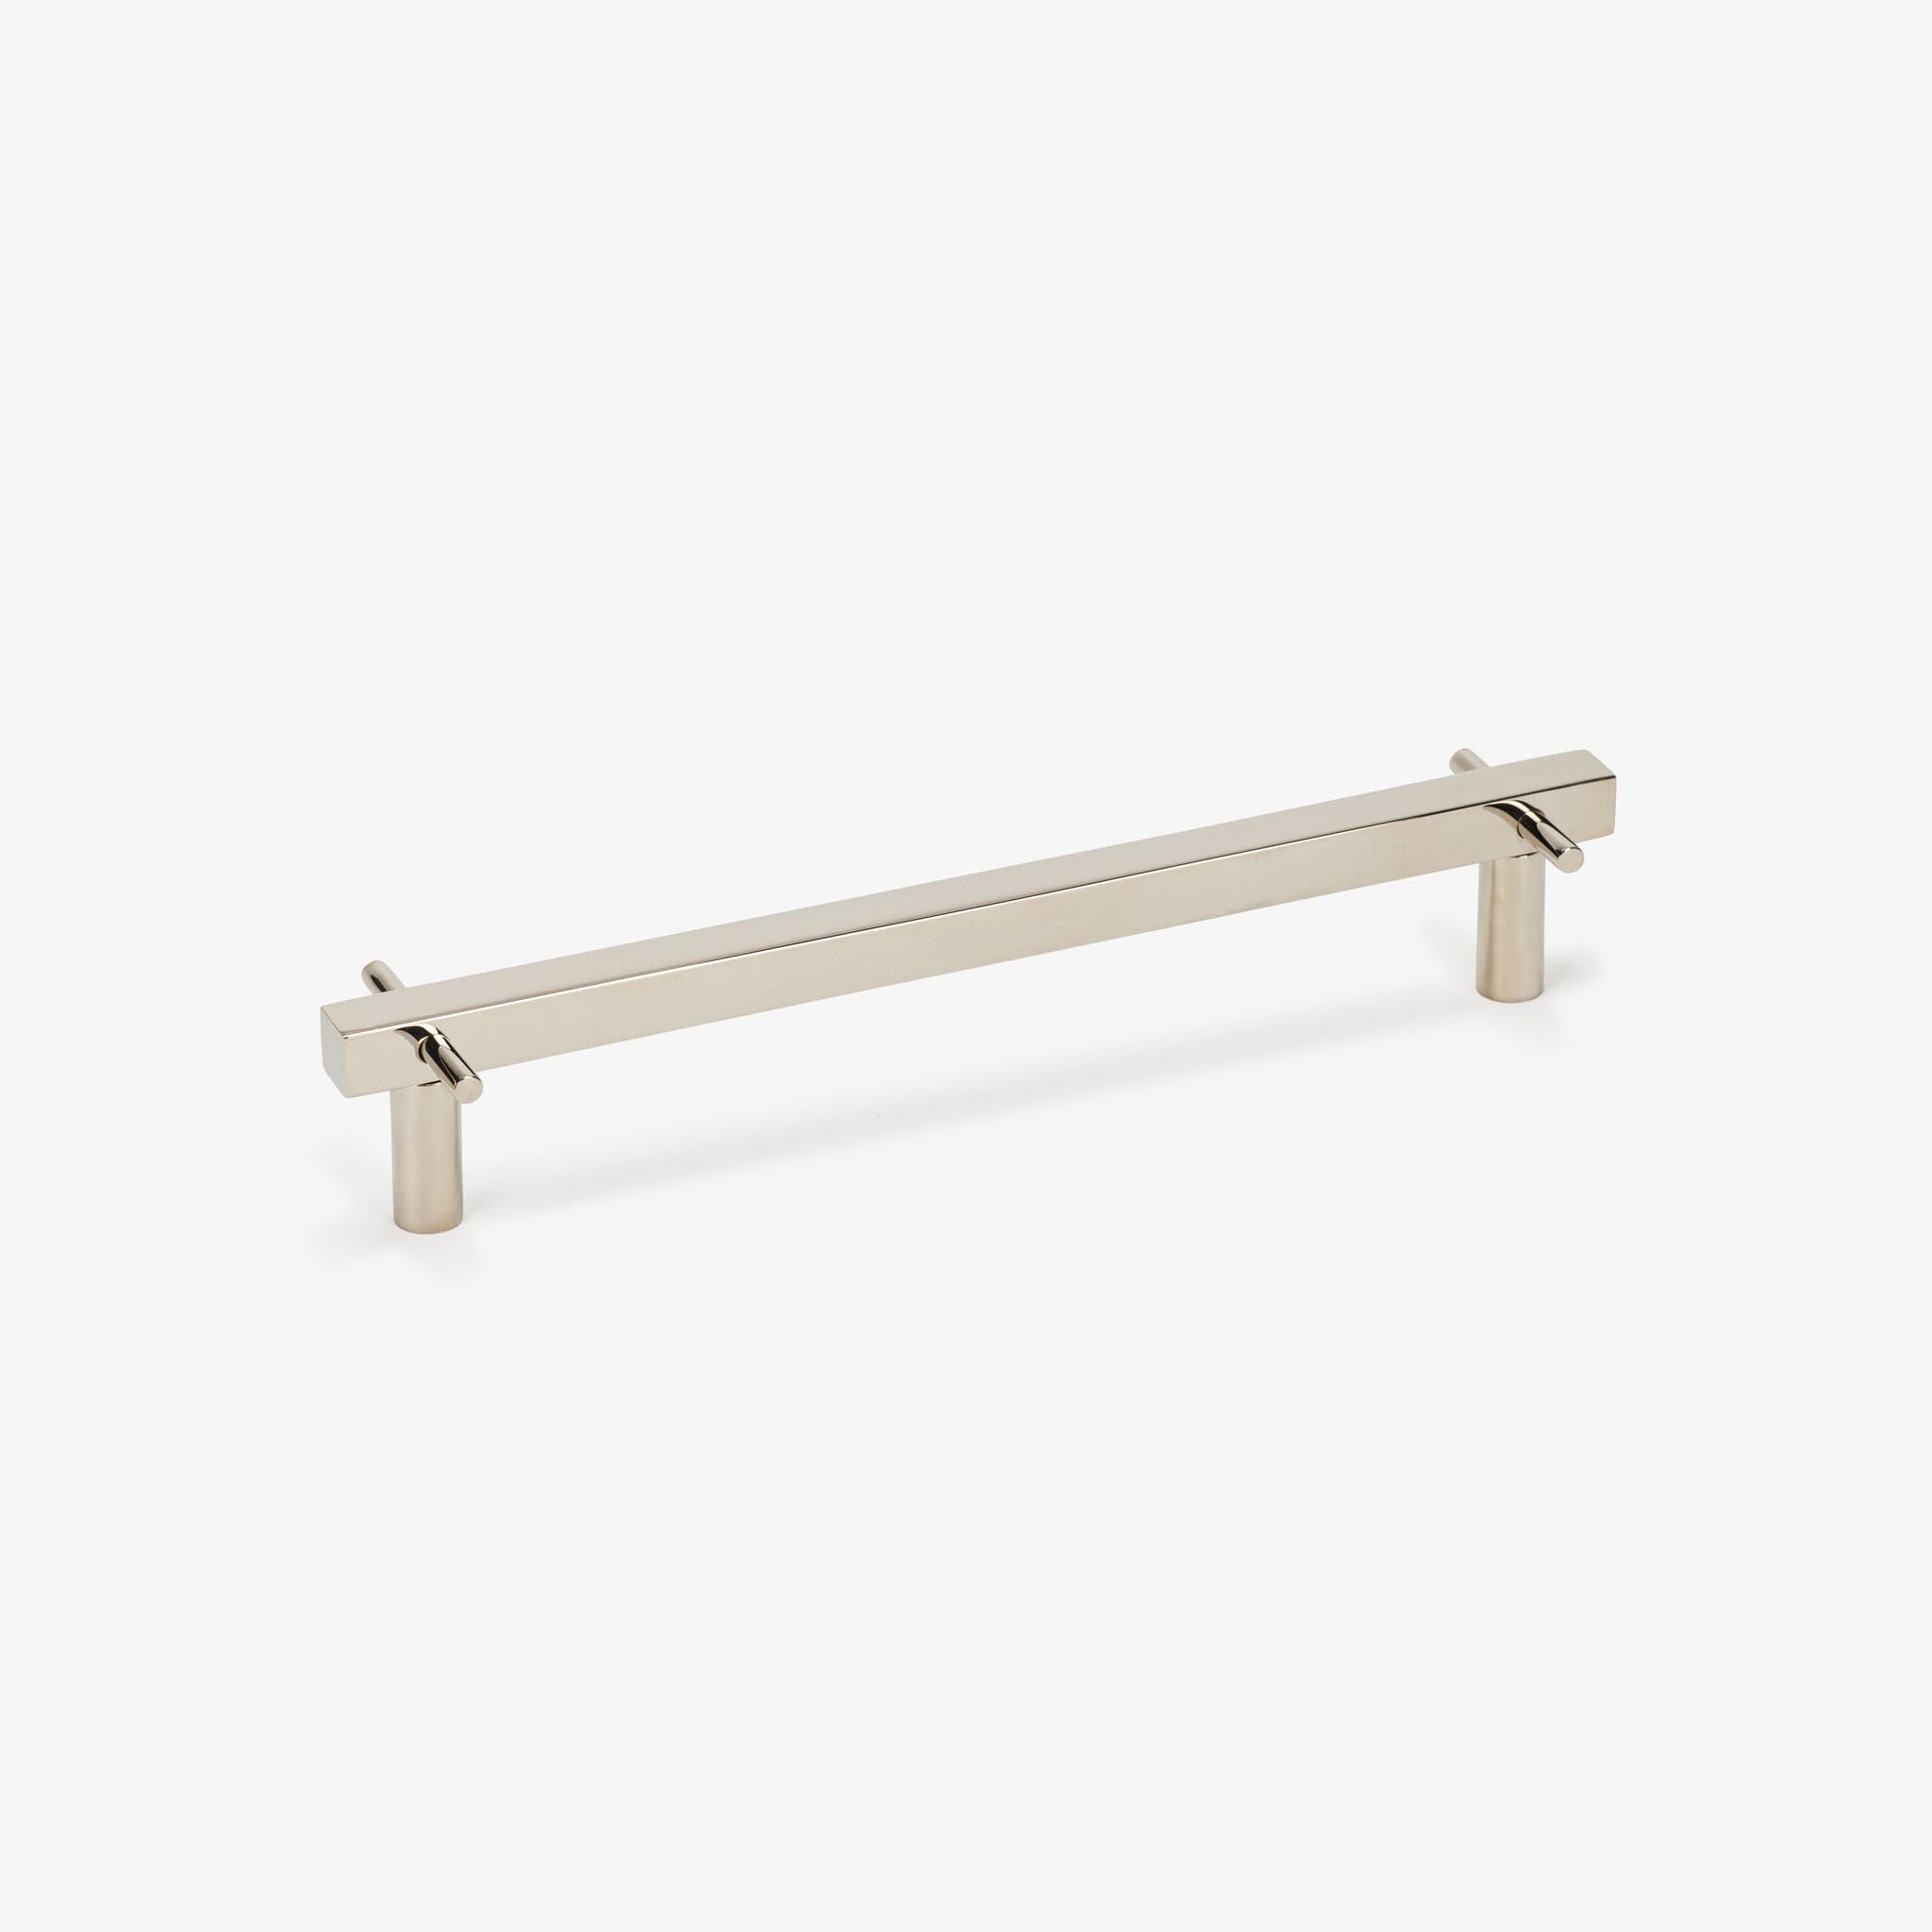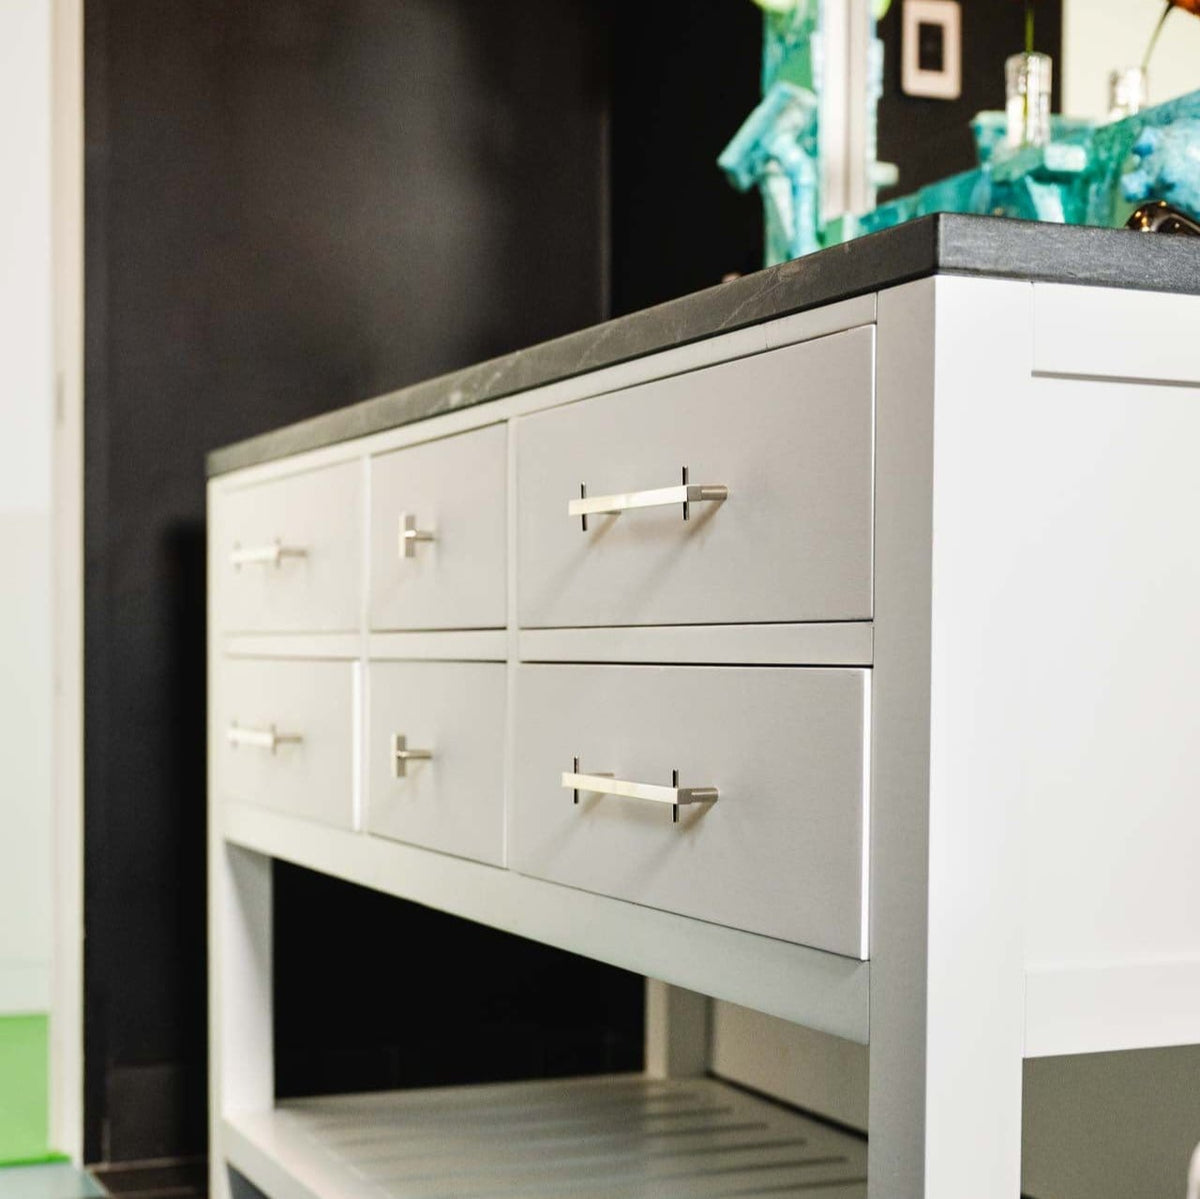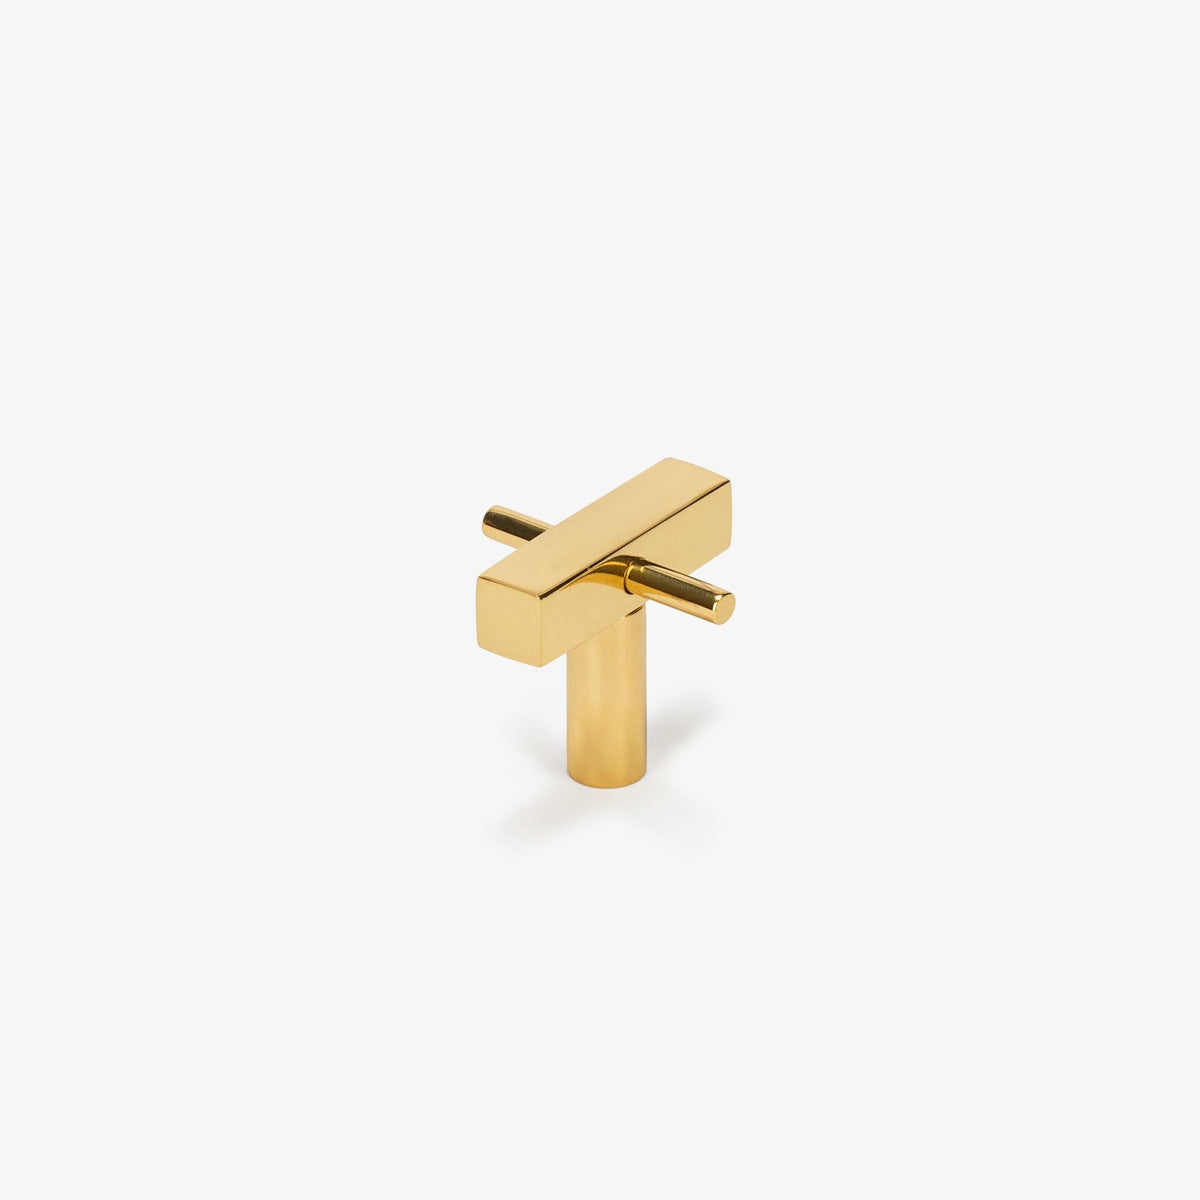



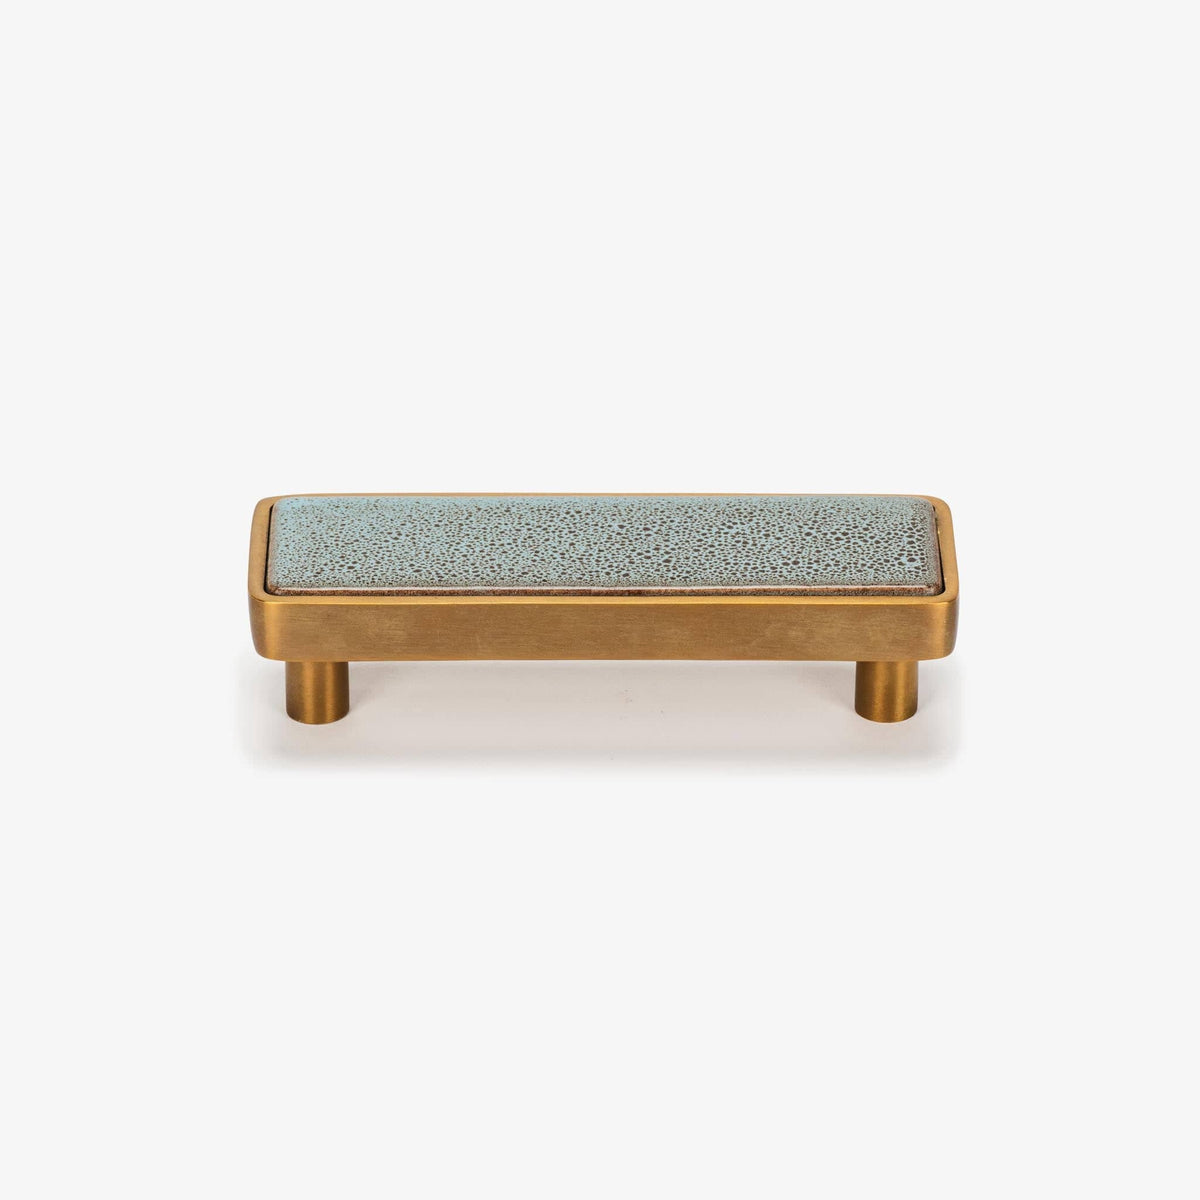
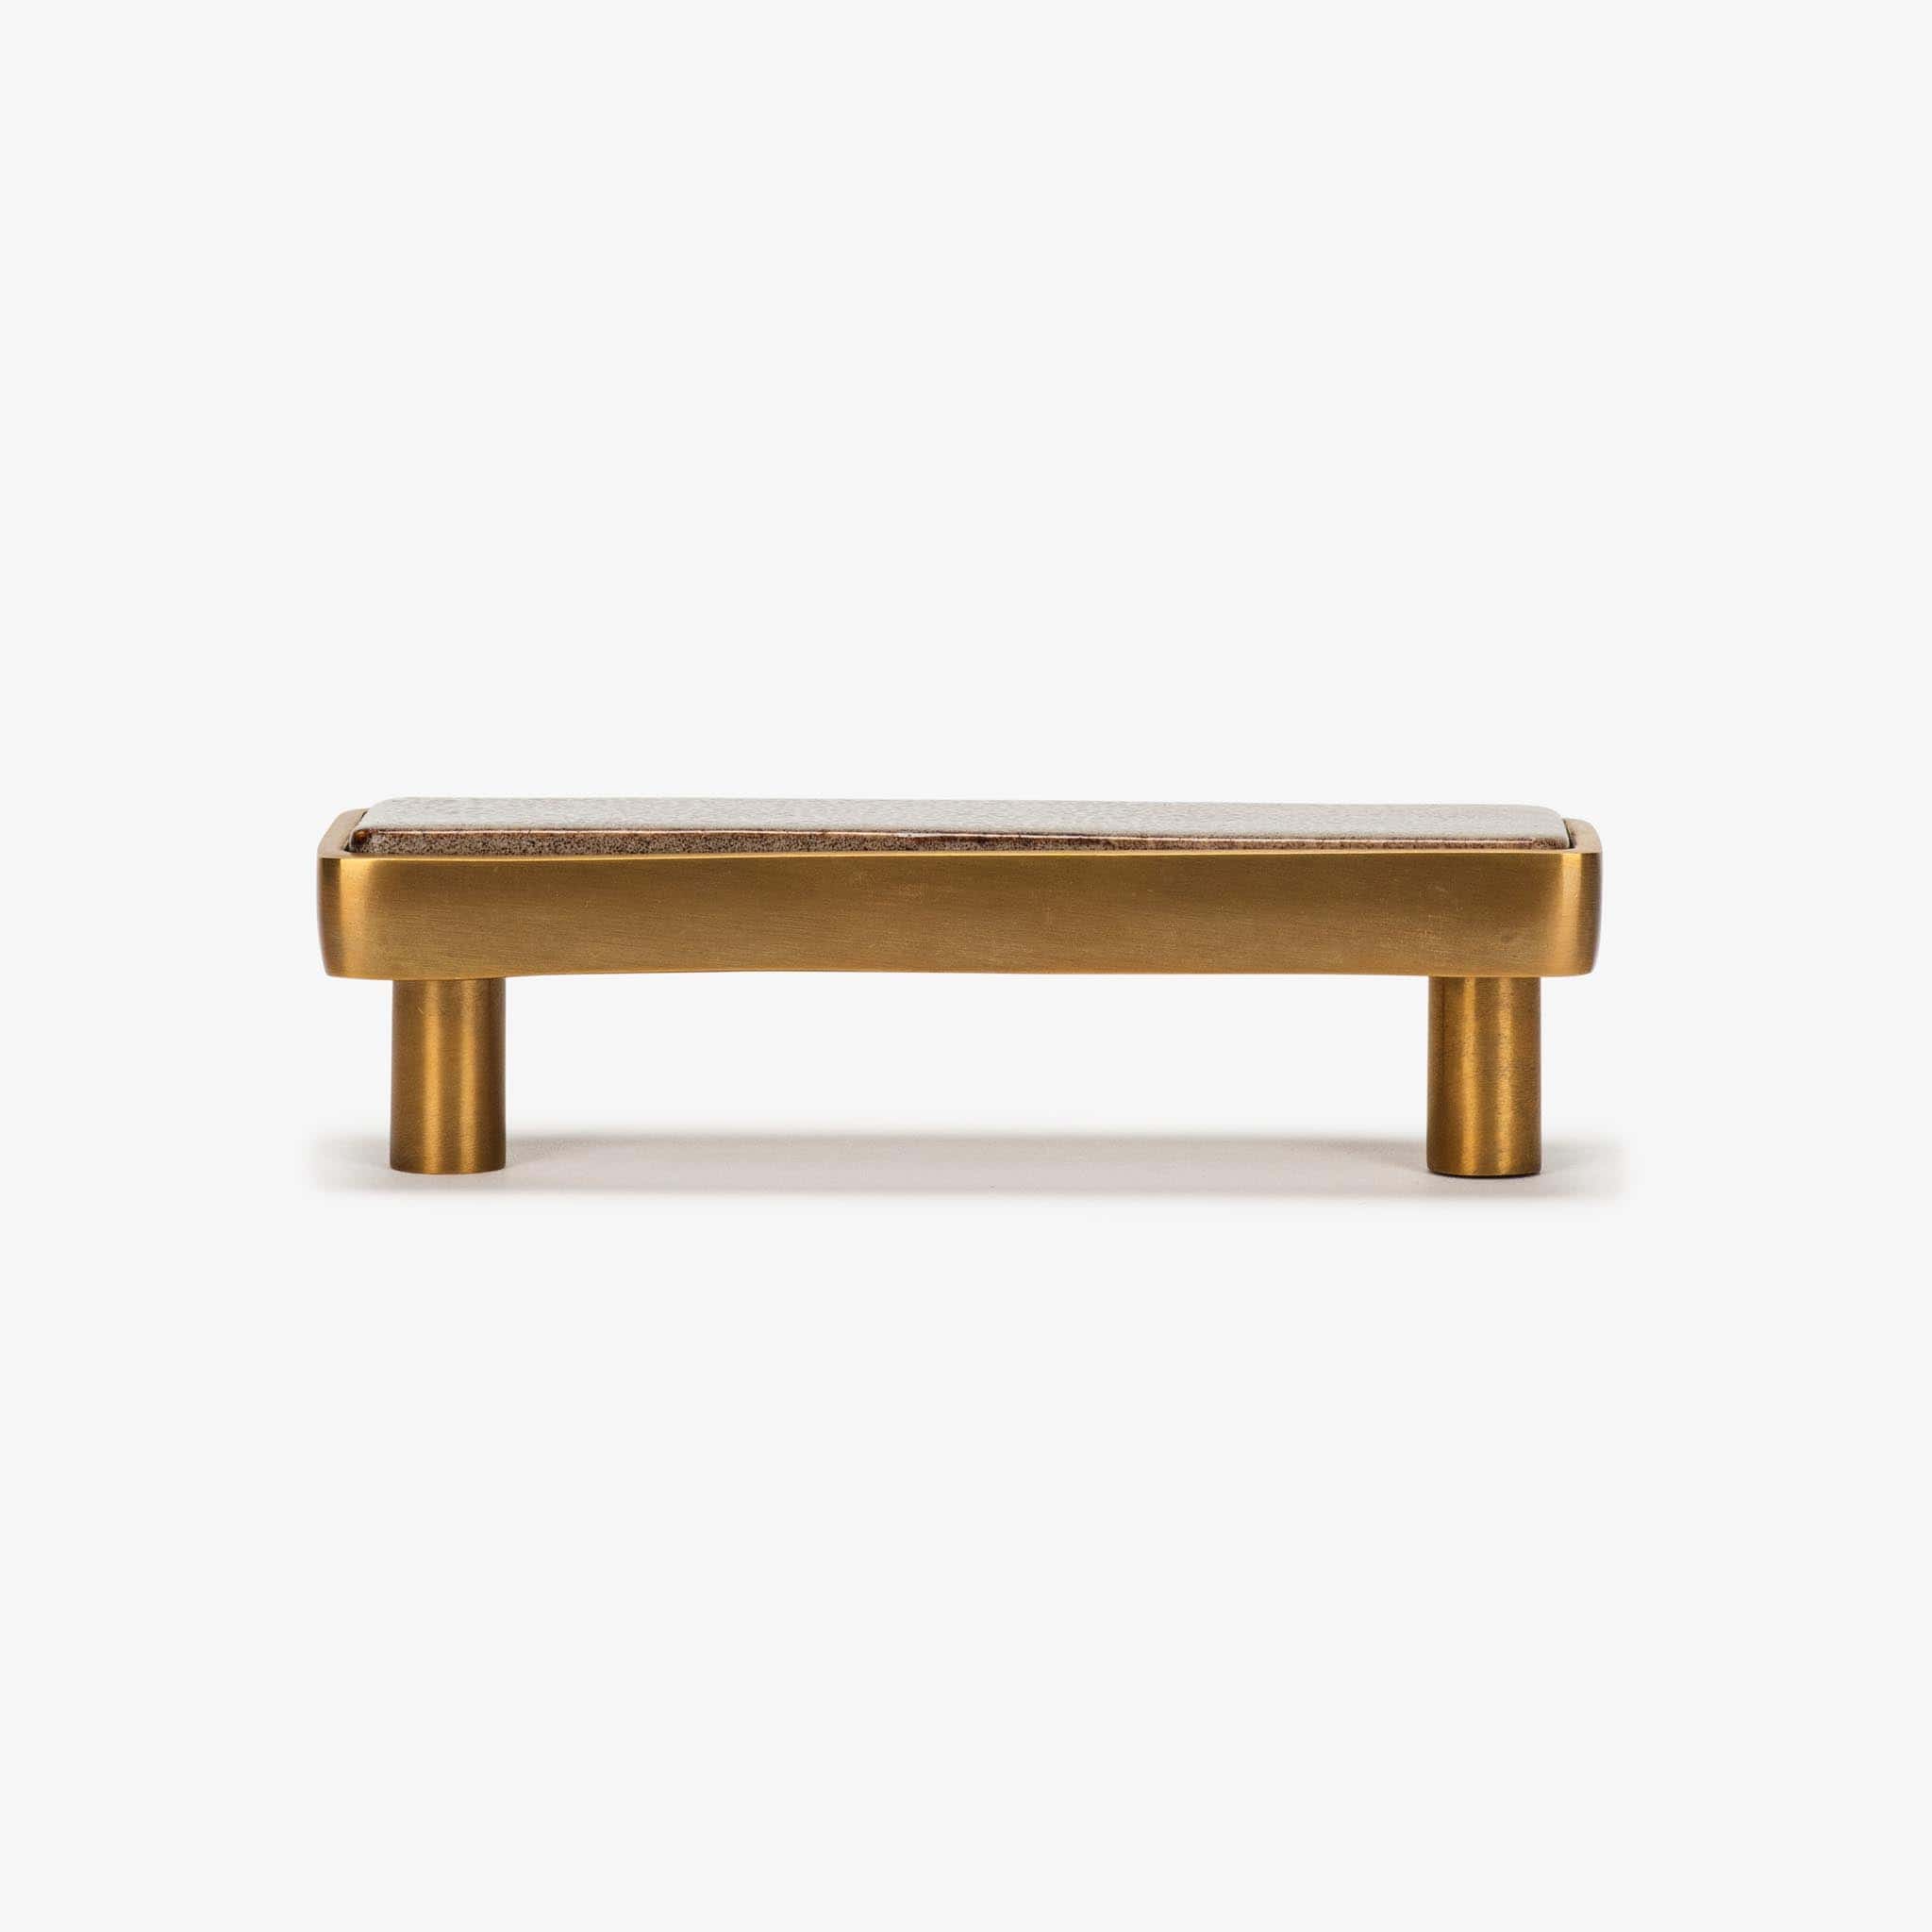
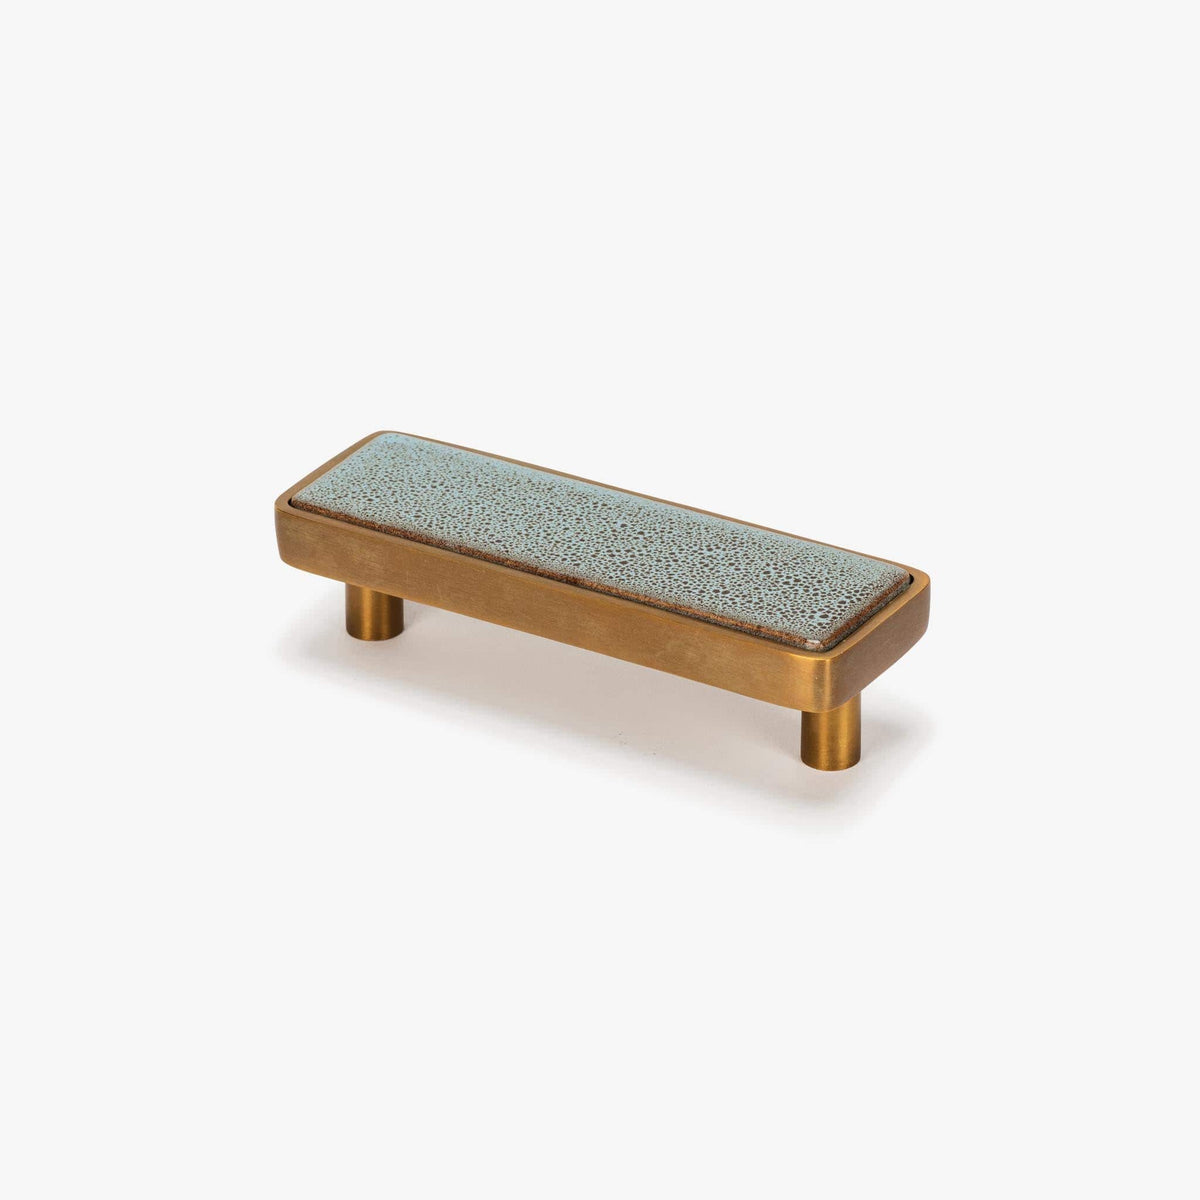
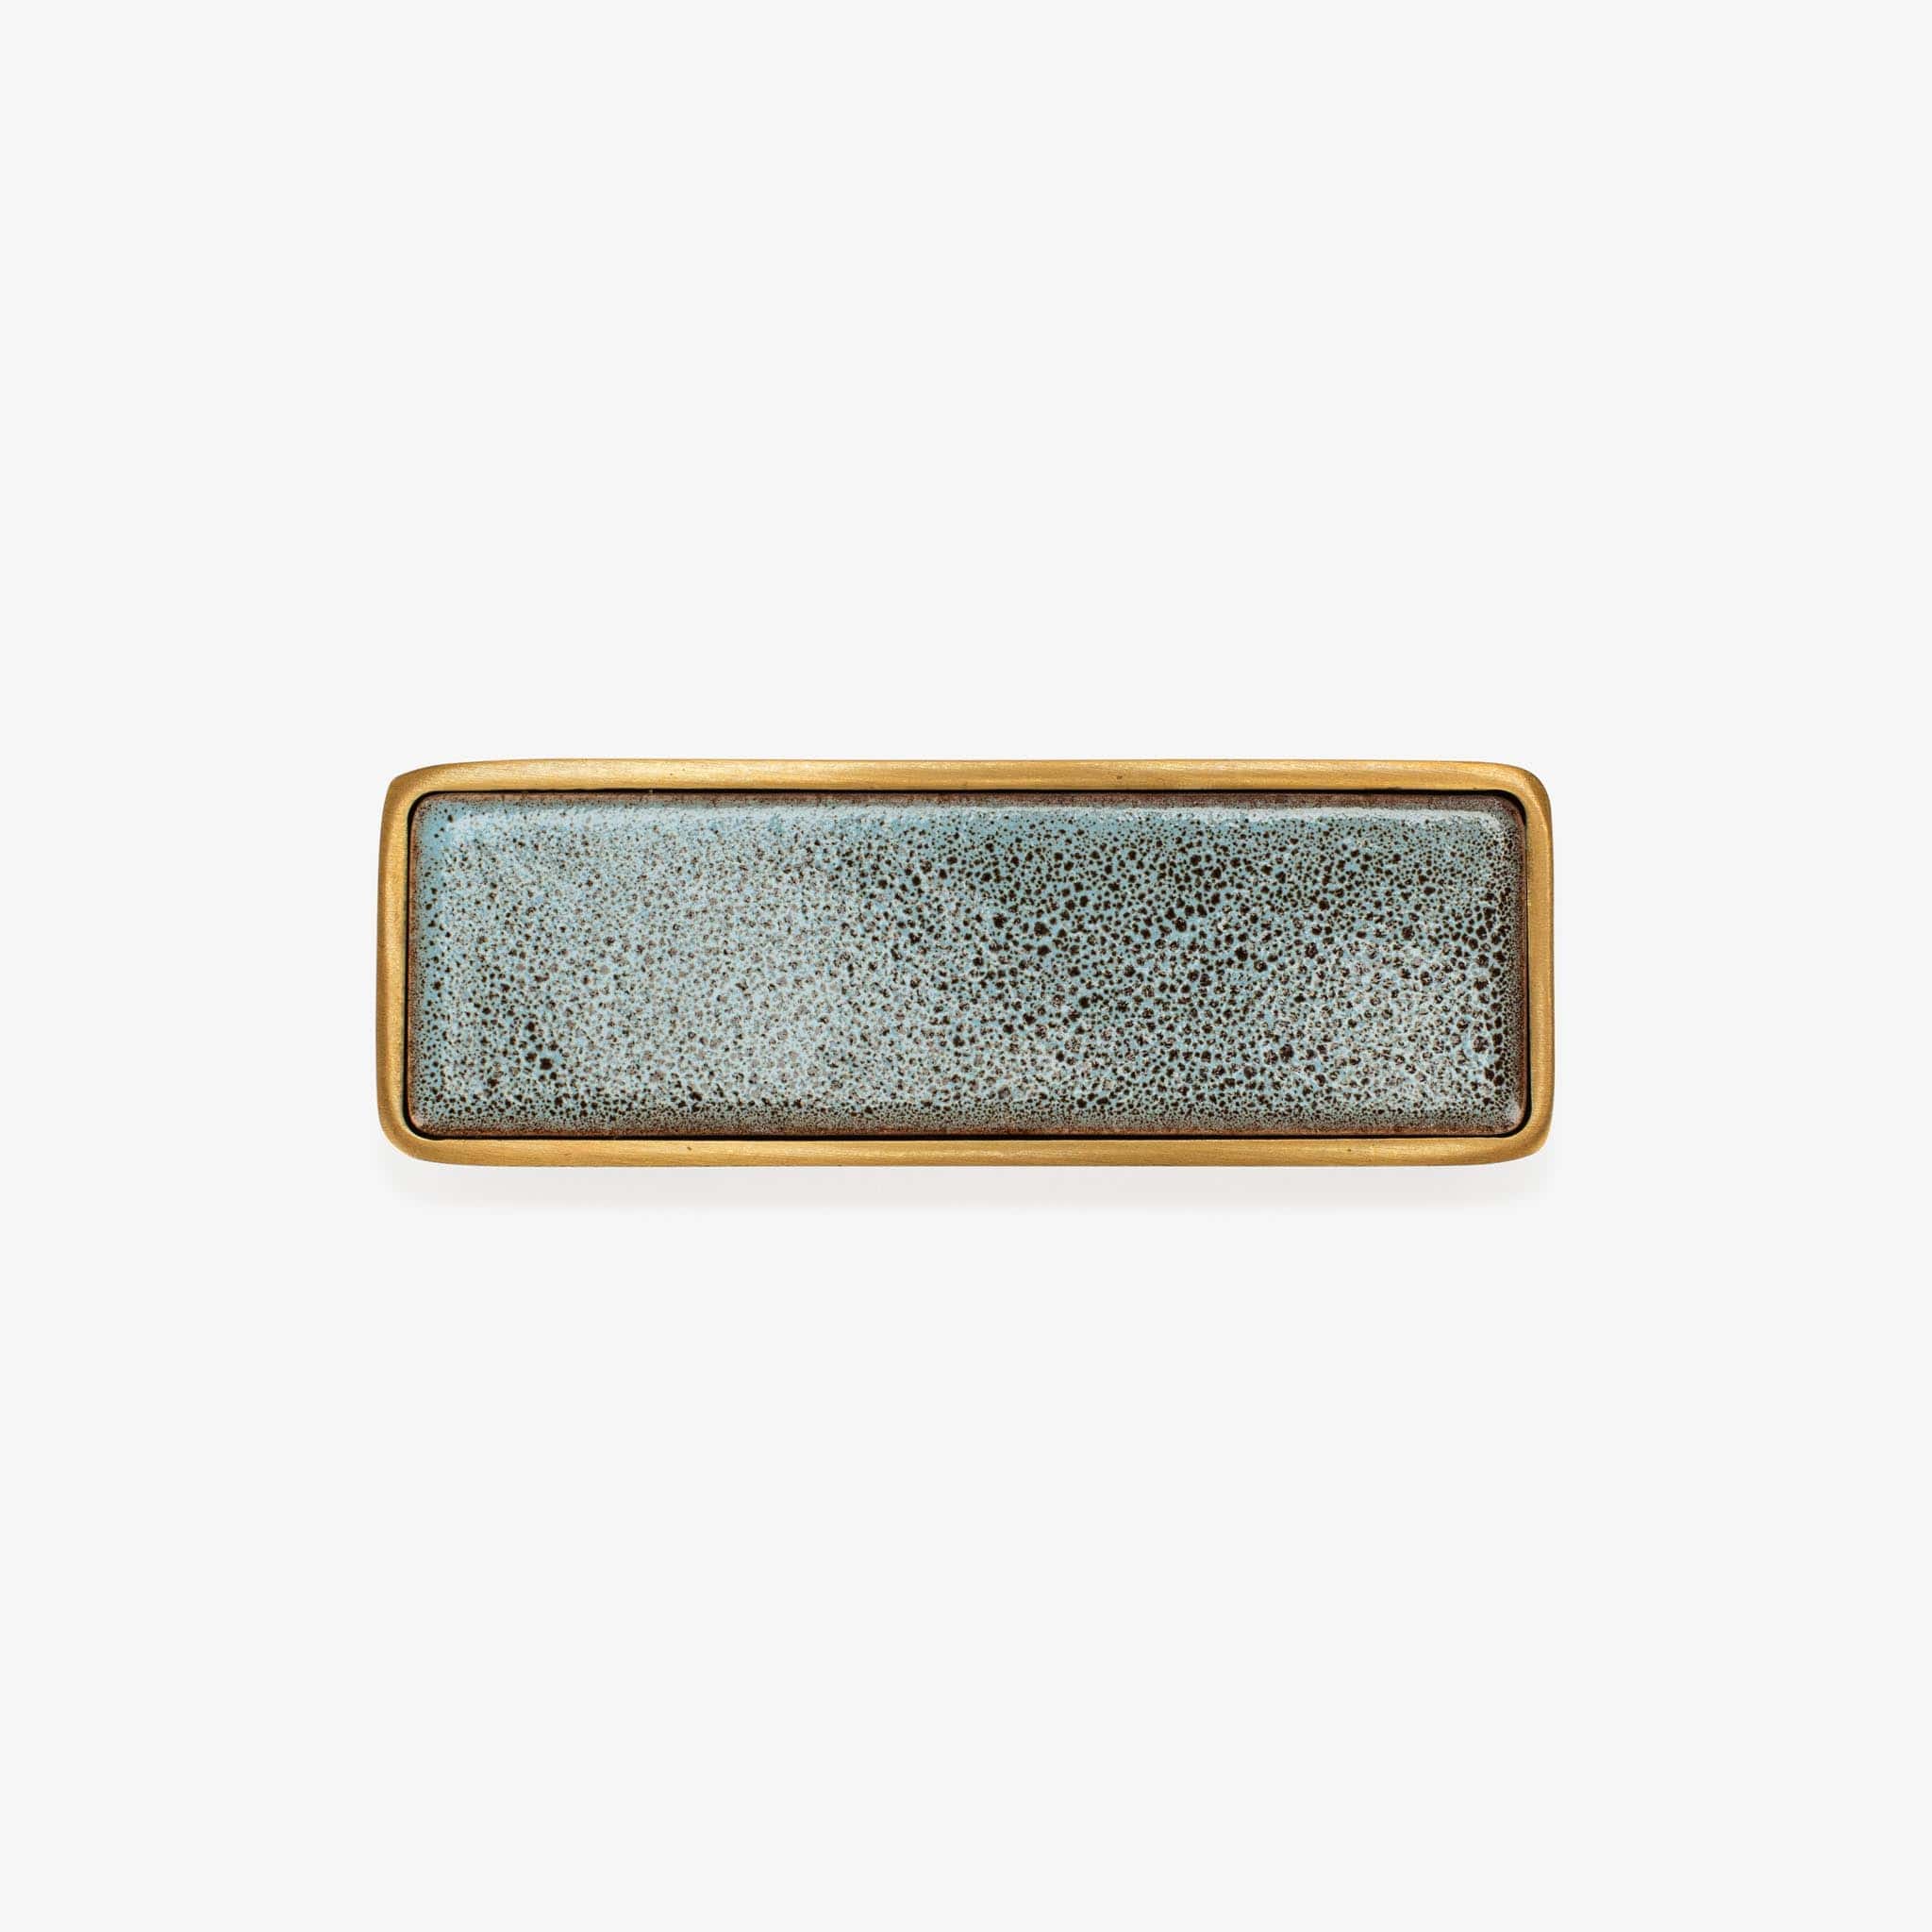
Fallingwater Ceramic Pull (4" c-c) - H2O

Archive
Sale price$32.25 Regular price$129 In stock
SKU: DM1506BBBLU
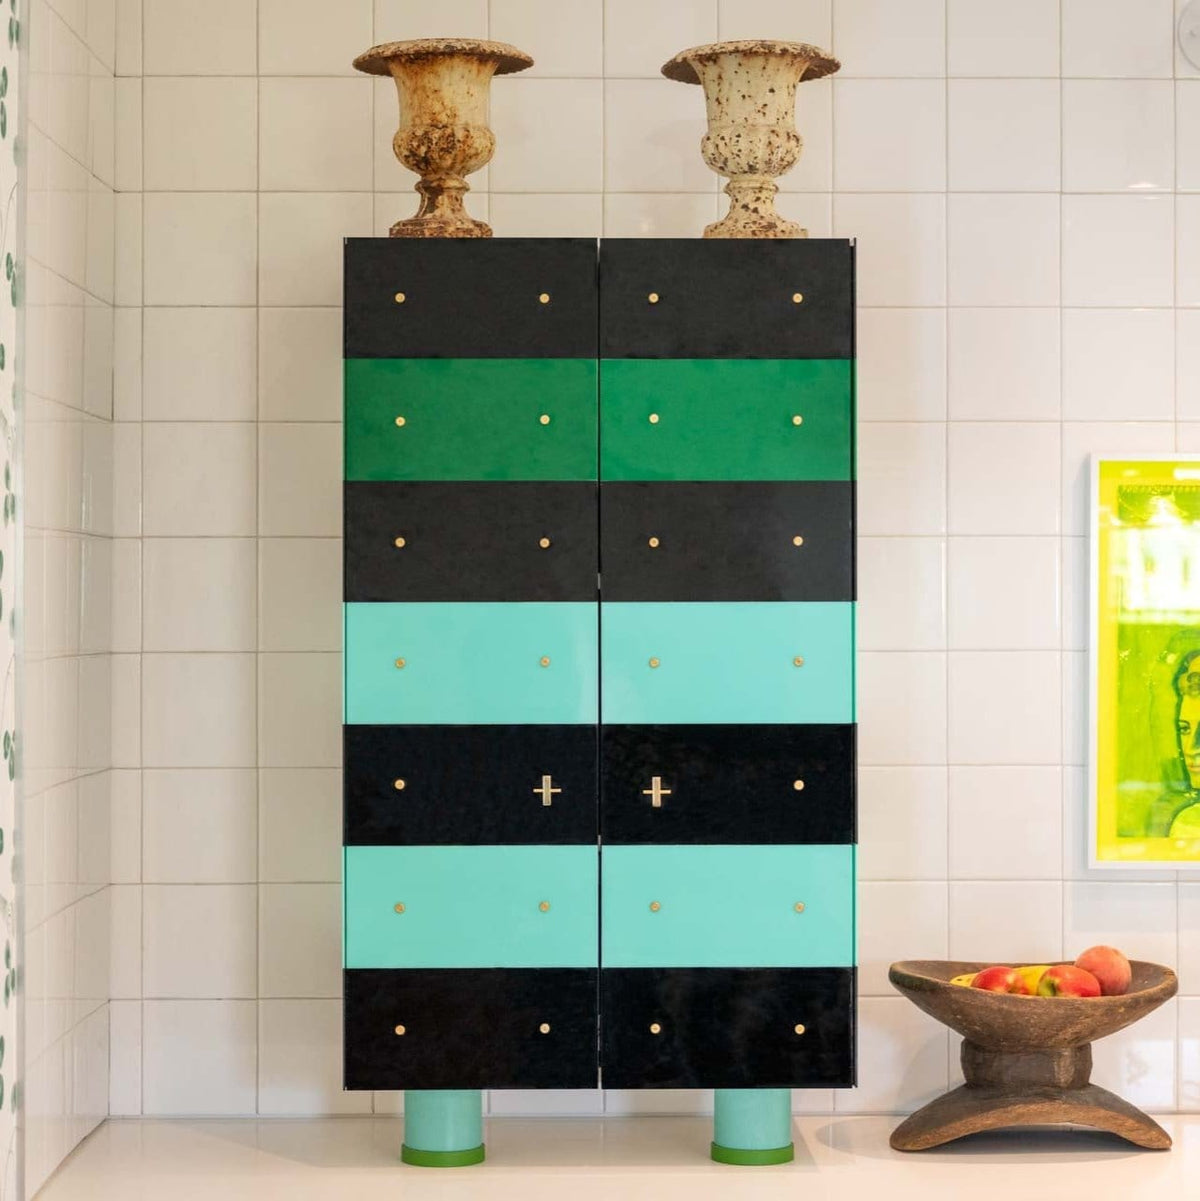
A tribute to Frank Lloyd Wright’s architectural masterpiece, the Fallingwater 1.50" Ceramic Knob features burnished brass paired with distinctive ceramic glazes, reflecting the natural beauty of Wright’s iconic Fallingwater house. Esteemed artist and designer Doug Meyer drew inspiration from the slender, chunky, cantilevered balconies that define the structure to create this cabinet pull. “The moment I saw the burnished brass that Modern Matter could create, I knew I wanted to combine it with exquisite ceramic glazes, making each piece uniquely beautiful.” Burnished Brass finish is hand-applied by our amazing artisans. There may be natural variations in the finish, which makes each piece charming and unique and are not product defects. Such variations are inherent in the manufacturing of handmade products. Like a family heirloom, each Modern Matter product is filled with love, care, and careful thought.

Member of the Trade? Log in Here

No Returns
Estimated ship date: 9/18/26
5 year warranty

Product Details

Projection:
1.4"
Center to Center:
4" C-C

Shop the American Rhapsody Collection
Archive
Intaglio Enamel Knob - Oxblood#Color_Black
Intaglio Enamel Knob - Oxblood Sale price$7.50 Regular price$30
Color
Archive
O Enamel Pull Set (3" c-c) - Flamingo#Color_Flamingo
O Enamel Pull Set (3" c-c) - Flamingo Sale price$49.75 Regular price$199
Color
Archive
Archimede 1.25" Solid Brass Knob - Polished Brass
Archimede 1.25" Solid Brass Knob - Polished Brass Sale price$19.75 Regular price$79
Archive
Triangle Solid Brass Bin Pull (3.5" c-c) - Polished Nickel
Archive
X Enamel Pull Set (3" c-c) - Frog#Color_Blue
X Enamel Pull Set (3" c-c) - Frog Sale price$42.25 Regular price$169
Color

Installation

Installing your pulls is simple and takes just minutes. Follow our step-by-step guide for precise, polished results.

Download Instructions Guide
Determine Placement Step 1

Determine Placement

Using a tape measure, measure your pull’s center-to-center distance to confirm correct hole spacing. Then determine the pull orientation and ideal placement on each door or drawer.

Mark the Surface Step 2

Mark the Surface

Apply painter’s tape and mark both drill points, ensuring the spacing matches your pull’s center-to-center measurement. Use a level to confirm both holes are perfectly aligned.

Drill the Openings Step 3

Drill the Openings

Using a 7/32" drill bit, carefully drill both marked holes. Remove the tape once complete to reveal clean, ready-to-install openings.

Install by Hand Step 4

Install by Hand

Insert the appropriate screw (typically 1” for ¾” thickness) into the drilled holes. Attach the pull, rotate screw until hand-tight, then secure with a screwdriver.