





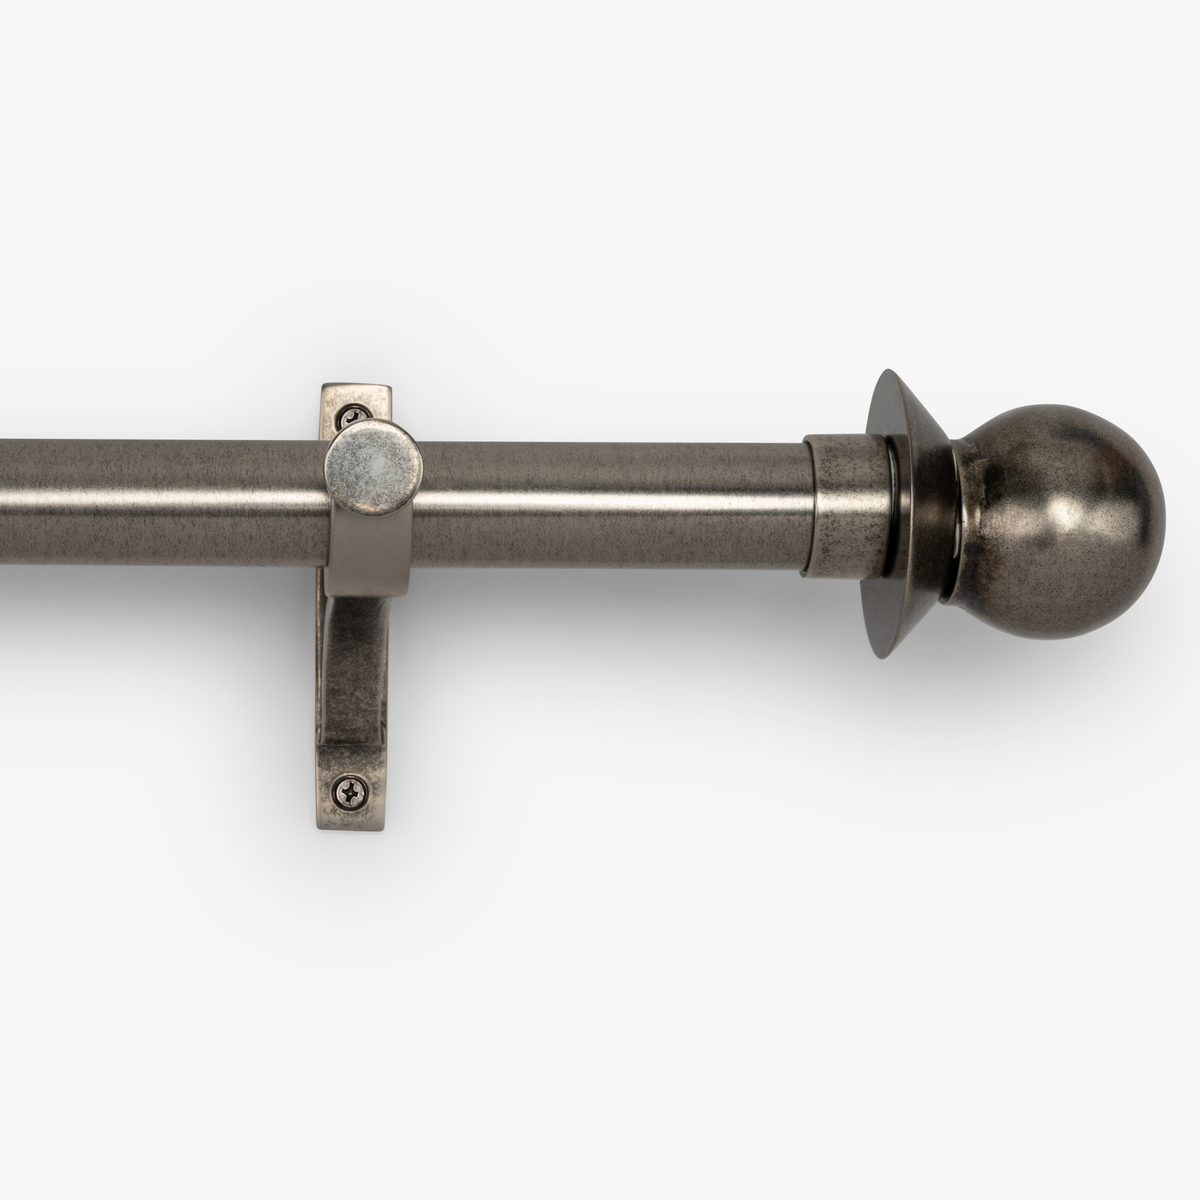
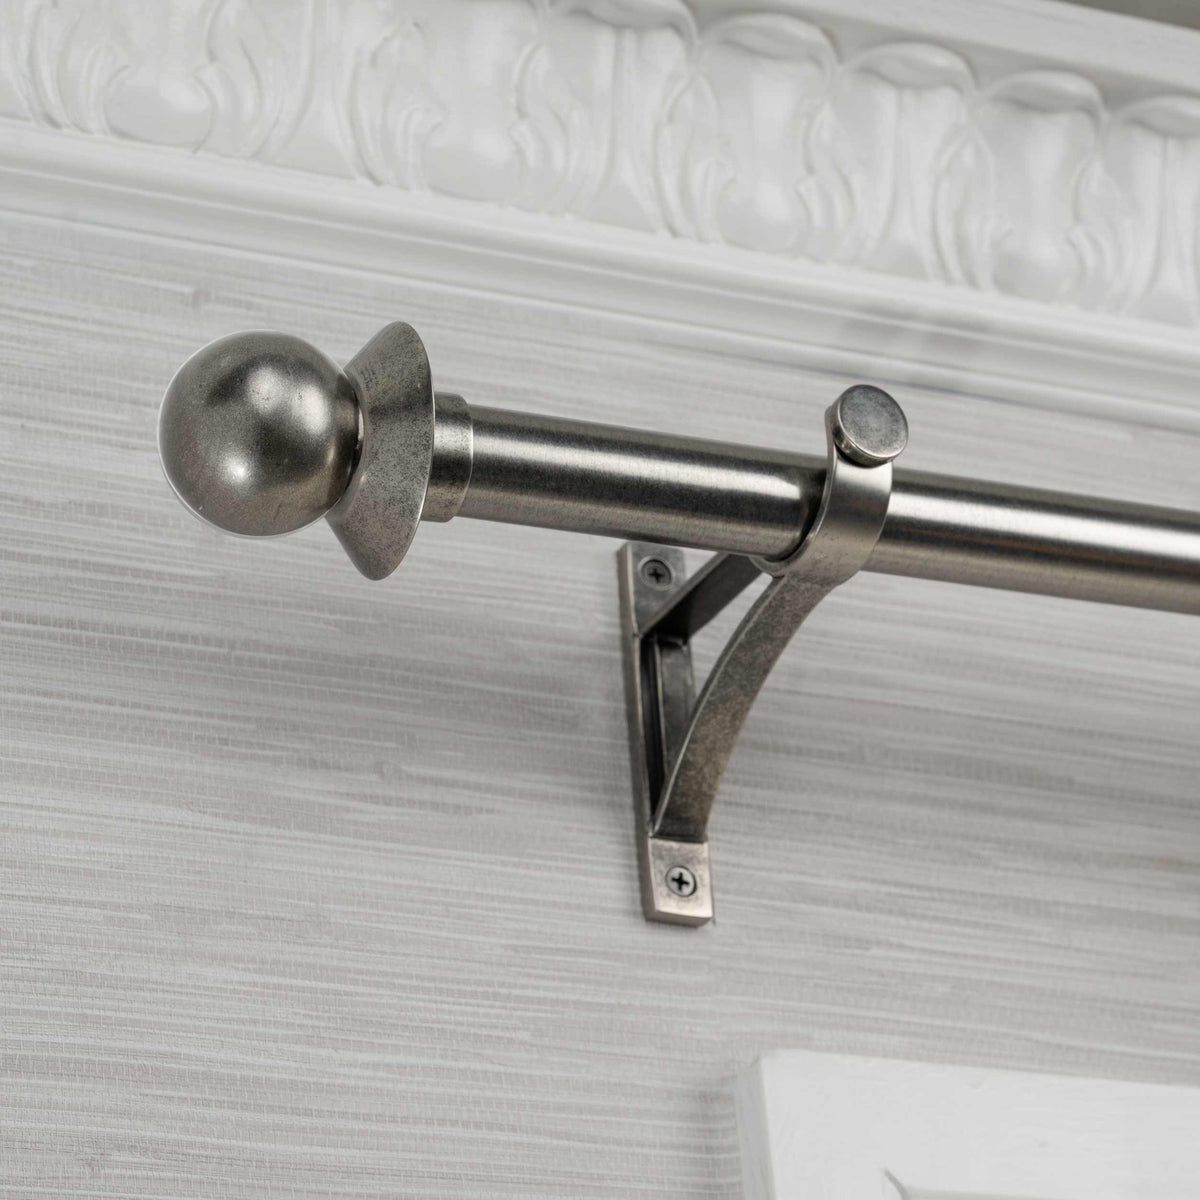
Dorothy Finial Set – Antique Nickel


Your custom design includes:
SKU:
Member of the Trade? Log in Here
 No Returns
 Estimated ship date: 1/14/27
 5 year warranty
Product Details
Shipping
Shop the Schumacher x Modern Matter Collection
Available in 2 sizes
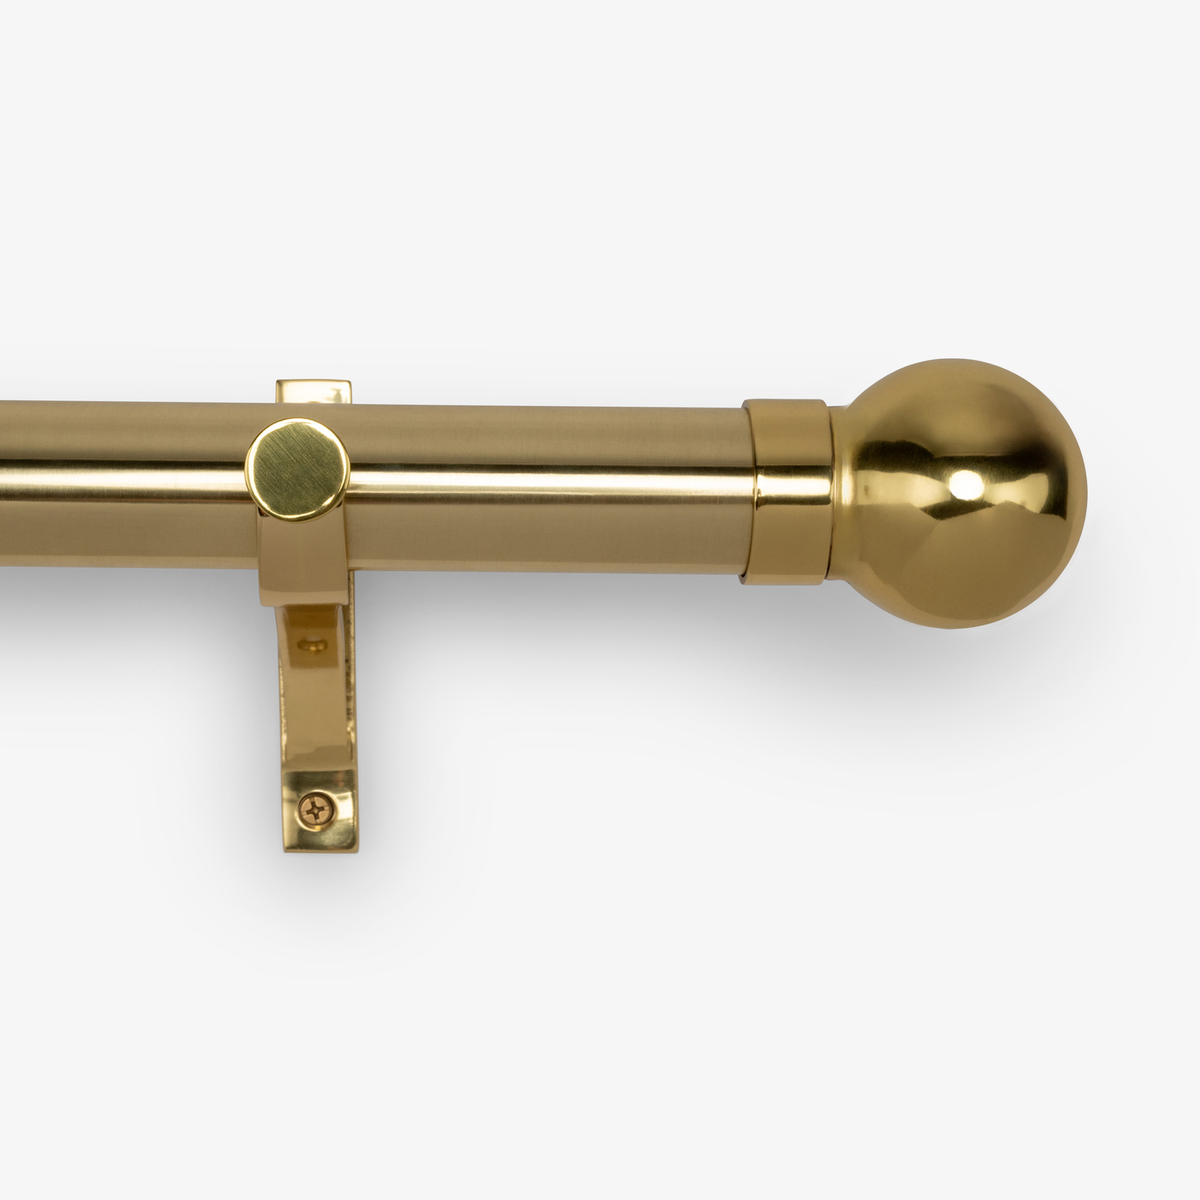
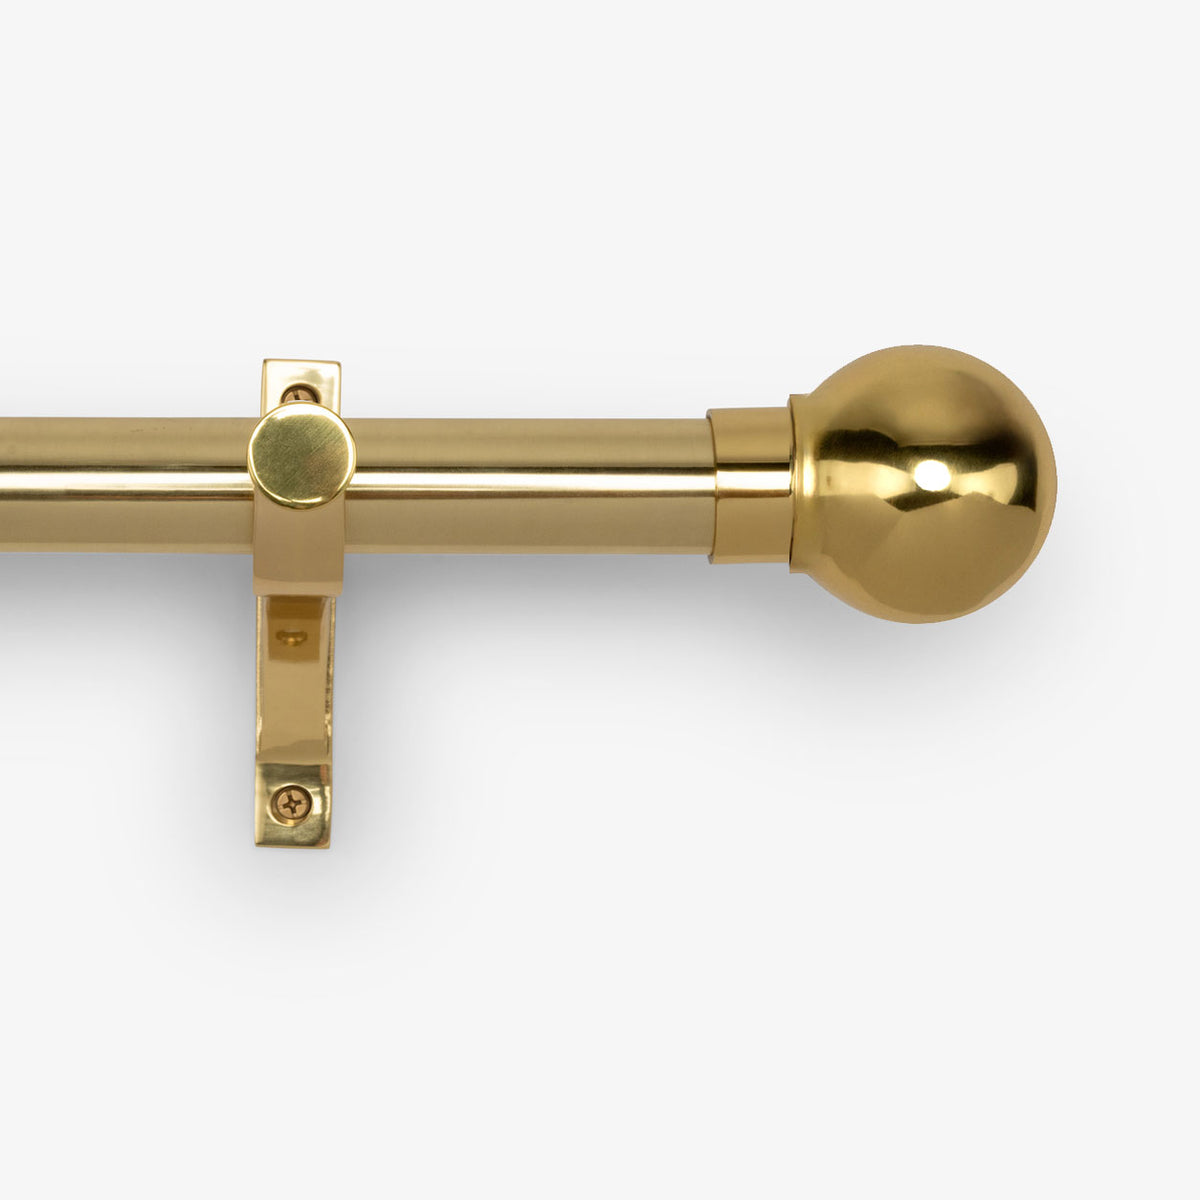
Available in 2 sizes
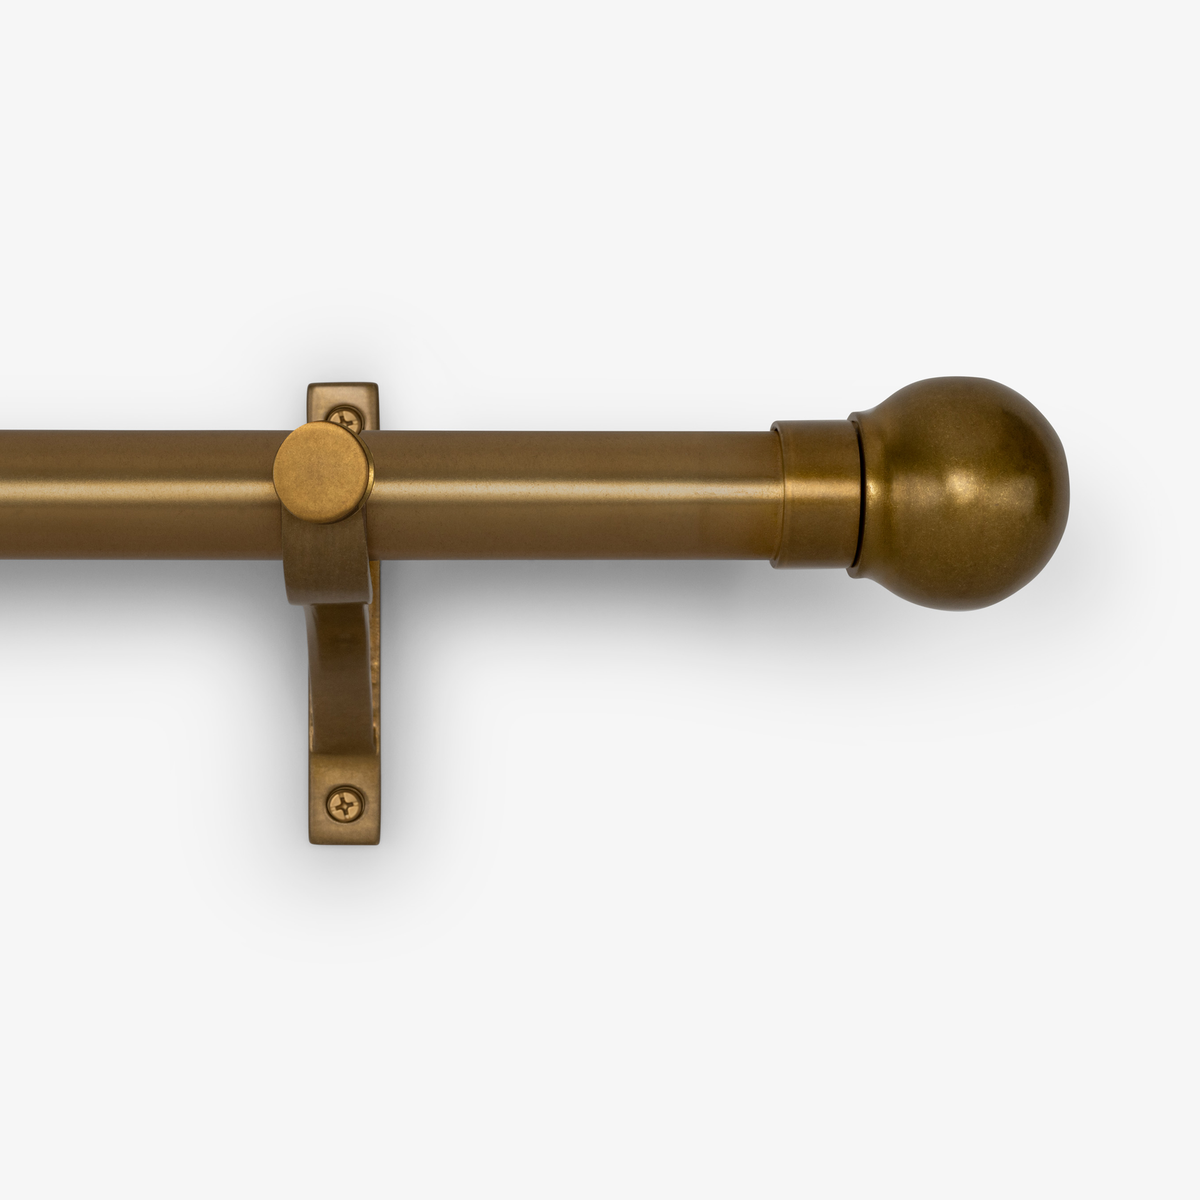
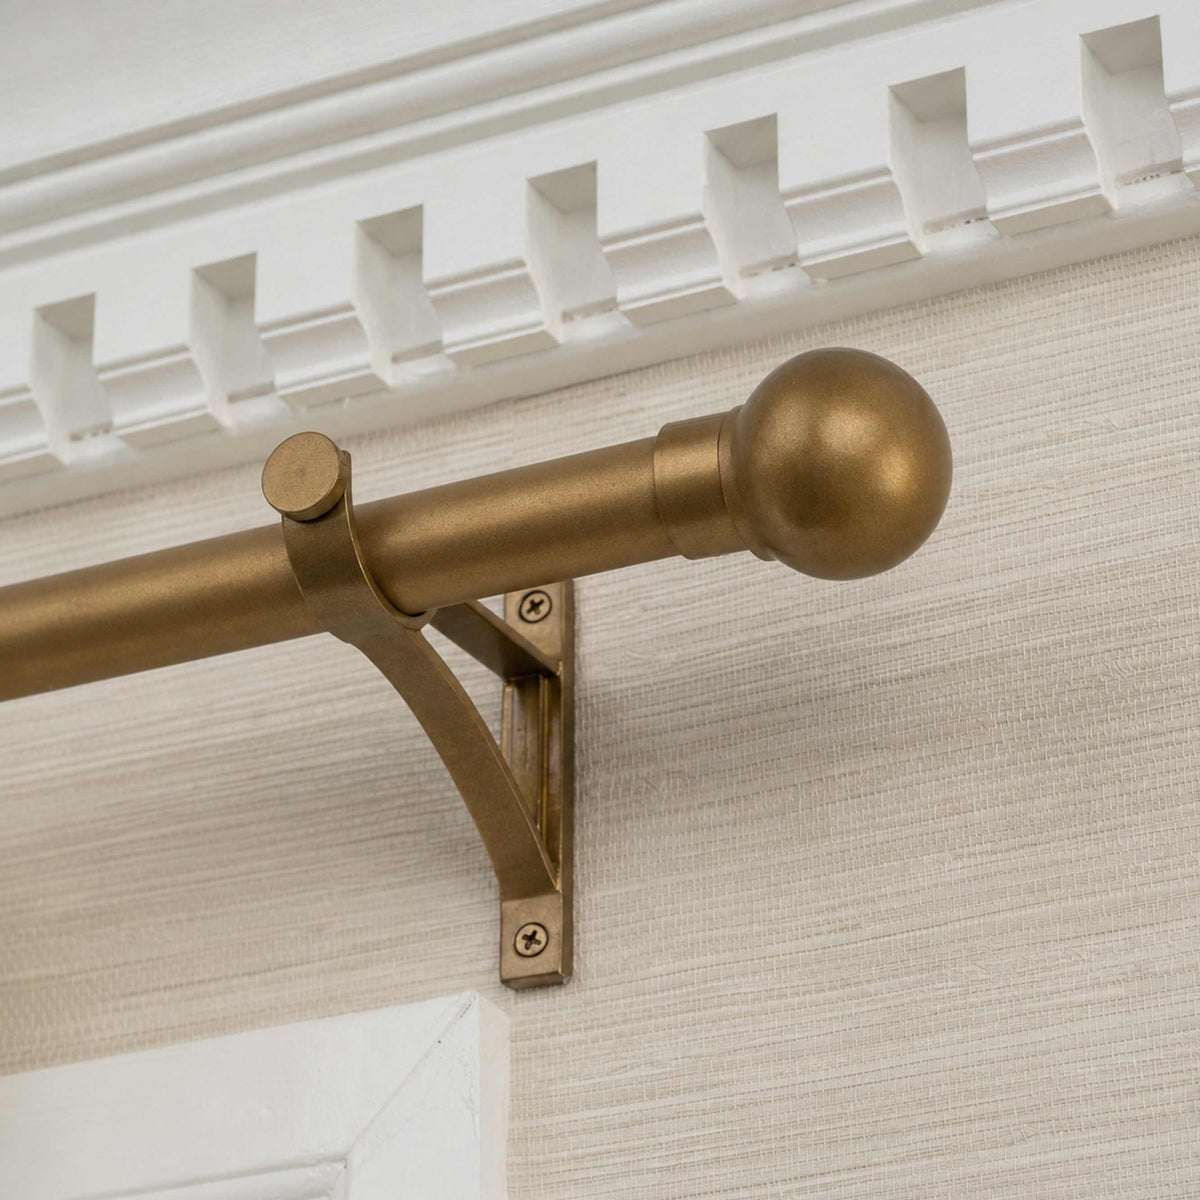
Available in 2 sizes
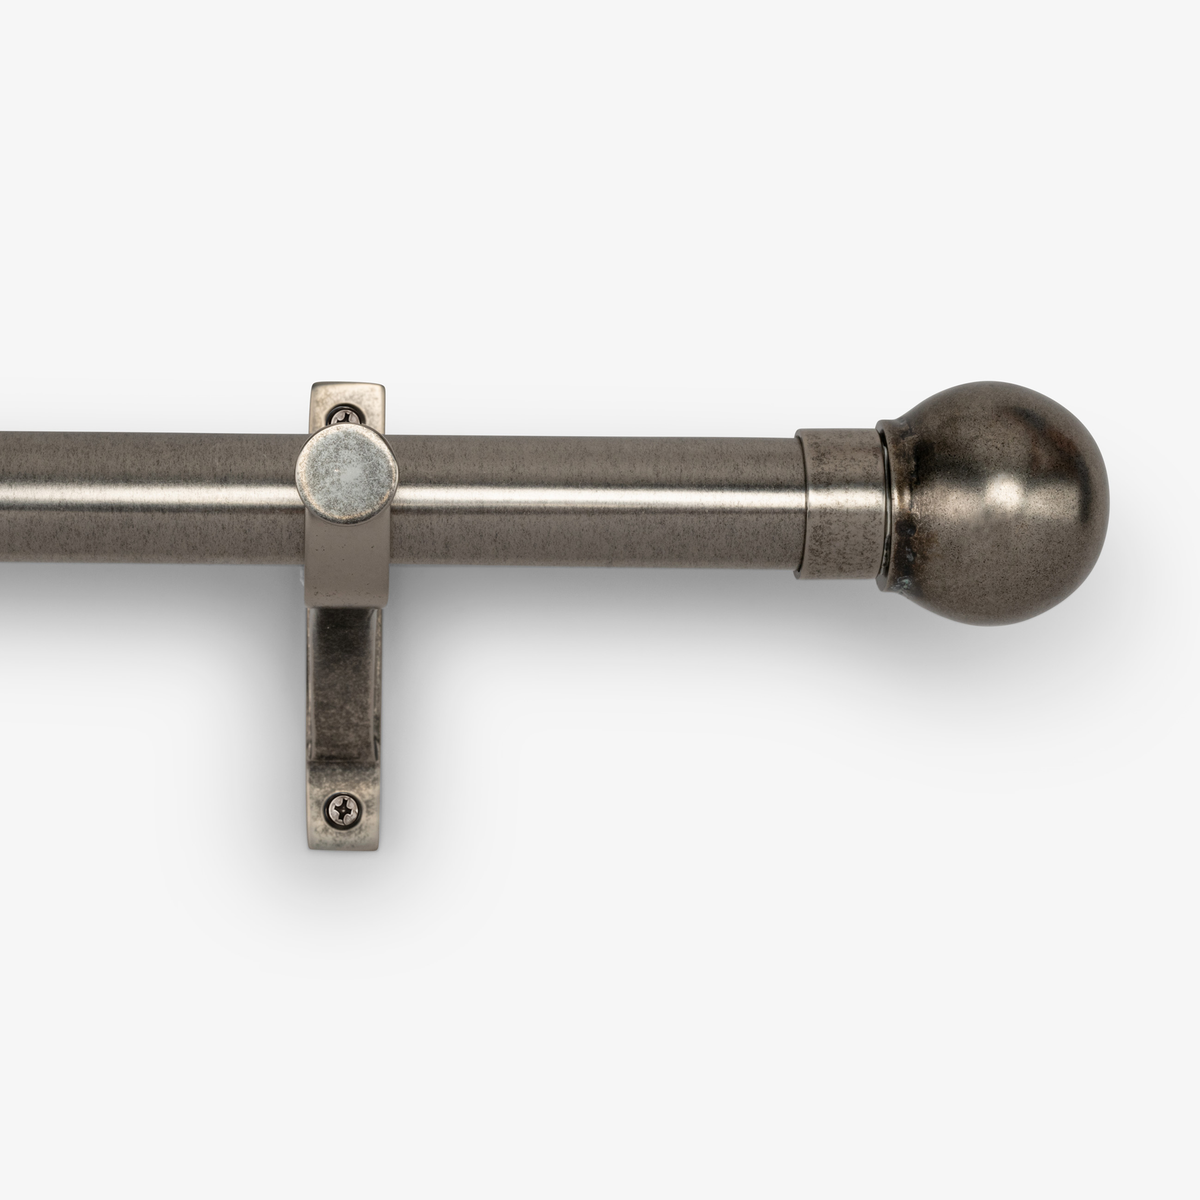
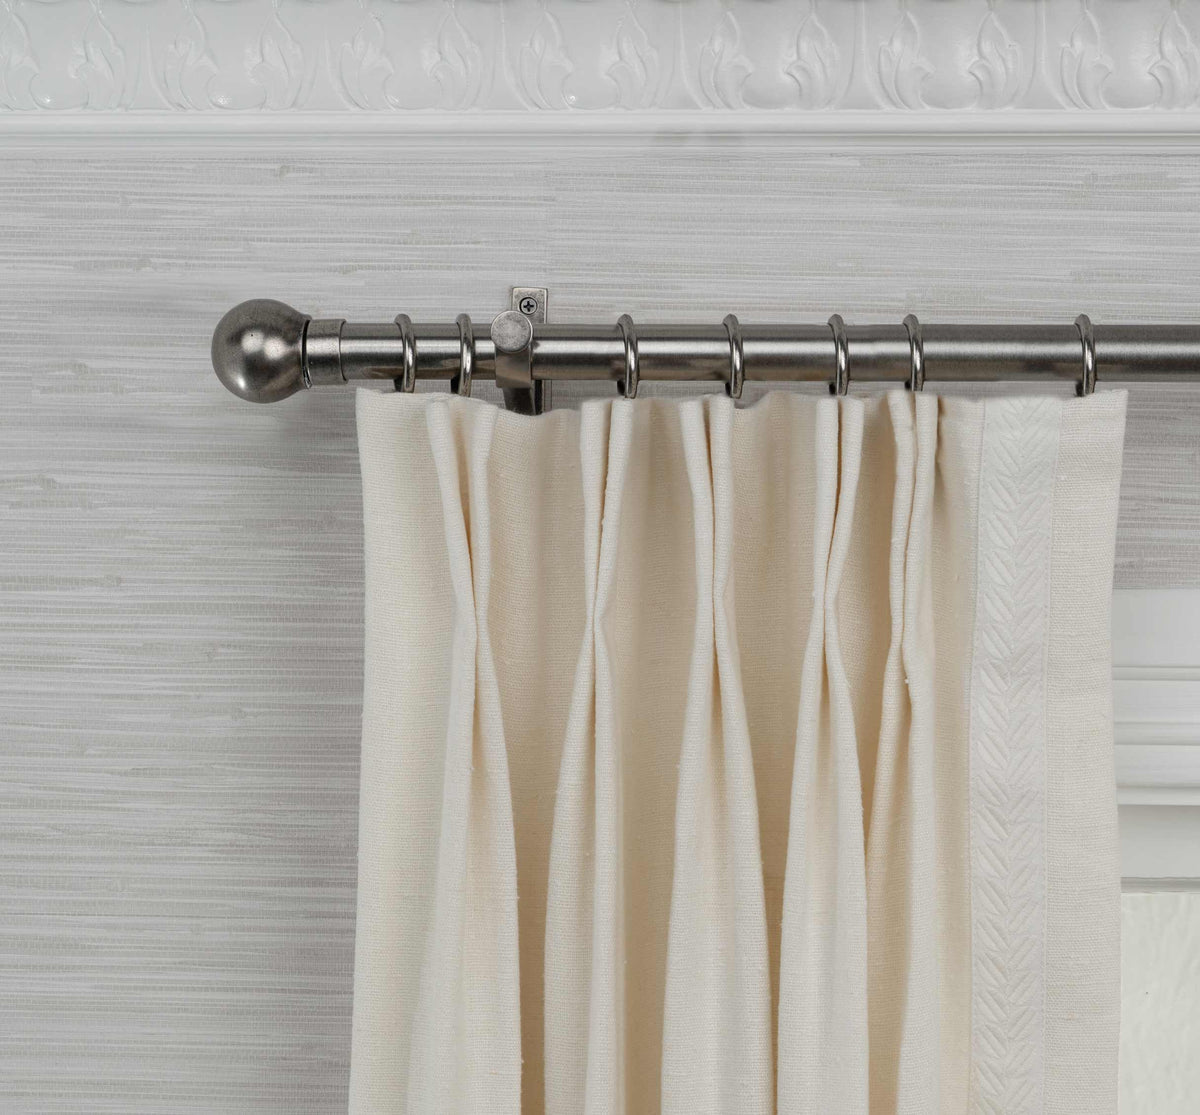
Available in 2 sizes
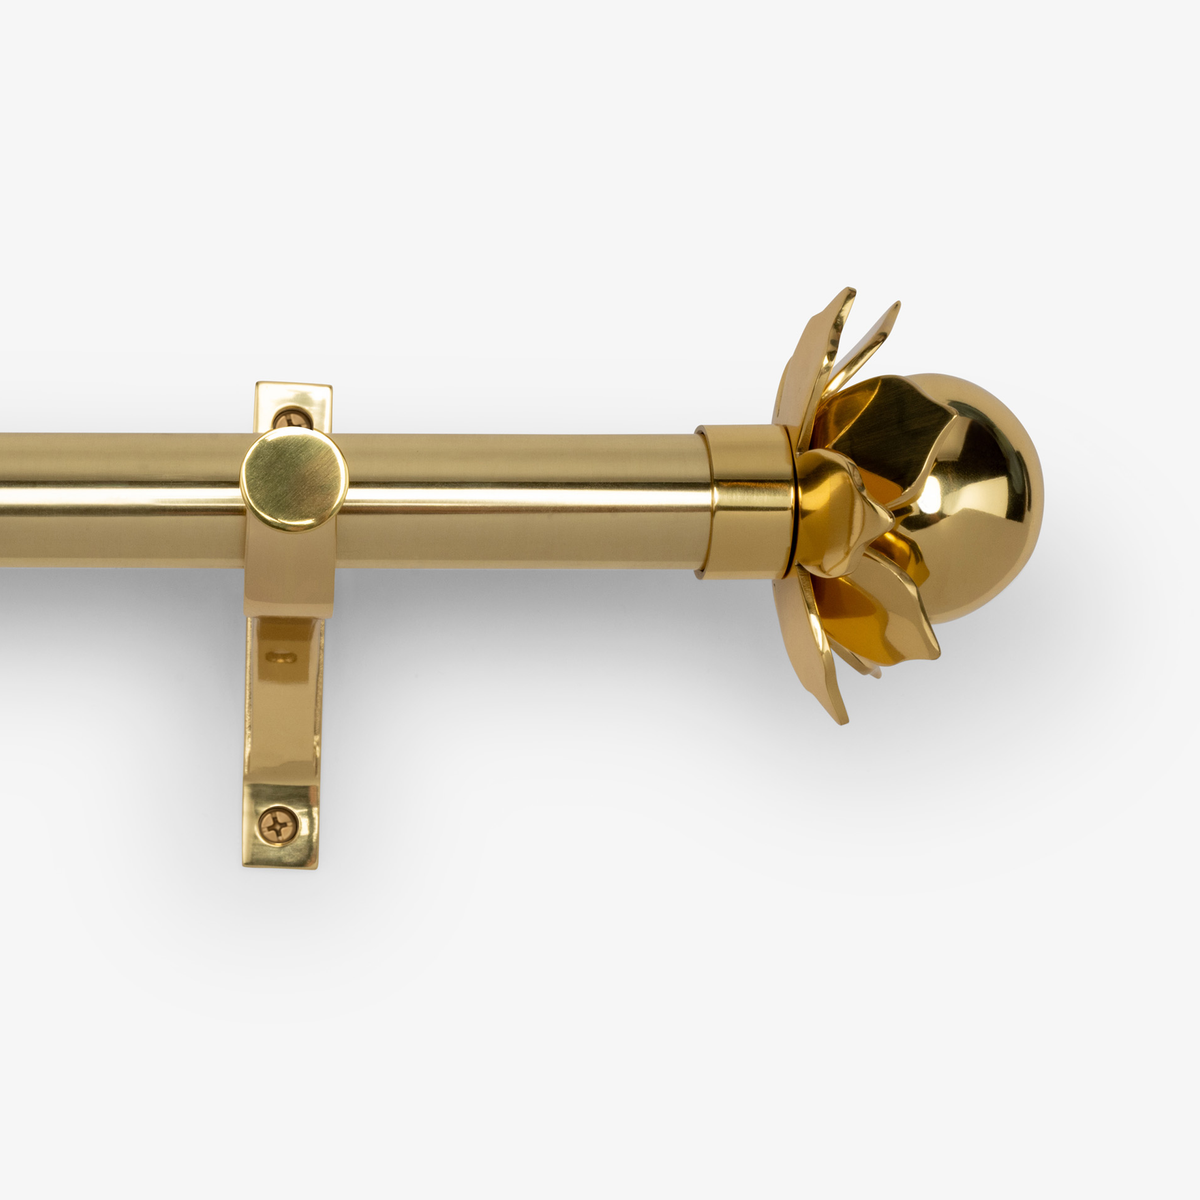
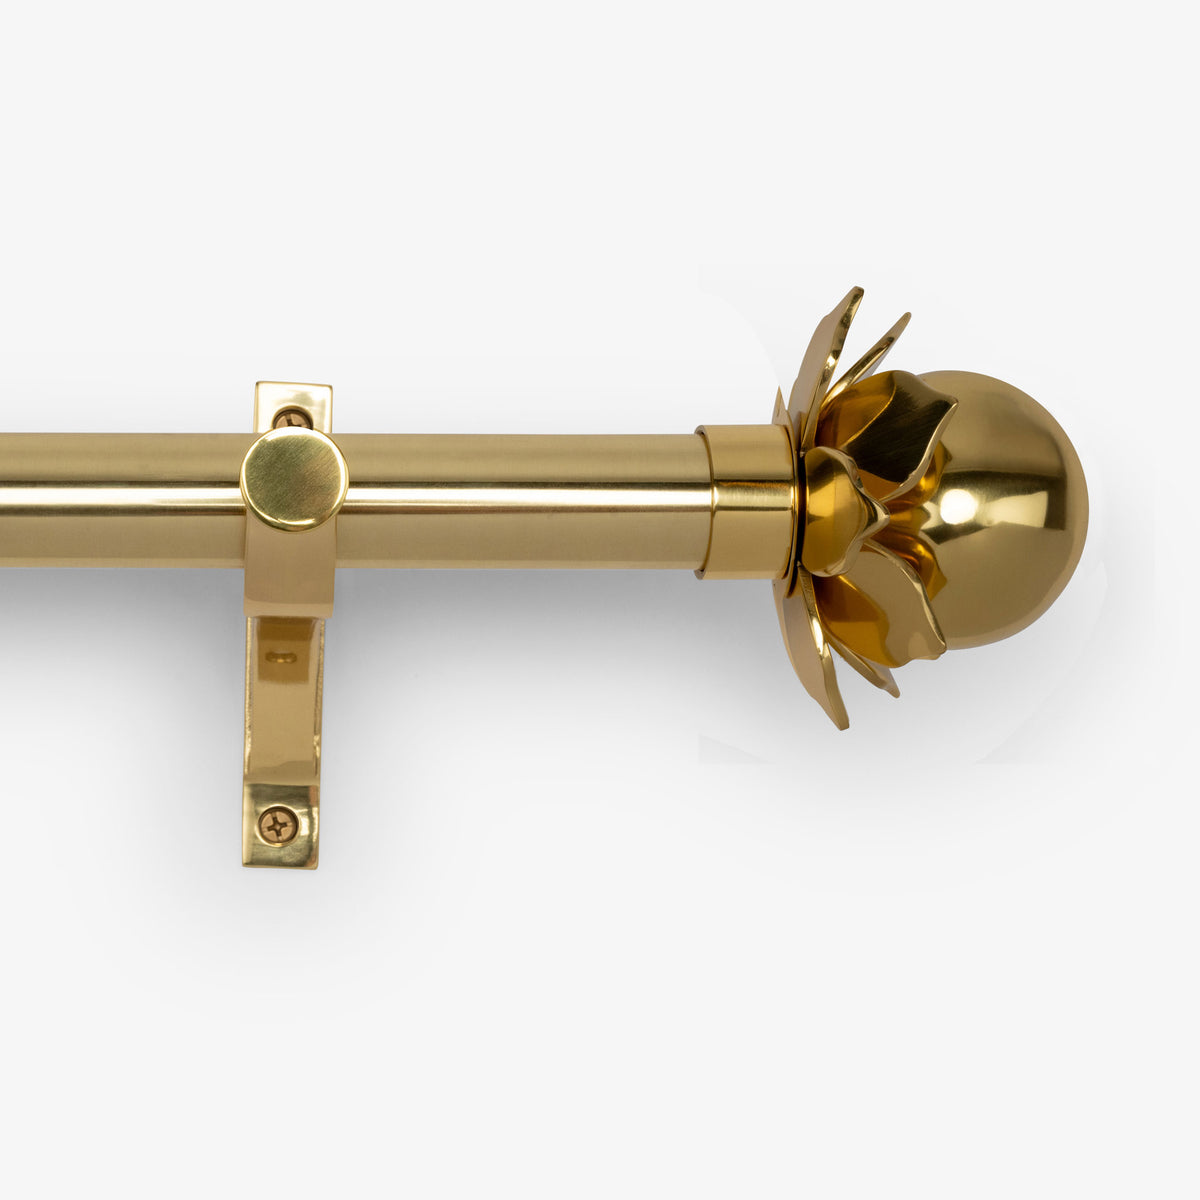
Available in 2 sizes
How Designers Are Using This
See how leading interior designers and architects are incorporating our hardware into their most stunning projects
Installation
Installing your drapery hardware is straightforward with the right placement and tools. Follow these four steps to securely mount the brackets, install the rod, and hang your drapery.
 Step 1
Mark Bracket Placement
Use a tape measure and level to determine the desired rod height and bracket locations. Mark the end bracket positions, then hold each bracket in place and mark every mounting hole directly through the bracket.
 Step 2
Install the Brackets
For drywall, drill pilot holes using the drill bit size specified for the supplied 50 lb wall anchors, then insert the anchors until flush with the wall. Position the brackets and tighten the matching screws until snug. For studs, use the supplied wood screws. For rods over 60", install the center bracket after leveling the rod.
 Step 3
Install the Rod and the Finials or End Caps
Before placing the rod onto the mounting brackets, attach the finial or end cap to the end of the rod using the supplied Allen key. Position the rod in the bracket cradles, making sure it is centered and fully seated in each bracket. Secure the rod by tightening each decorative set screw with the Allen key until snug. Confirm the rod is level before hanging the drapery.
 Step 4
Hang the Drapery
Attach the drapery pins to the back of the header below the finished top edge, then connect the drapery to the curtain ring eyelets. Test the rings to confirm they move freely along the rod and that the eyelets remain concealed.

Two Design Houses


