




Star 3.25" Enamel Backplate - Black
Member of the Trade? Log in Here
 No Returns
 5 year warranty
Product Details
Shipping
Shop the Sculptural Statements Collection
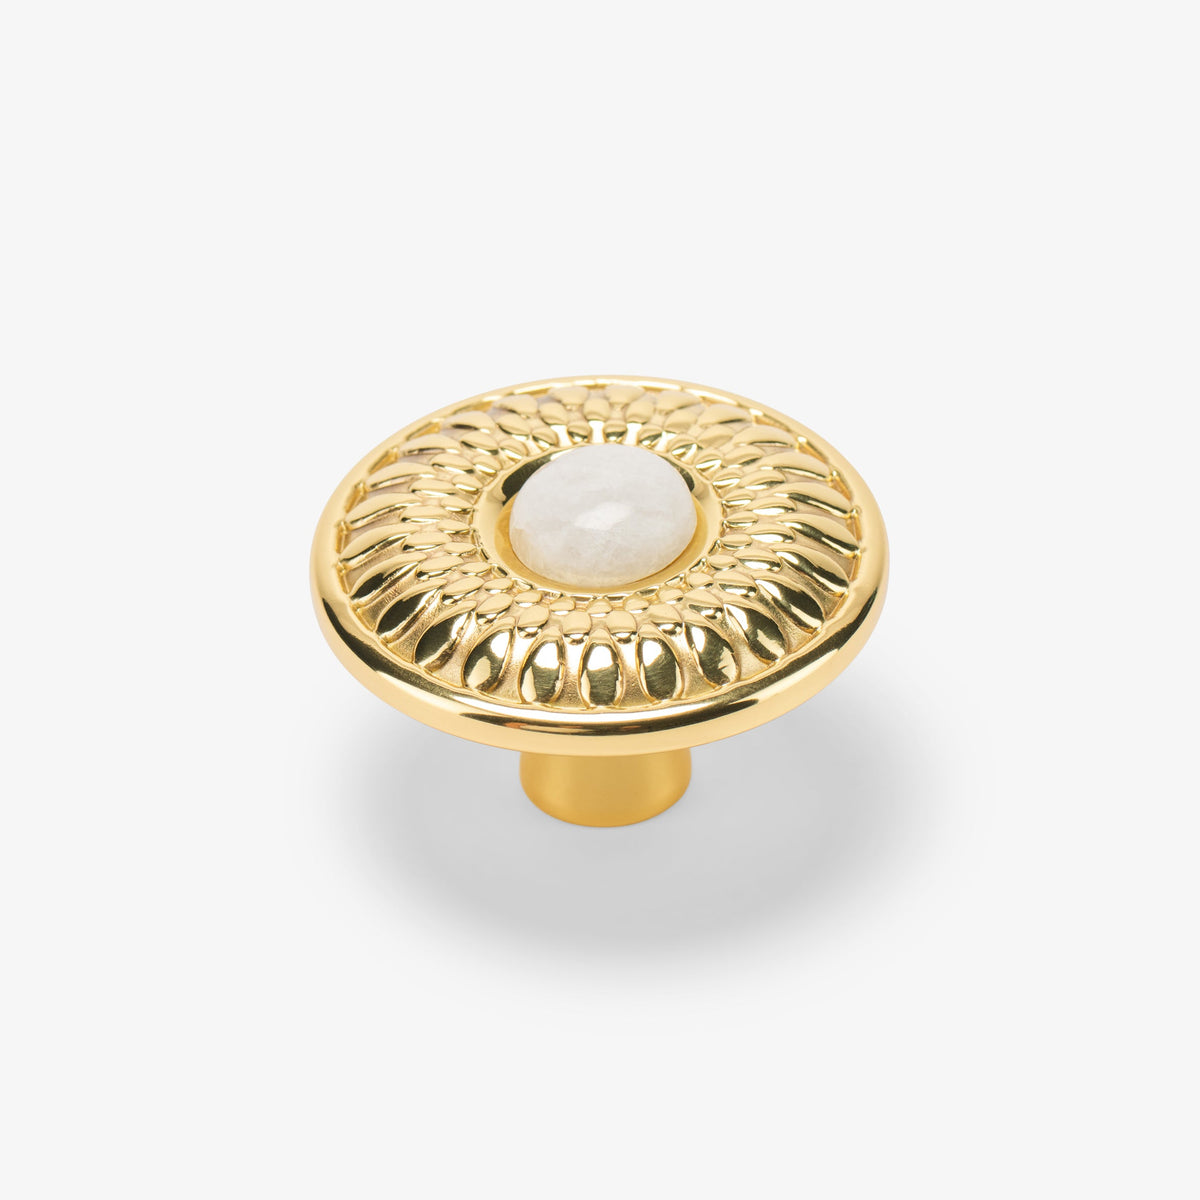

Available in 2 sizes
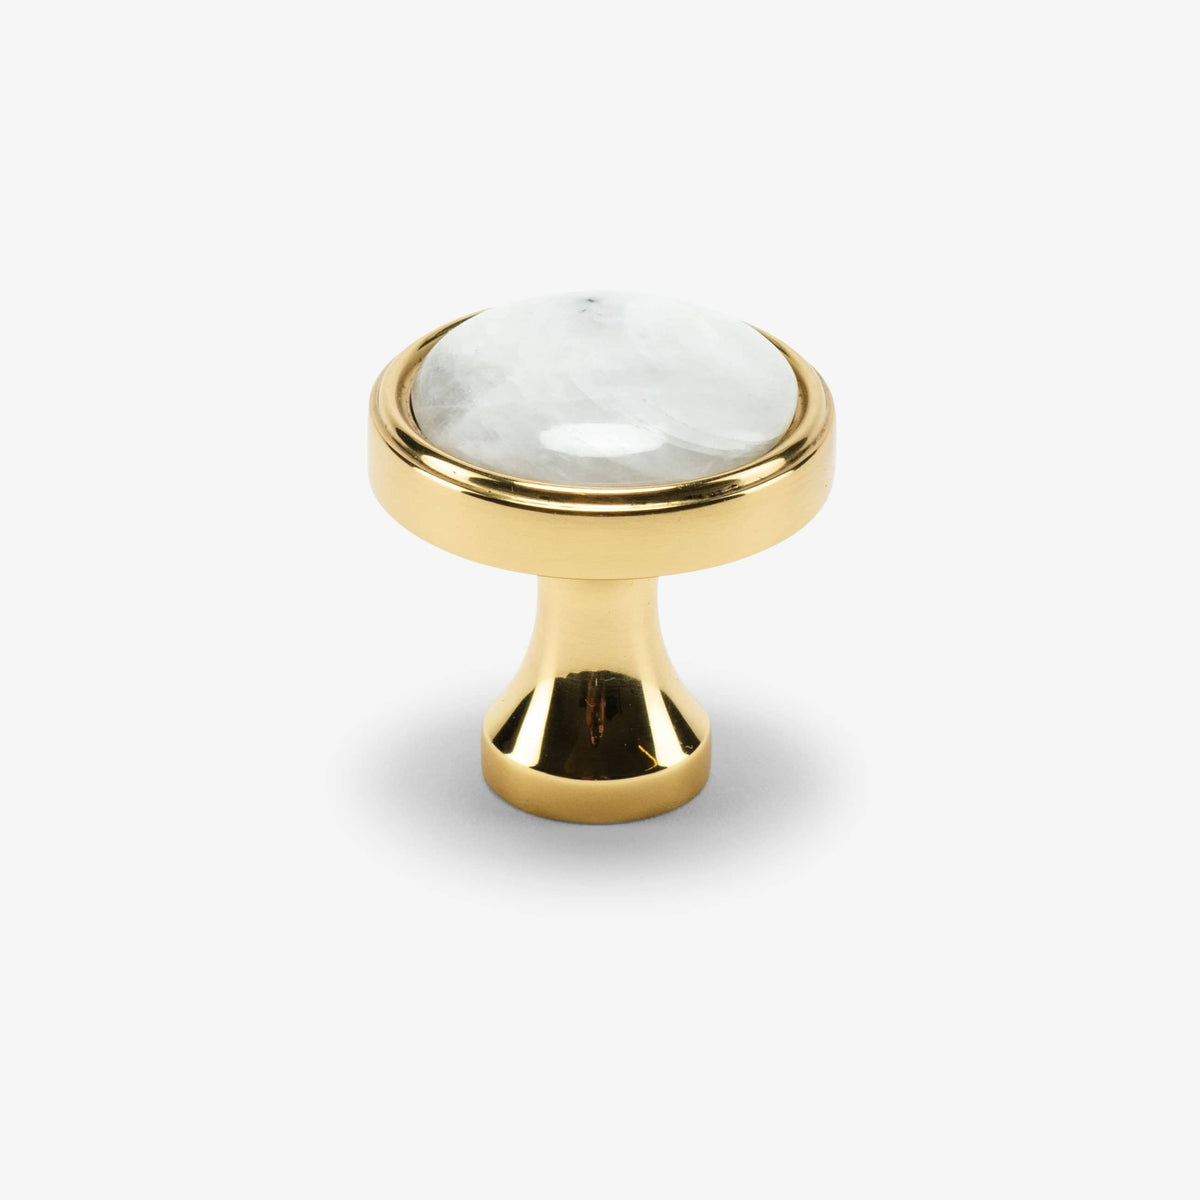

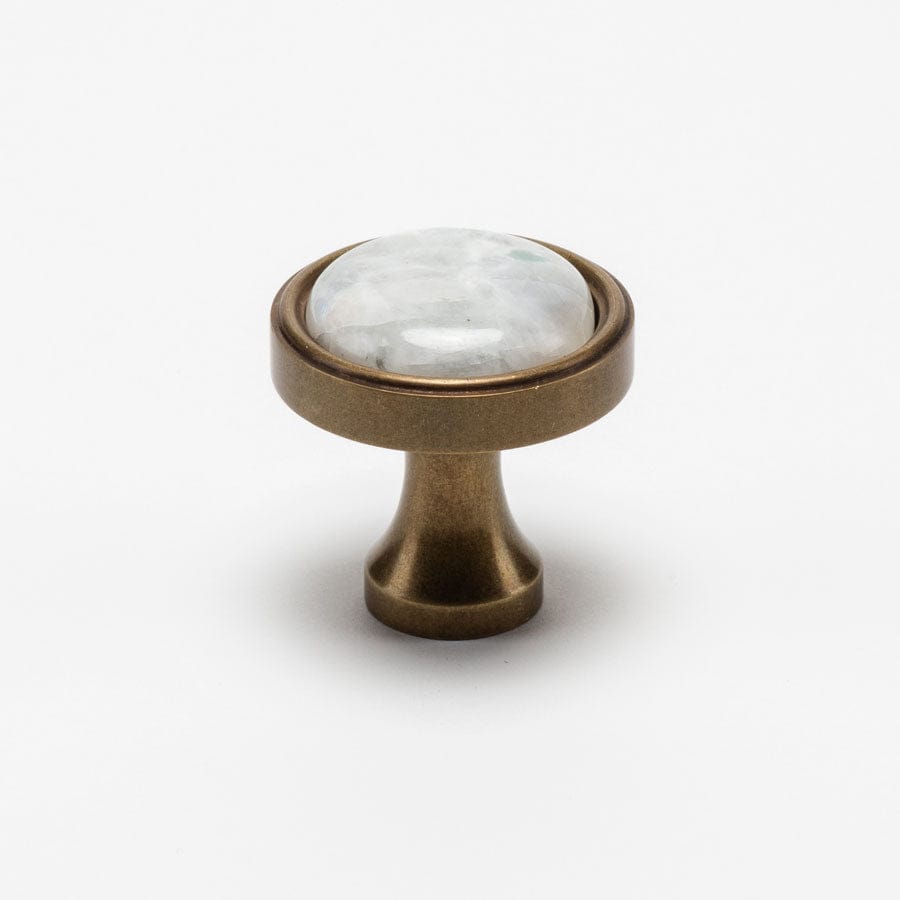
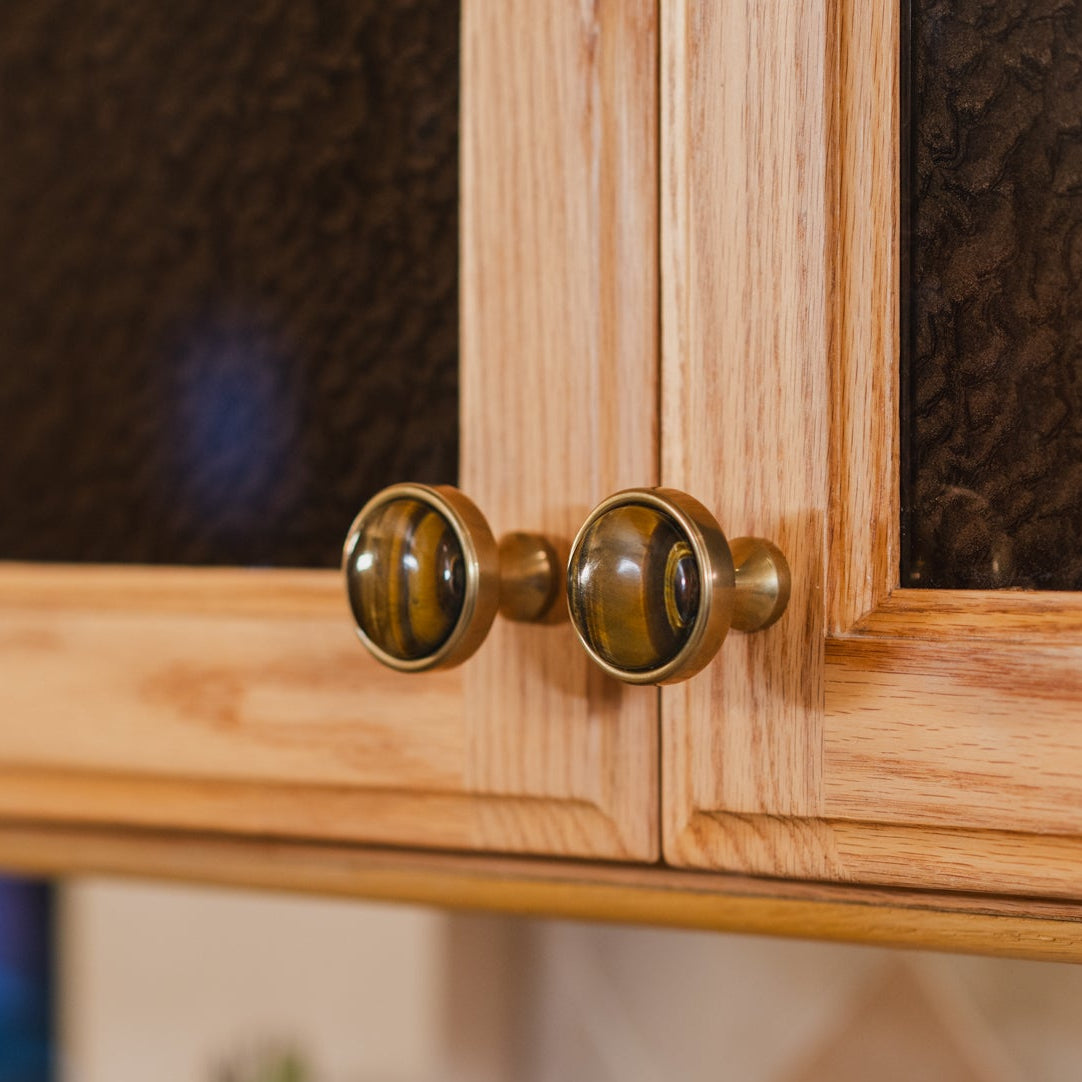
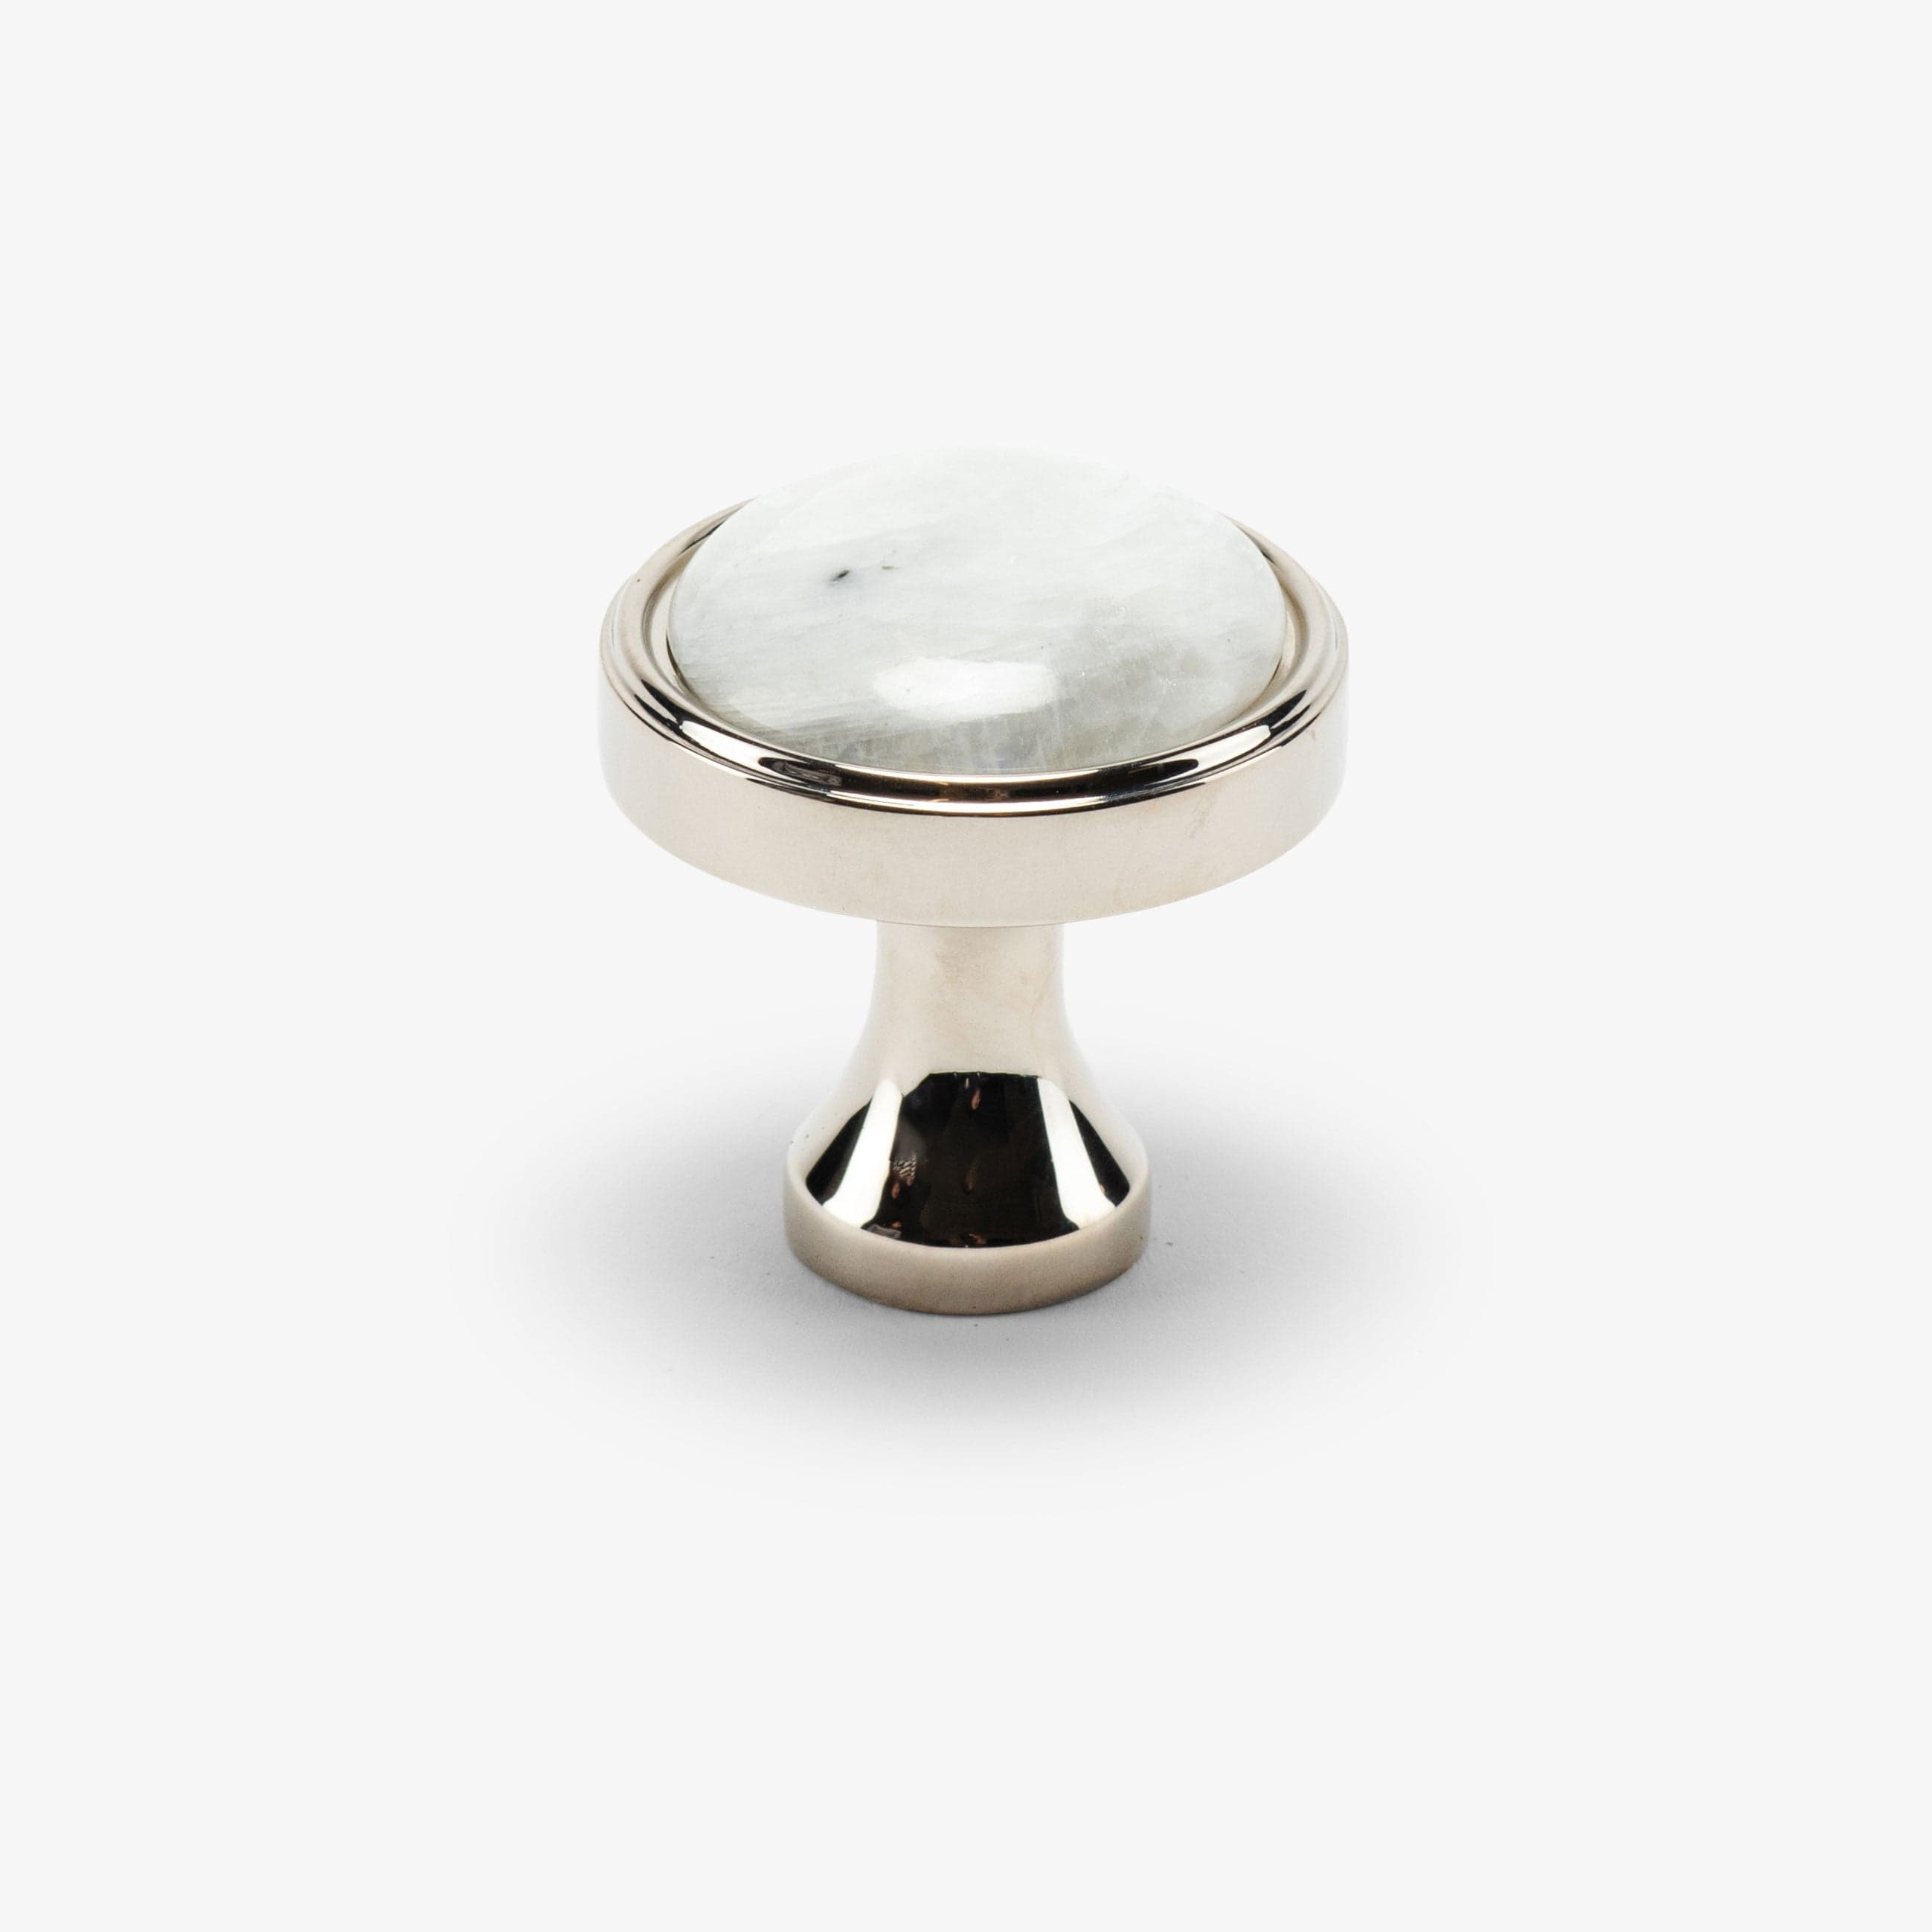
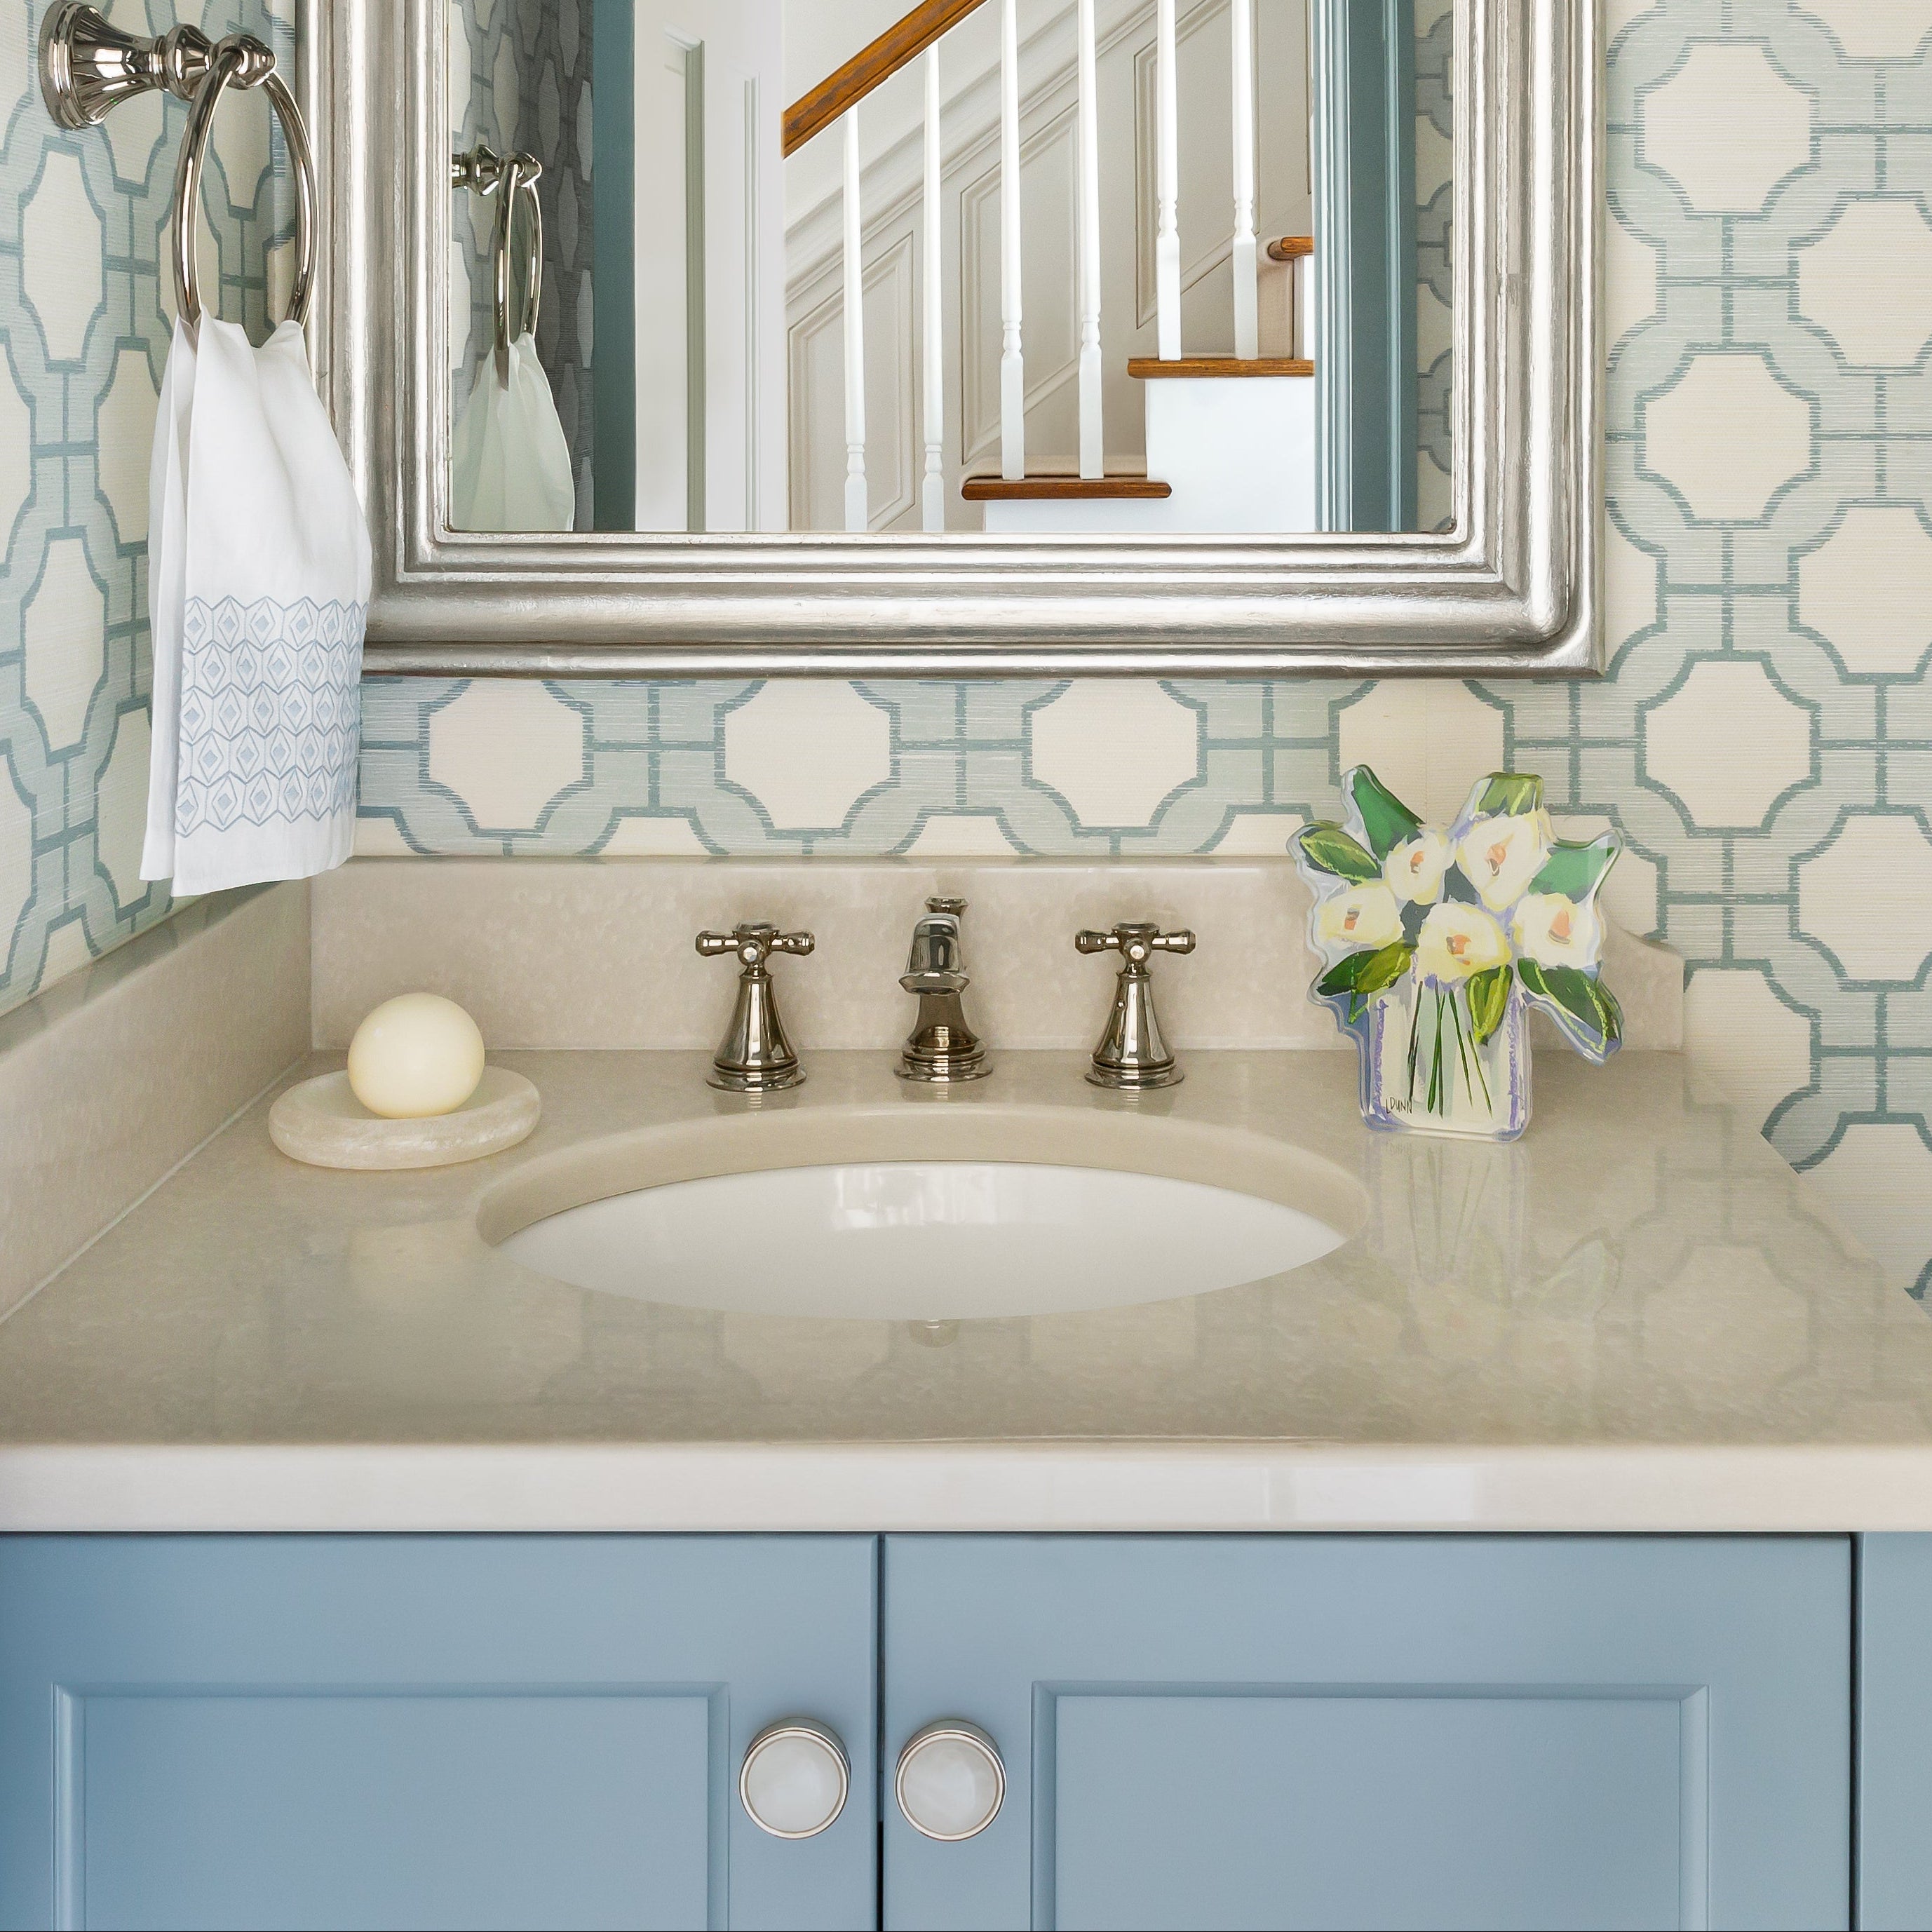
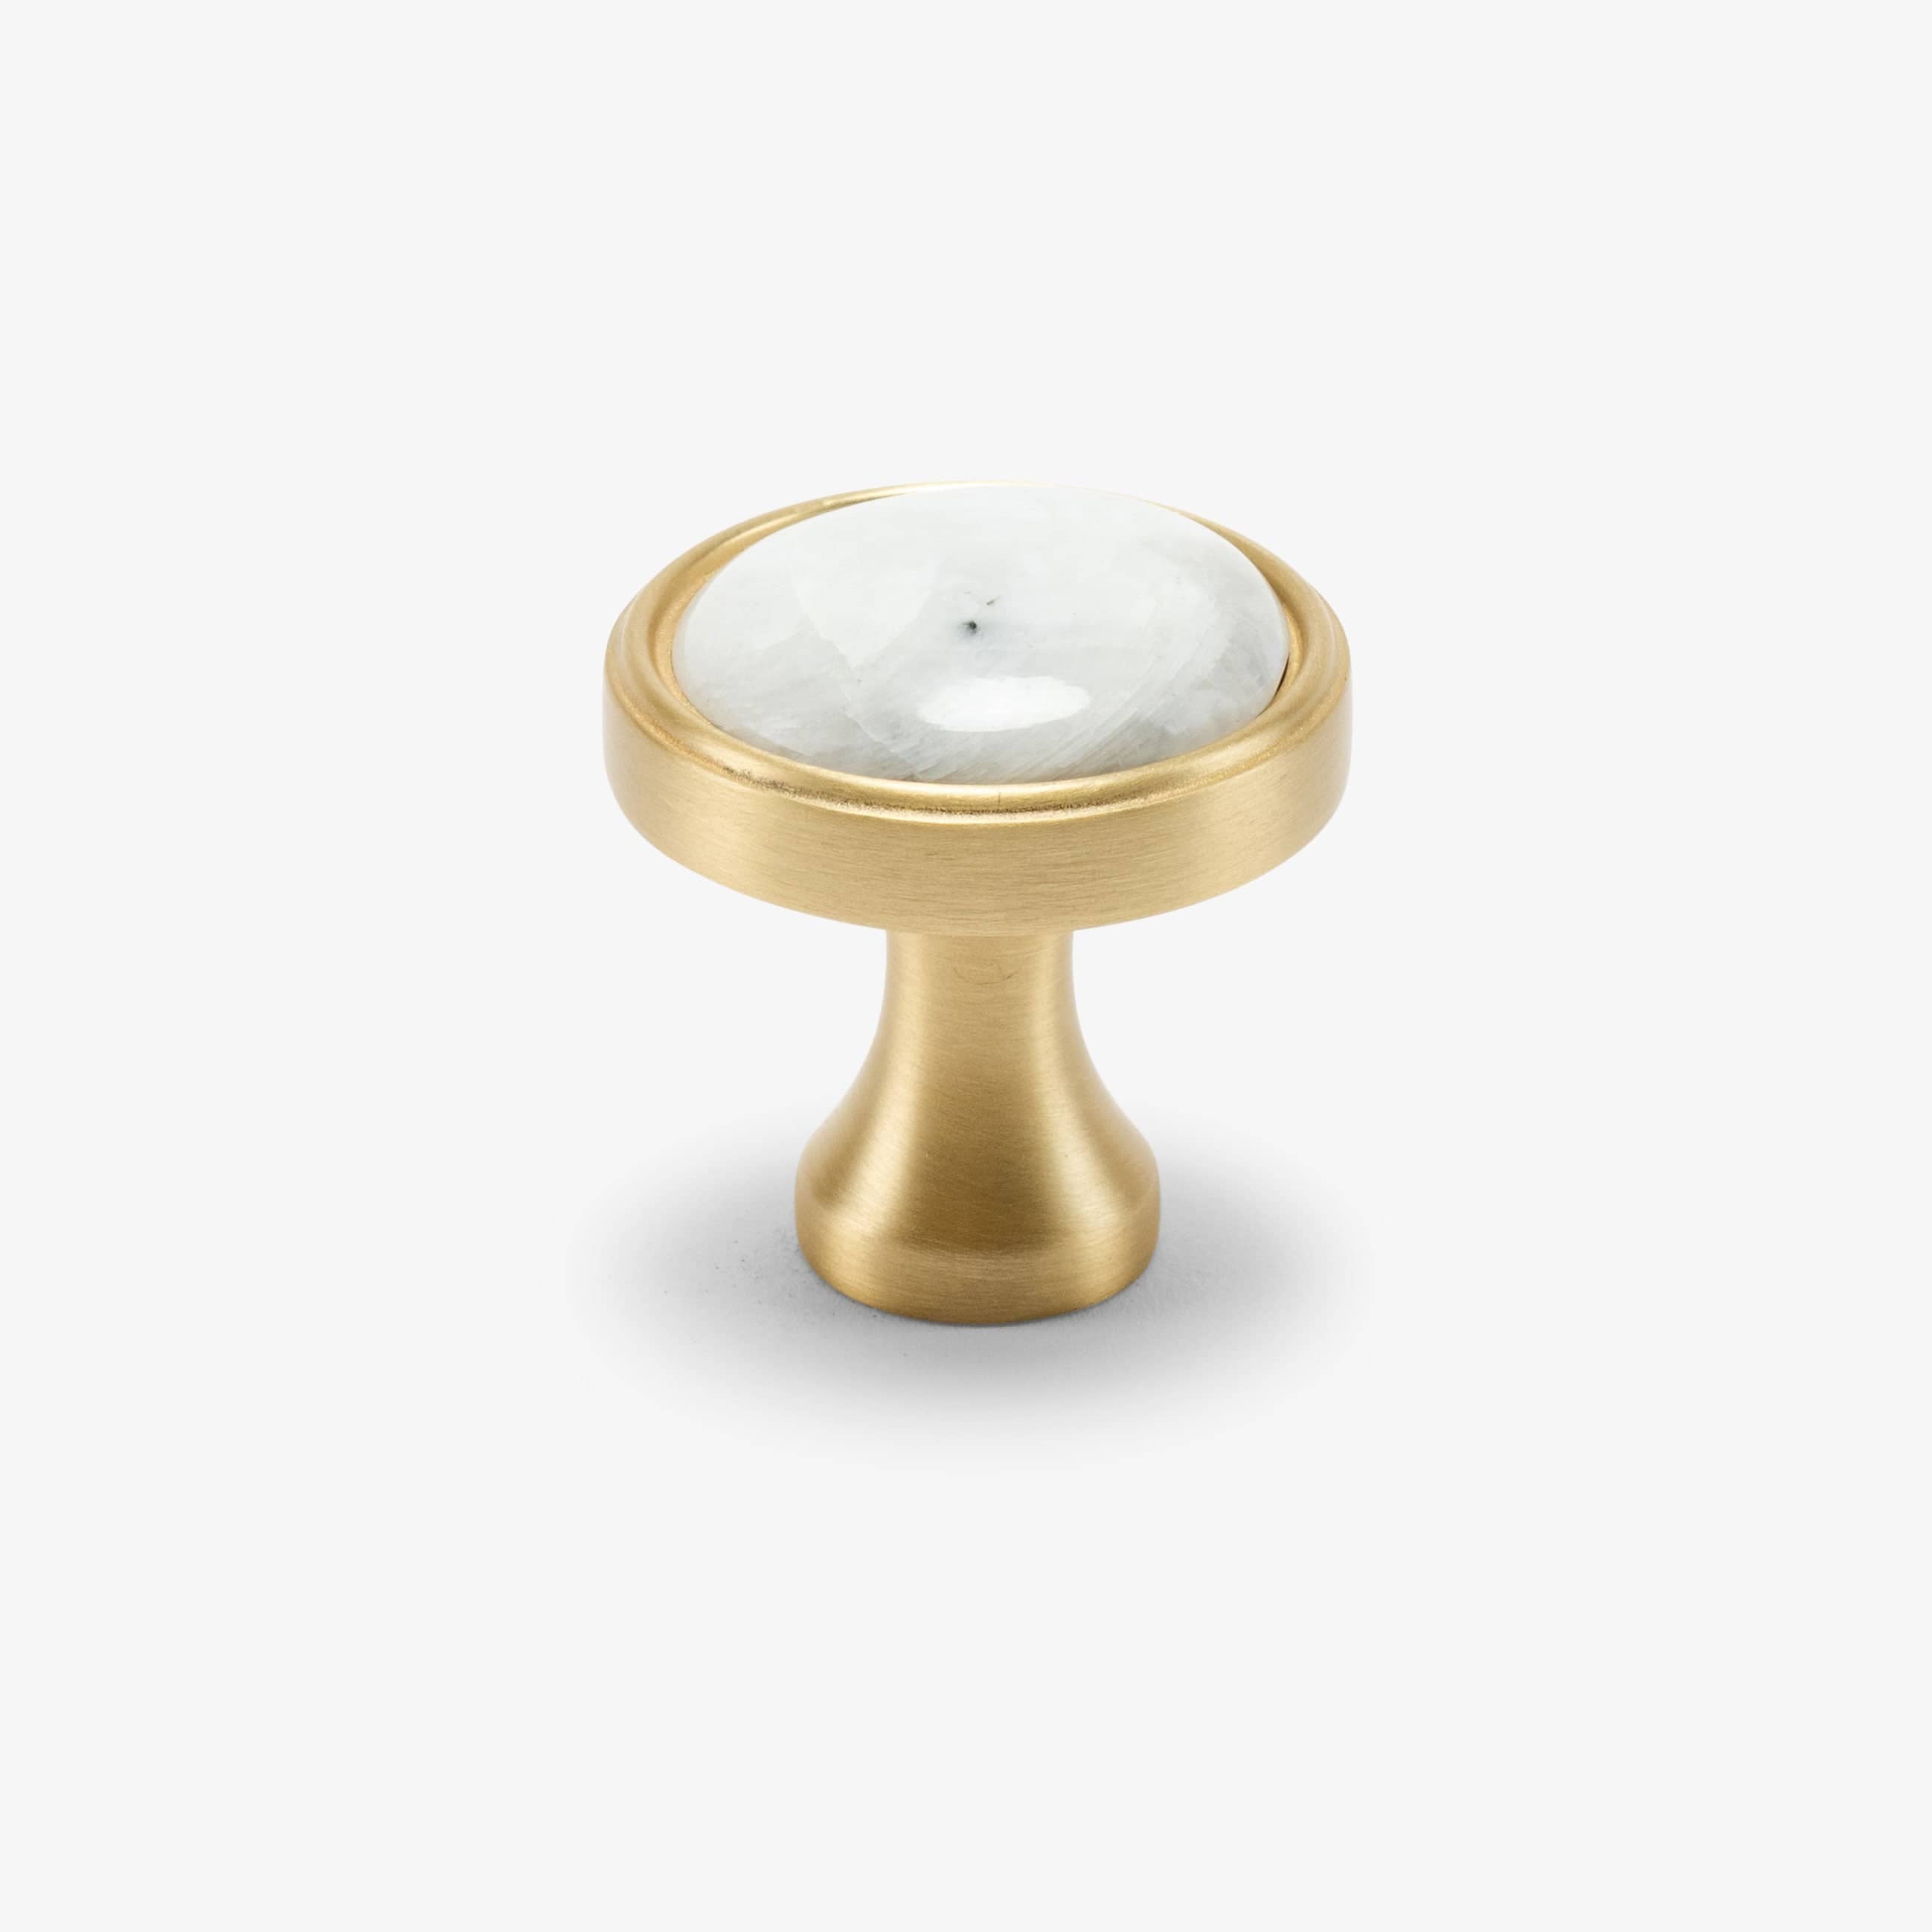
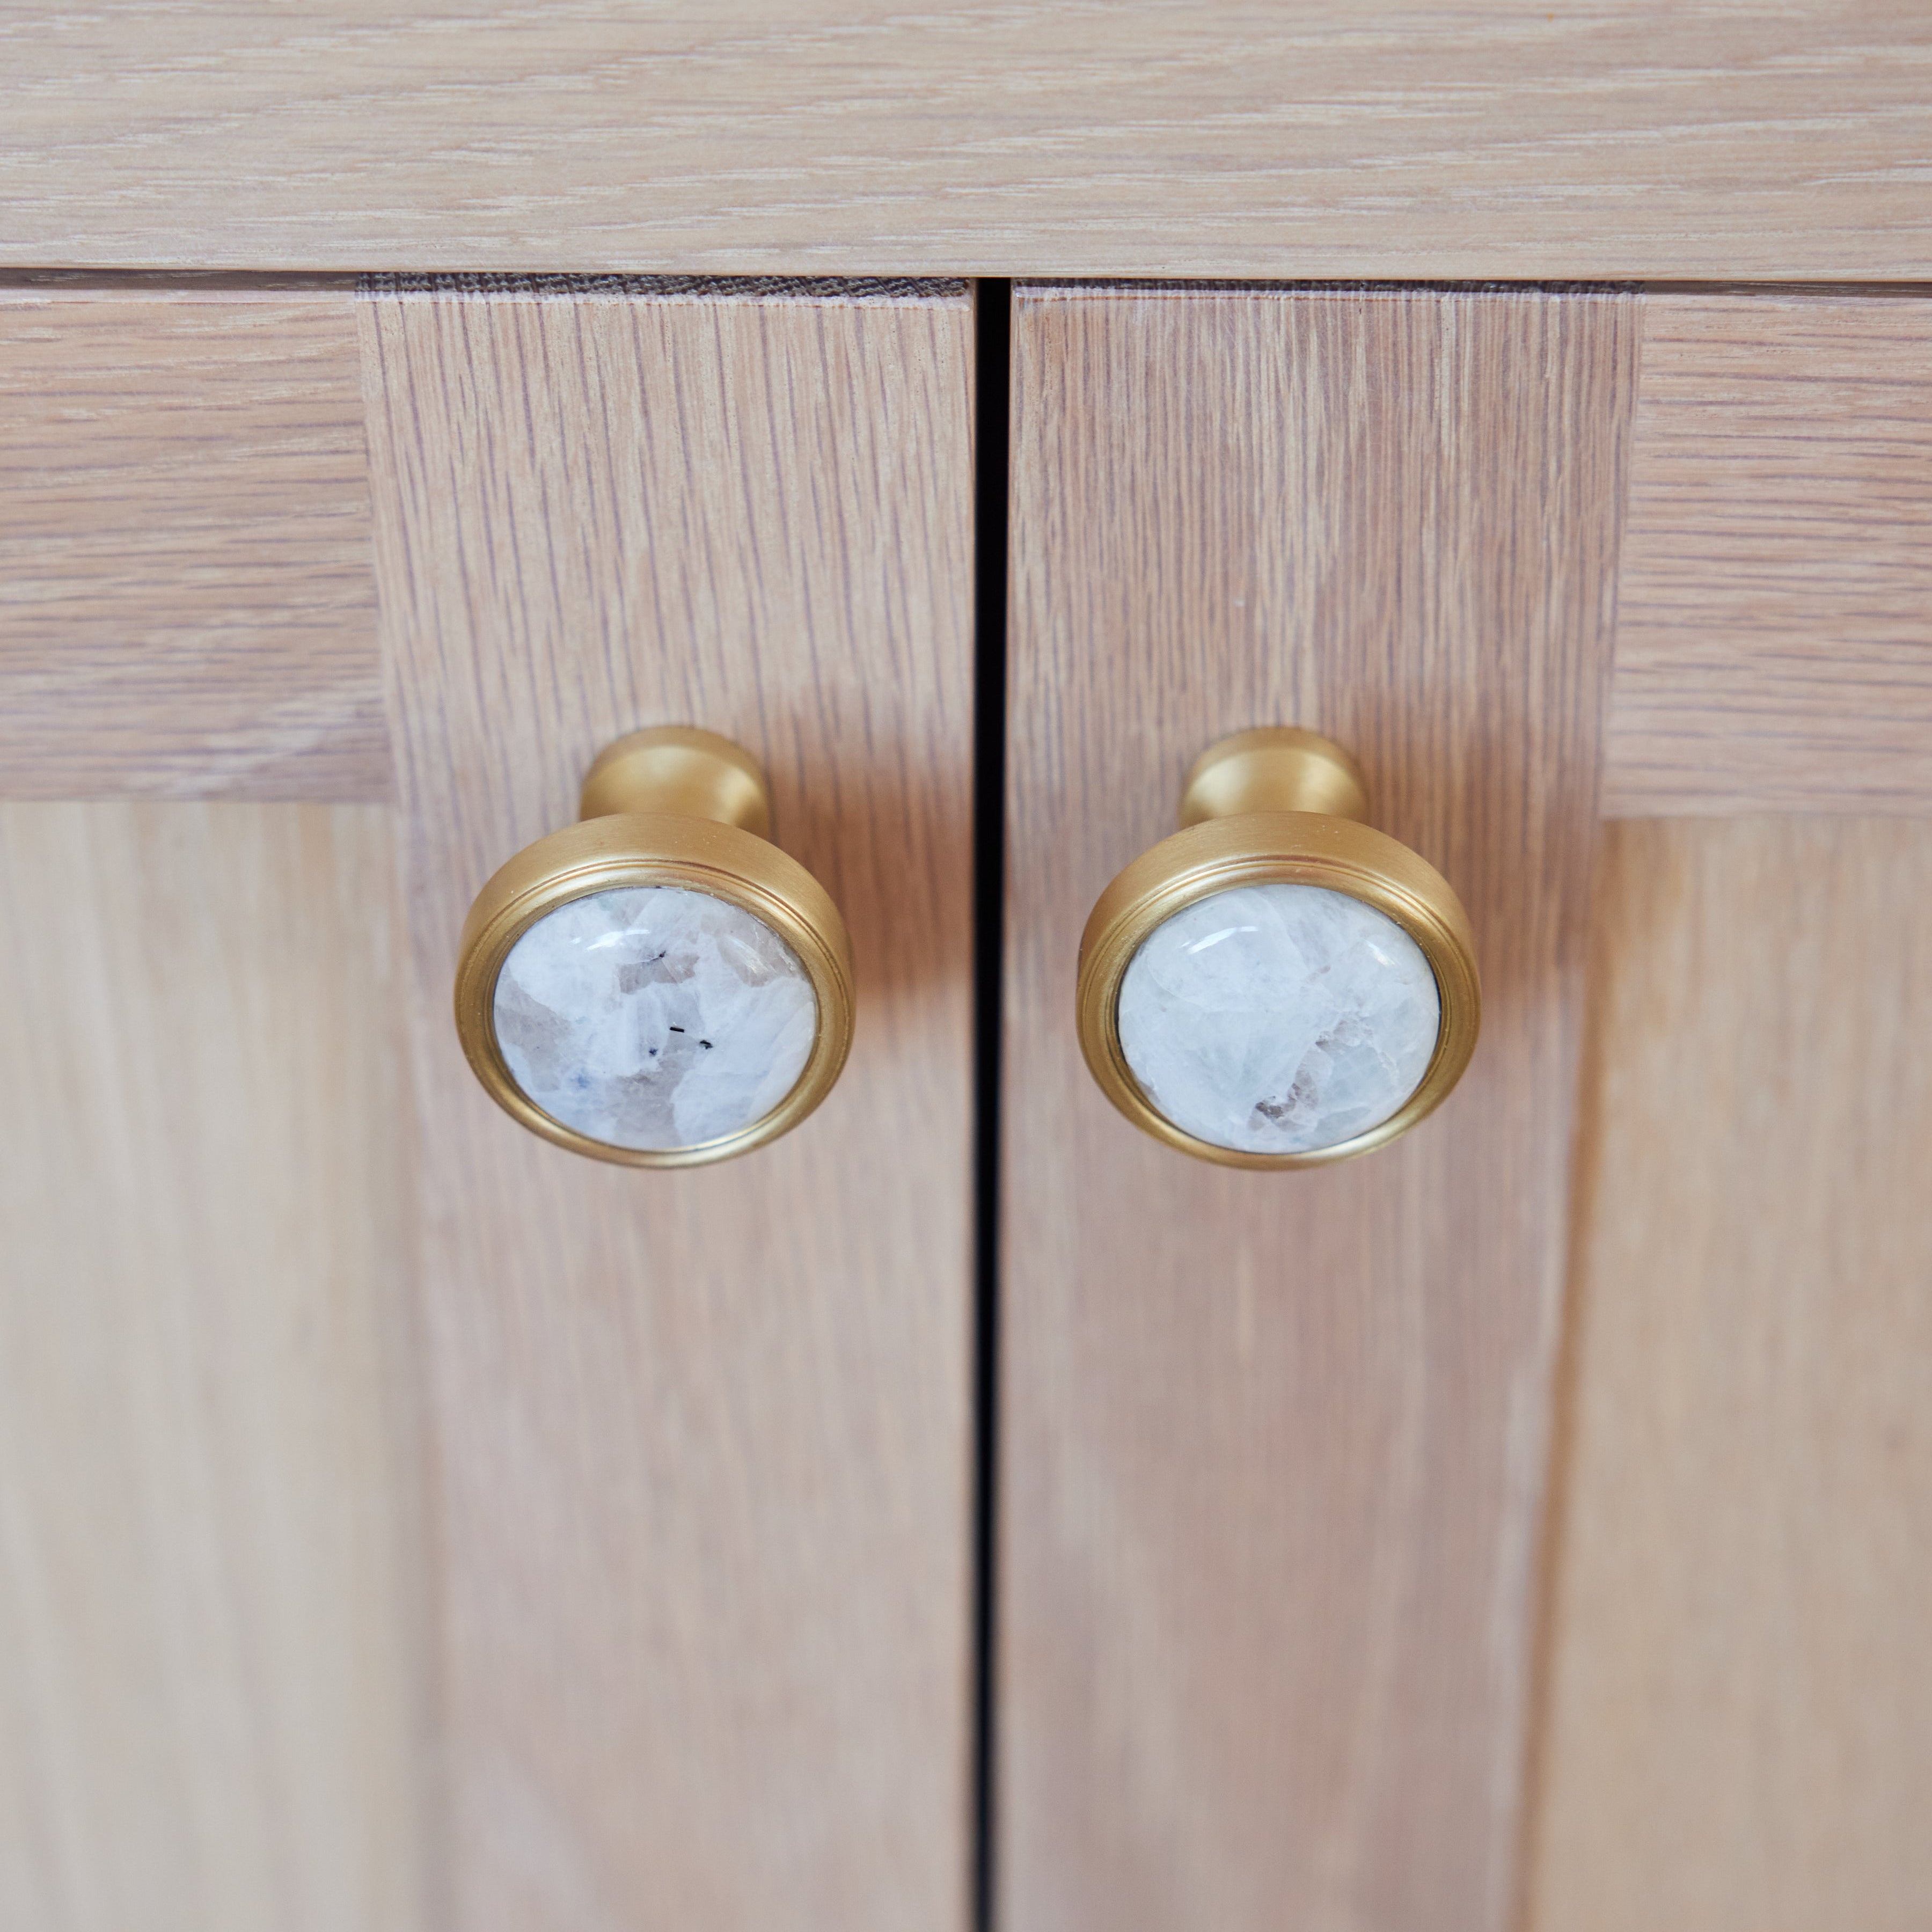
How Designers Are Using This
See how leading interior designers and architects are incorporating our hardware into their most stunning projects
Installation
Installing your backplate is simple and takes just minutes. Follow our step-by-step guide for precise, polished results.
 Step 1
Determine Placement
Align the backplate with your existing or planned knob or pull location. Ensure placement is centered and consistent across all doors or drawers.
 Step 2
Position the Backplate
Place the backplate directly onto the cabinet surface, aligning holes with your drilled openings.
 Step 3
Check Fit & Spacing
Hold the backplate in place and test alignment with your knob or pull. Confirm that screw length accommodates both the backplate and cabinet thickness.
 Step 4
Install by Hand
Insert longer screws as needed, attaching the knob or pull through the backplate. Tighten by hand, then secure with a screwdriver.


